 Tweet
Tweet
Ha, my wife does not share your admiration for my shop. I actually ended up building all the benches with enclosed sides and a roof. Means i can put some cheap roller blinds on the front of the benches and close the whole mess up when i walk way. Easier to hide the mess than clean it!
-
Ha, my wife does not share your admiration for my shop. I actually ended up building all the benches with enclosed sides and a roof. Means i can put some cheap roller blinds on the front of the benches and close the whole mess up when i walk way. Easier to hide the mess than clean it! -
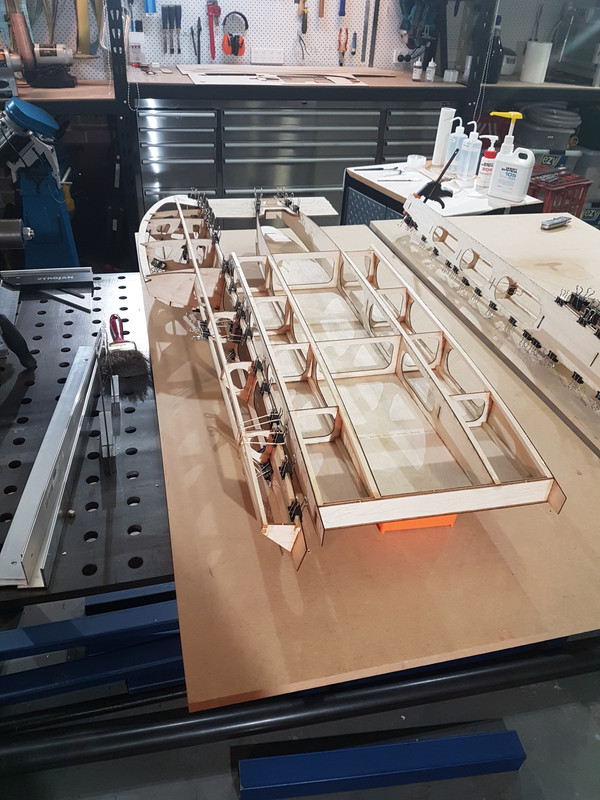
While i was waiting for the sponson glue to dry, i did the preliminary glue up of the front end of the hull. I had left it up to this point because i dont have the canopy yet and wanted to fit it all together. The following is just a preliminary tacking together, I will do the rest when the canopy arrives (being made as we speak apparently and should hopefully arrive soon).
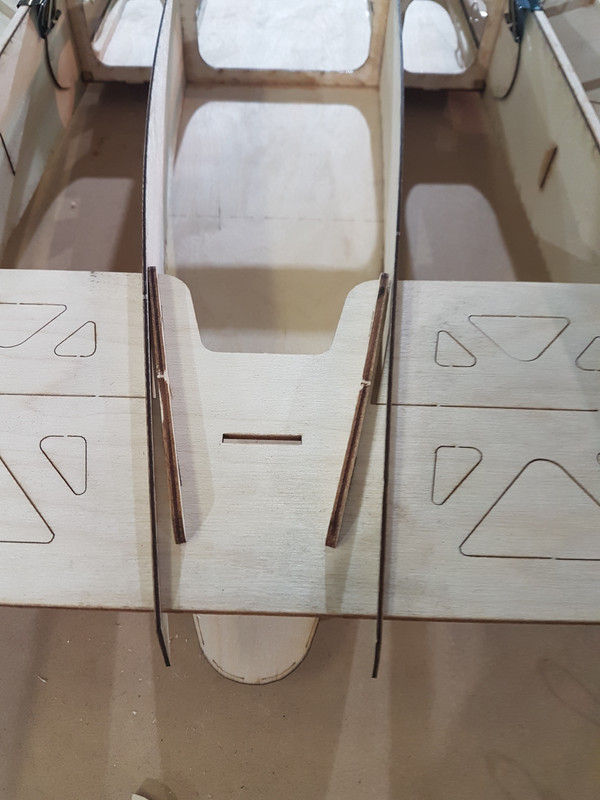
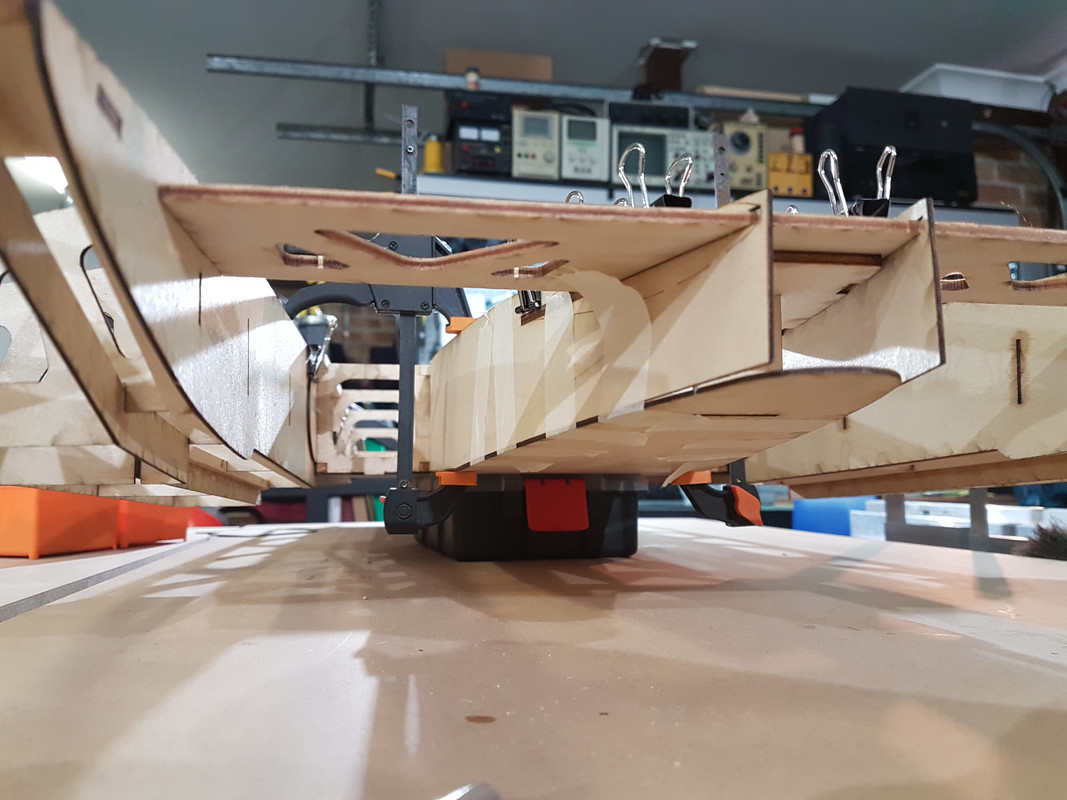
So to put the front end together, you actually need to fit the sponsons - these help locate the front wing which in turn locates the shape of the front hull sides. I clamped it all im place for a trial fit. See below.

Once the sponsons are in place, you need to use these parts to hold the front end together. Took a bit of figuring out how to use them, see below:
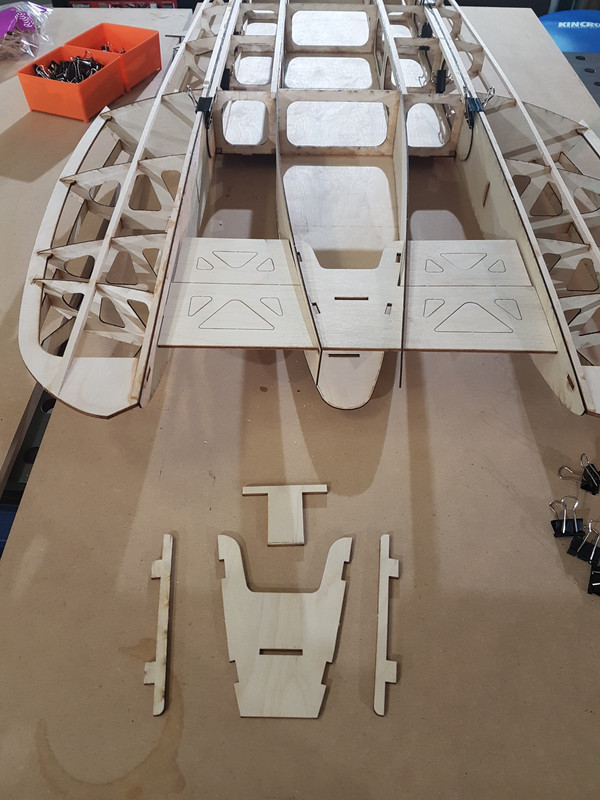
I worked out it is basically meant to go together like this, with the tshaped piece poking all the way through to the bottom of the hull:
Comment
-
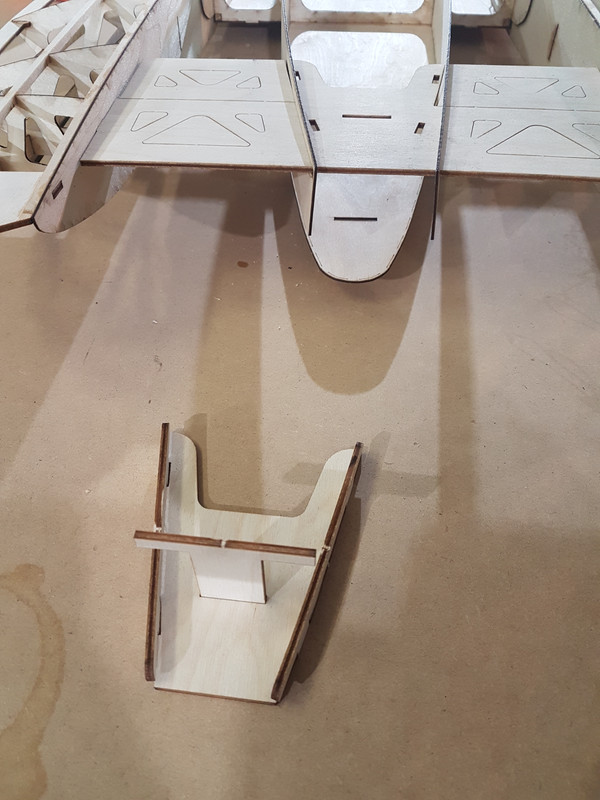
So to assemble, first you drop these pieces into the corresponding slots on the center of the wing. When glued in place they will bend to match the curvature of the hull:
Then take this piece, and put it under the wing:
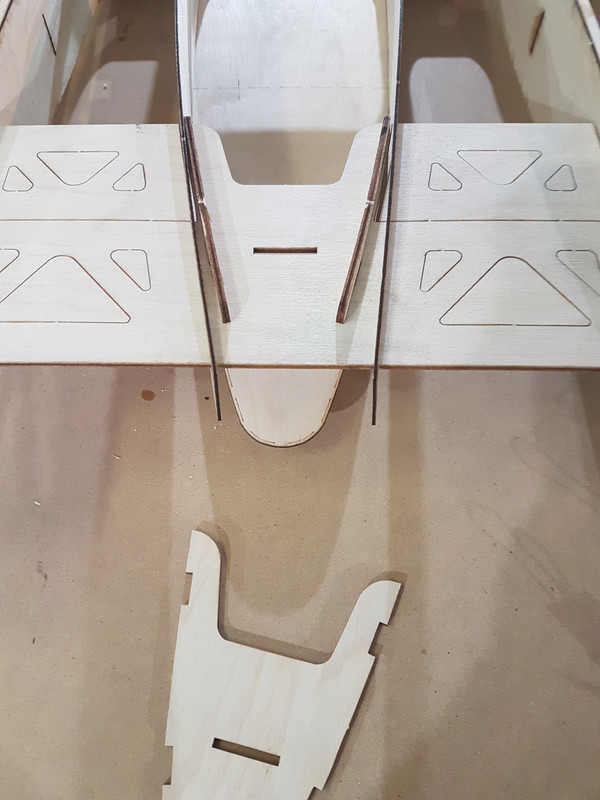
View from underside:
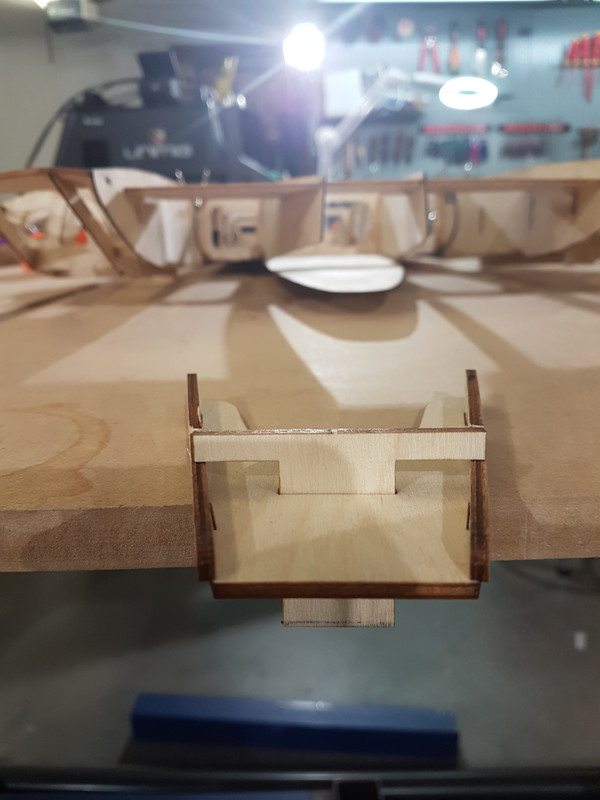
Finally drop in the "T piece". The trick is to trim the top of the T just enough so it fits in place, but pushes out the sides a bit to get the required curvature.
If done correctly, the bottom of the T should slot into a corresponding slot in the bottom of the hull when it is all taped or glued together
Comment
-
Going to be following you closely! I have a boat I picked up that is partially completed and just a little bit further along than yours.
I appreciate the photos and your detailed explanations!!Comment
-
Hi, thanks, I will be following your build along closely as well. I was looking through your photos and already found a spot where i have made a mistake in my sponson sheeting (or at least done it differently to you), so its going to be super helpful having the builds done in parallel. Looks like you are taking on a great project!Comment
-
Awesome! I actually haven't done any of the building. I am just picking up where someone left off so I wouldn't rush to assuming you made a mistake as mine could certainly be wrong :)
That is one are though where I am not sure on the next pieces to apply to the sponsons. Is it the outter or inner remaining piece that go on next.Comment
-
I literally just finished the last of my sponson sheeting last night. The order I did it in was:
1. The air relief section
2. The back long section that goes down the side of the hull (I think this might be called the non trip?)
3. The ride surfaces
4. Then the side sheets, working from the ride surface one by one up the side of the hull
Ill post pictures soon to show it all in detail. Sheeting the sponsons has been by far the hardest part of the buildComment
-
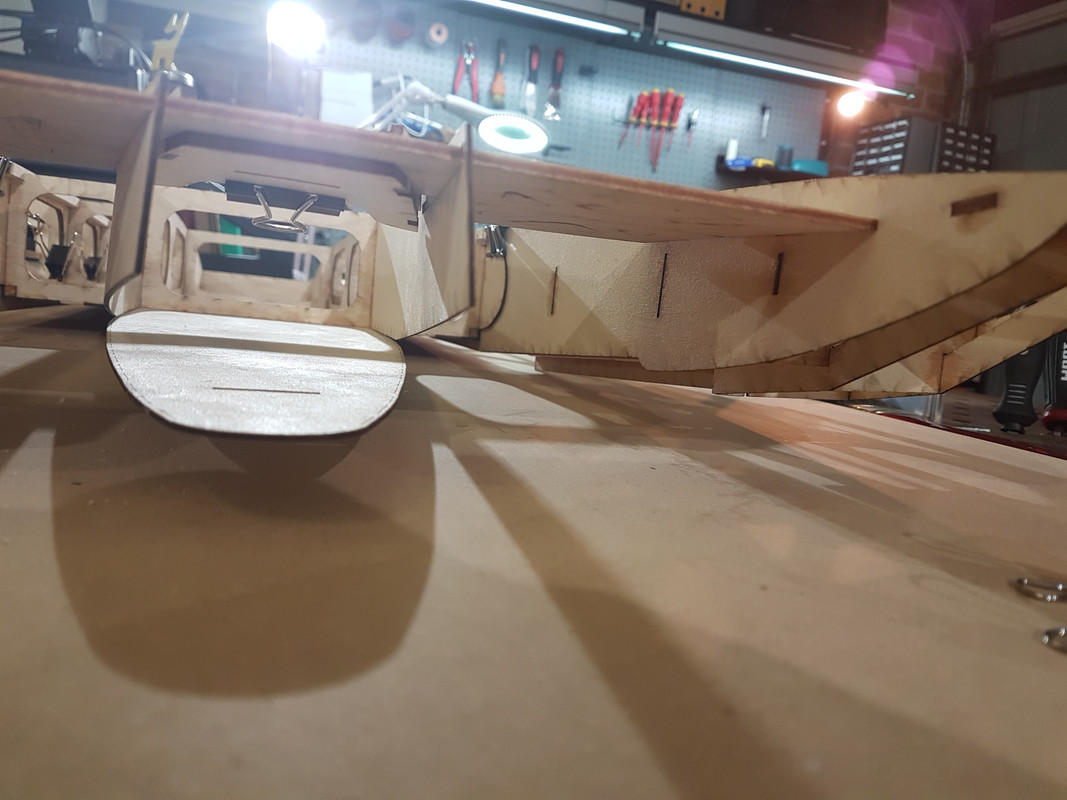
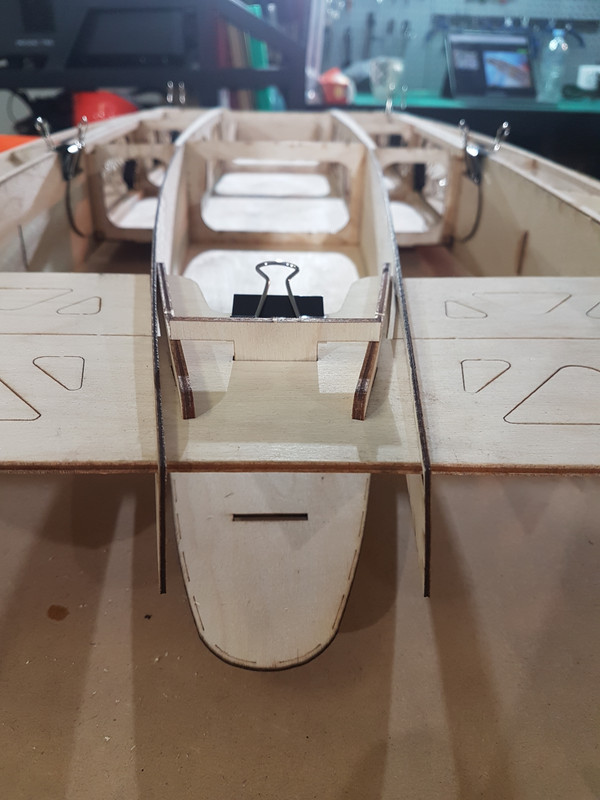
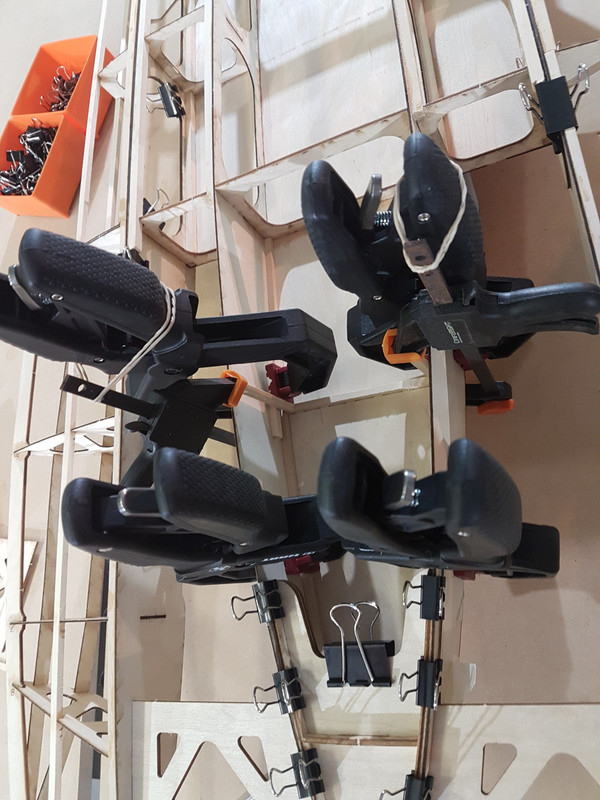
Once the front wing was secure (held in place with binder clips, no glue at this stage) I started tacking the front end together using tape and superglue:
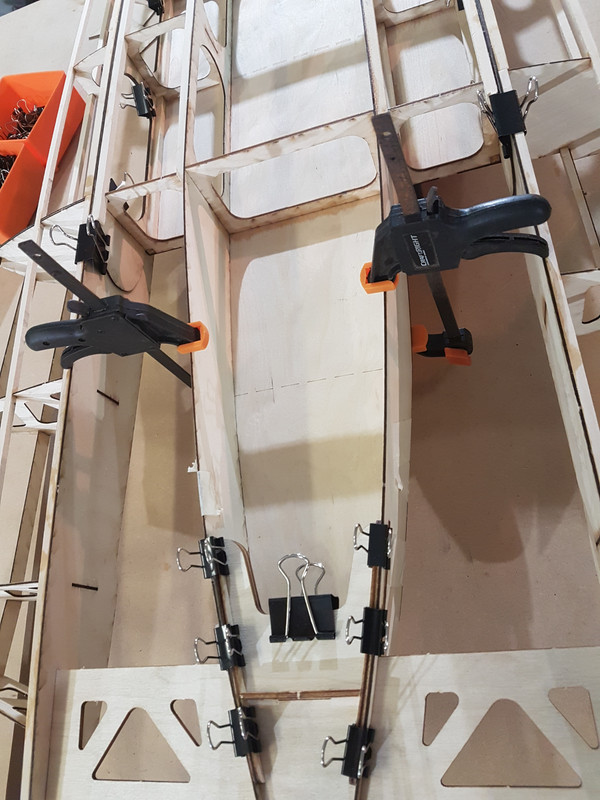
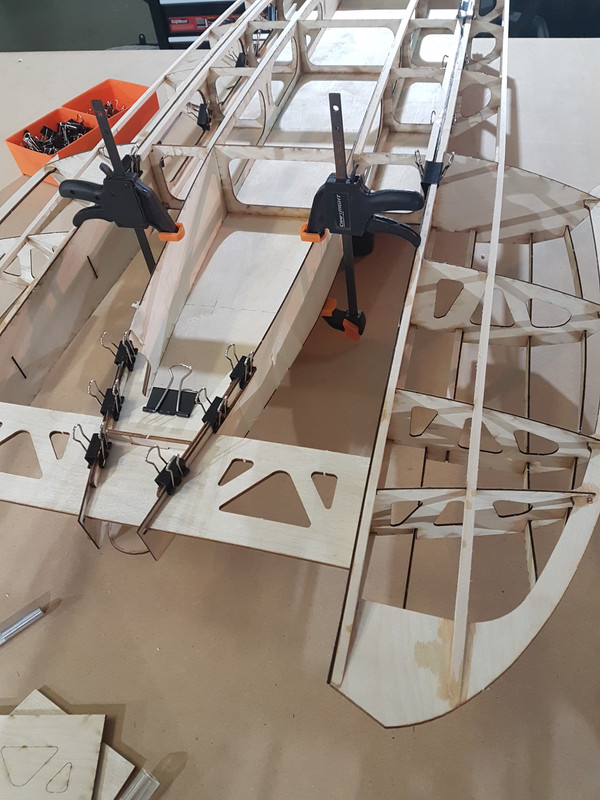
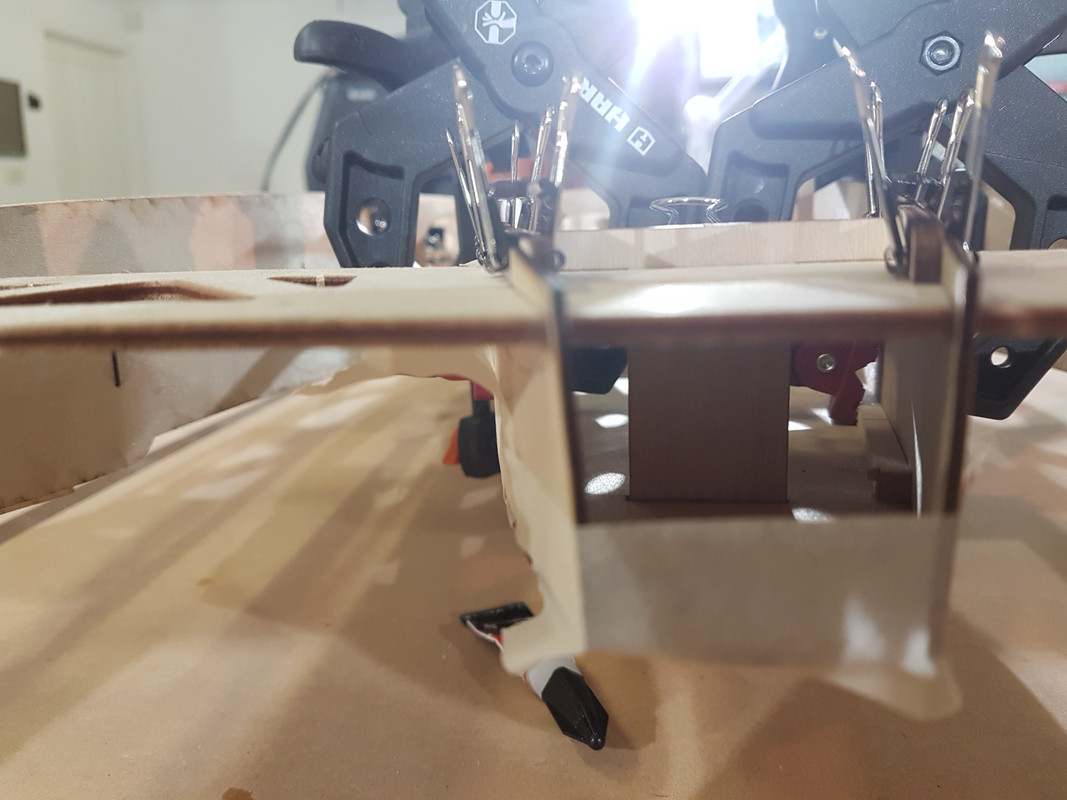
This area might end up holding the batteries so will need to be able to handle a kilo or two bouncing around on waves. My thinking is that I will reinforce the area with battens and eventually carbon fiber. To start I laid some basswood in the corners and glued into place with some creative clamping.

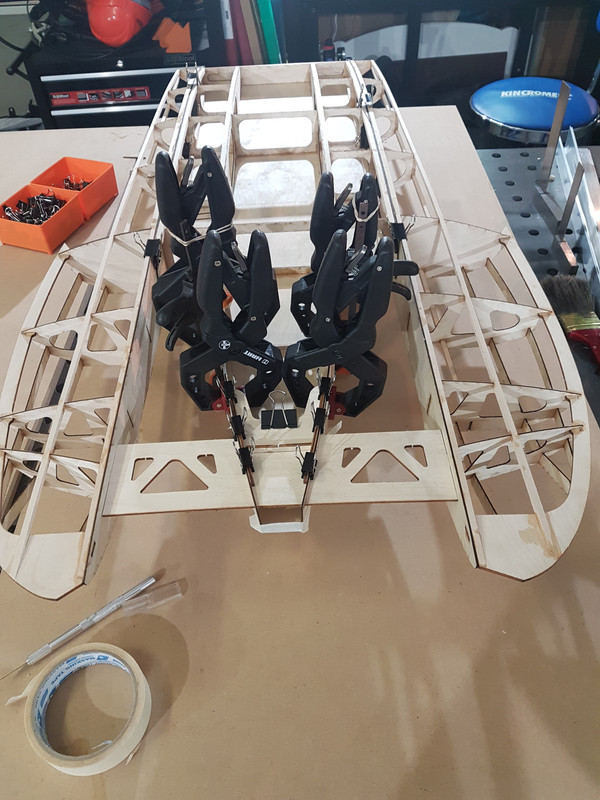
Toward the front i did not extend the battens all the way - Ill decide what to do in this area when the canopy arrives and I am fitting the front end
Comment
-
Sponson Sheeting
Sheeting of the sponsons has been the hardest part of the build so far. Fitting together the kit went relatively smoothly, its pretty easy and self explanatory how to put it together. Not so much for the sheeting.
The main problems are what order to put the sheets down, how big some of the sheets are meant to be, how the edges of each sheets interact, and the differences between the two sponsons. In some places its clear the sheets are meant to butt up directly together, in others you are definitely meant to leave a clean edge. A smarter move would have been to ask here first before forging ahead, but too late now : )
I took a looootttt of photos of this part of the build, hoping it can be a reference for others, so sorry for the amount of photos im about to dump on you. Ive tried to get every step and every angle, especially how the different sheets interact. If you see something ive done wrong, please point it out so i dont go passing on bad info.
Onto the build:
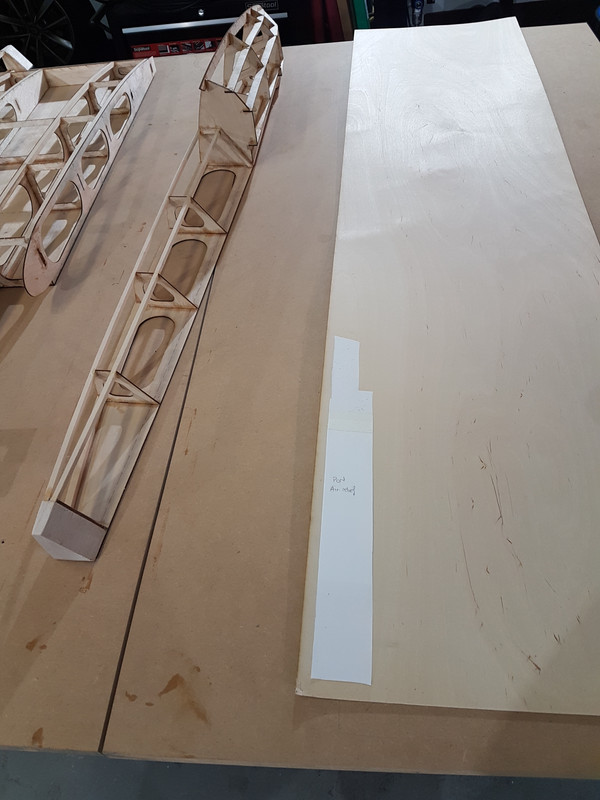
First step is to layout the basic shape of the sheets. I started in the "air relief section" because this seemed like the flattest, easiest sheet to fit. I stared by spending an hour or so with sandpaper on the sponsons, doing one last check to make sure everything is flat and all the transitions are clean. I had to sand down some of the balsa as well to get it flush.
Easiest way to get the basic shape of the sheet is to lay some paper over it, and press down in all the corners to create a crease outlining the shape. Not looking for a perfect fit here, just something close:

After cutting out, I used spray adhesive to glue to the plywood:
I tried a bunch of different methods to cut out the plywood as i dont own a scroll saw. The wood cutting blade on the dremel worked ok but was a bit messy:
By far the easiest and neatest way however was to use a sharp knife to simply cut the thin plywood. A light pass at first then a deeper one to make the cut worked well:
once the sheet is cut to rough shape you can use a combination of a sanding block and a sharp knife to refine the shape to get a (close to) perfect fit:
Comment
-
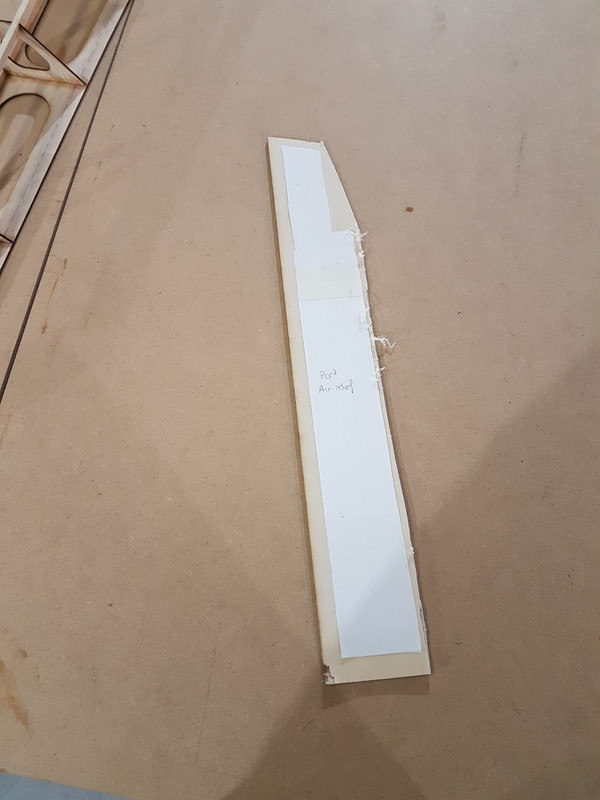
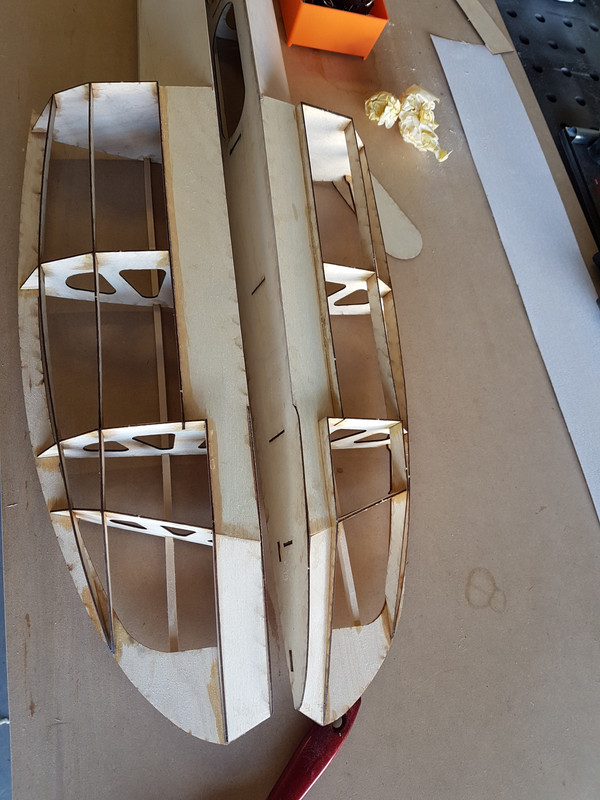
Here is the port and starboard air relief sheeting laid out before gluing. Ive also cut the front air relief pieces that mate with the very tip of the sponsons. As you can see, each piece is different.
I actually made a mistake here as i forgot to leave a lip at the rear of the sheet to overlap the sponson. The original was cut flush to the back of the sponson. I believe its better to always leave a lip as it allows for a cleaner seperation of the water from the ride surface. Its probably not as important for this section as technically it should be above the water when the boat is running at full speed, but i went and redid it anyway. Here is old vs the new, you can see its a bit longer:

I left a 3 mm overlap for all the ride surfaces. If I was to do it again would make it 1.5mm:

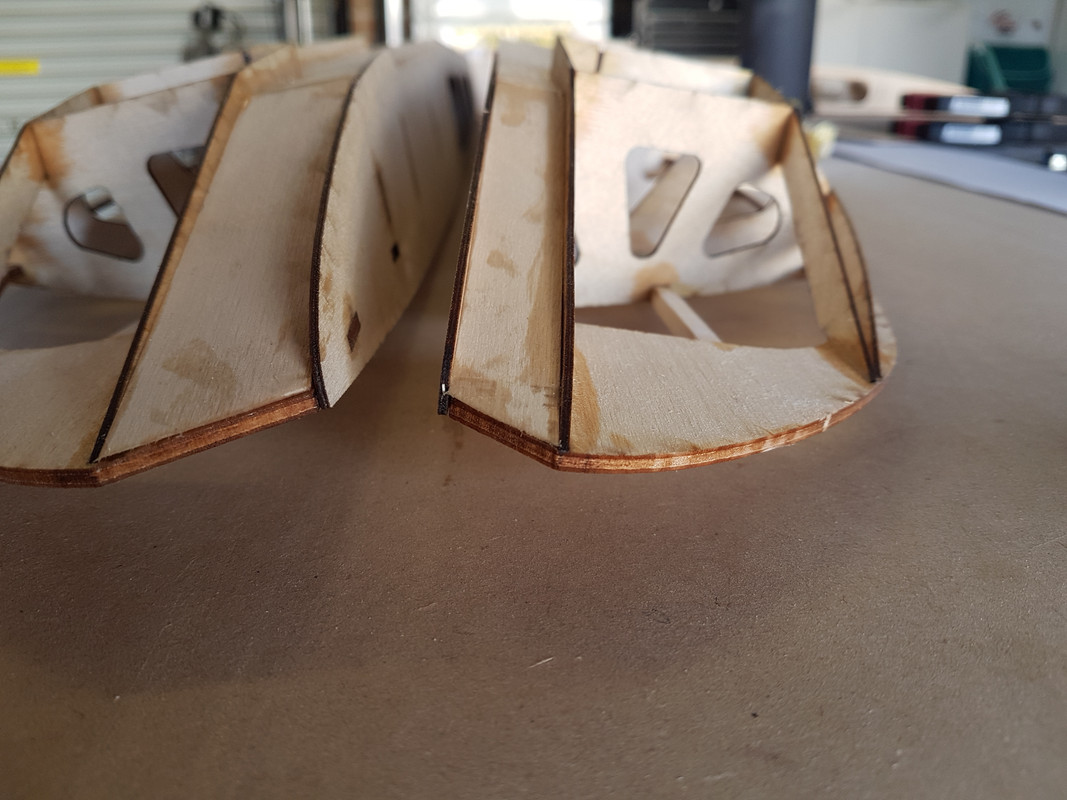
One area i was quiet unsure about was how to mate the tip of the sheeting with the tip of the sponson. I think i actually did this incorrectly - i ended up beveling the sheeting so it laid flat against the sponson former. I think its actually meant to overlap the former completely. In some of the other sheeting i made it overlap, which looks like a stronger setup - this does look quite neat however. Photo below should hopefully explain what i mean:
Here are the ride sheets clamped in place while drying. Whenever i clamped a sheet into dry i also made sure to clamp down the whole sponson so it doesnt come out twisted.
Comment
-
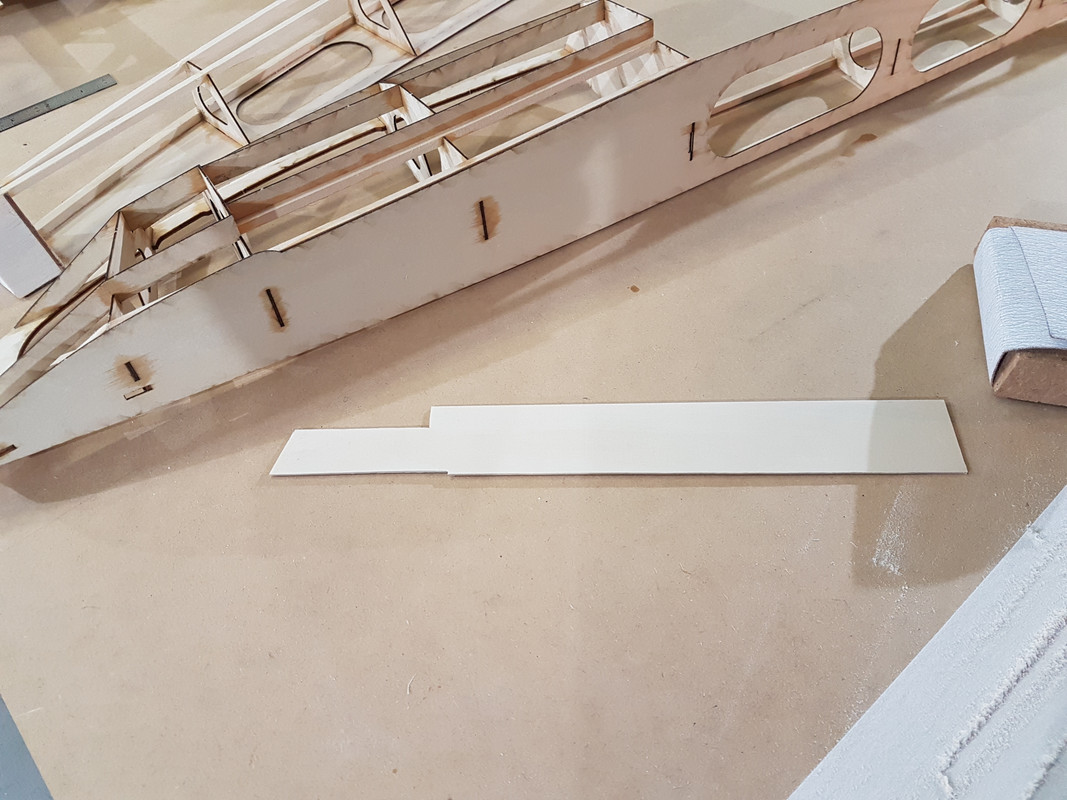
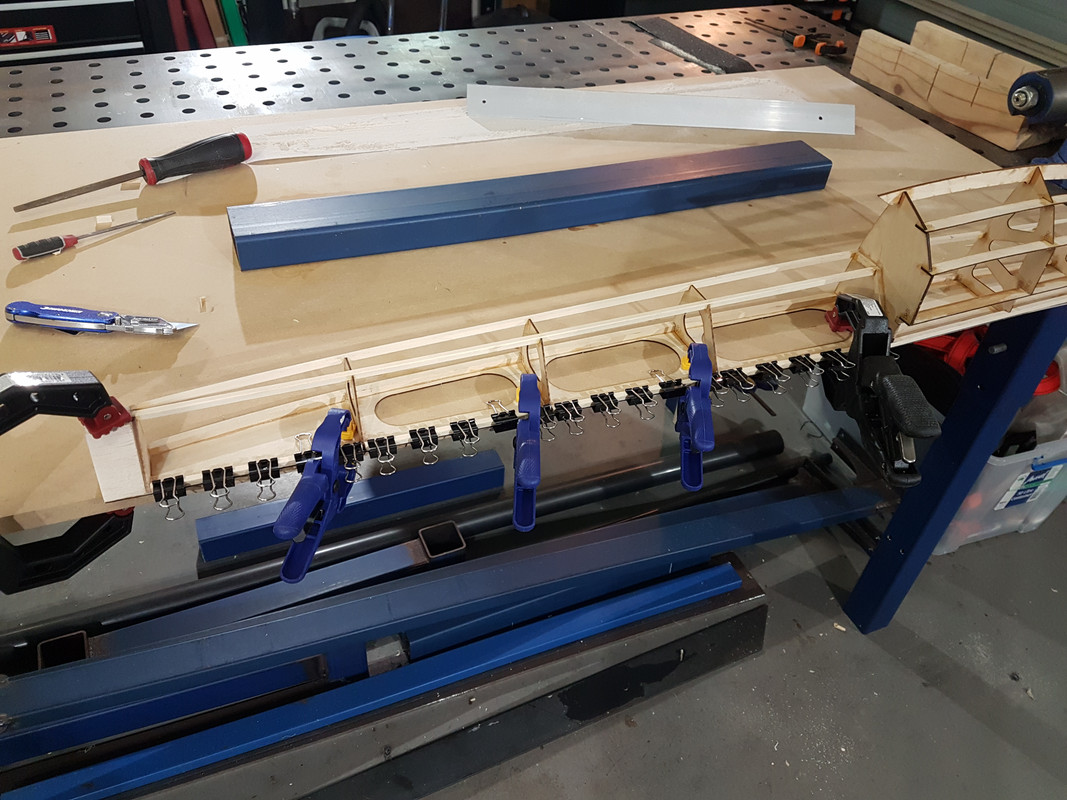
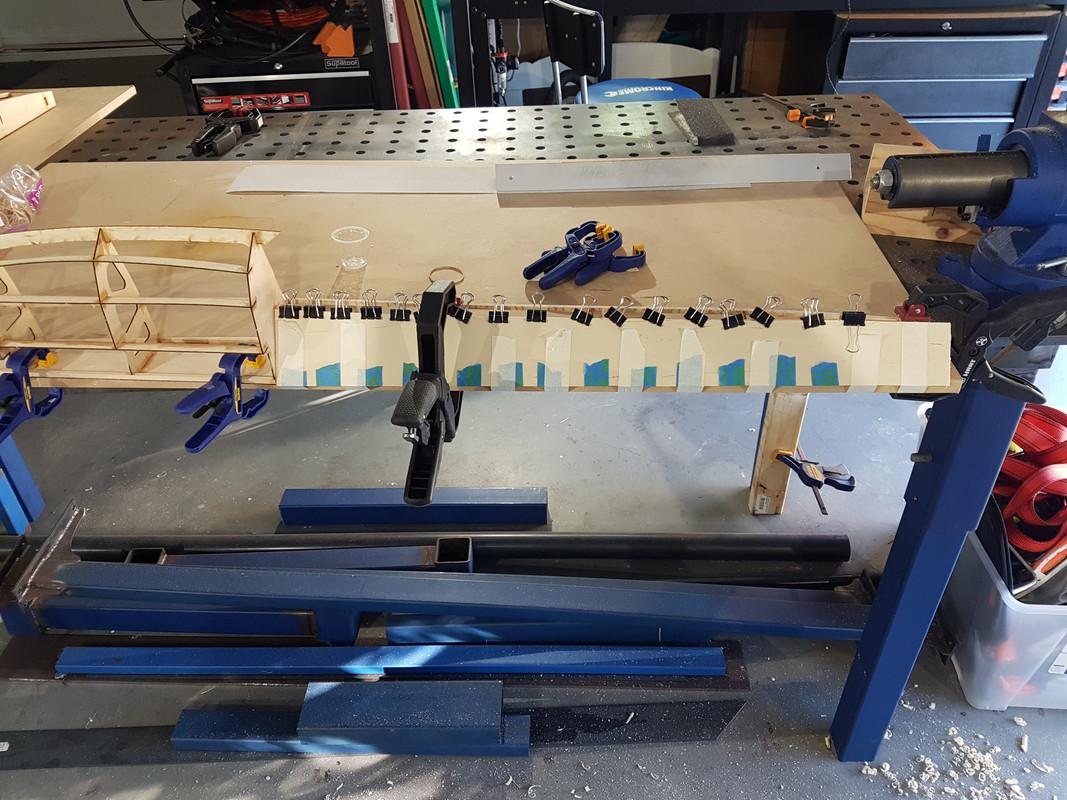
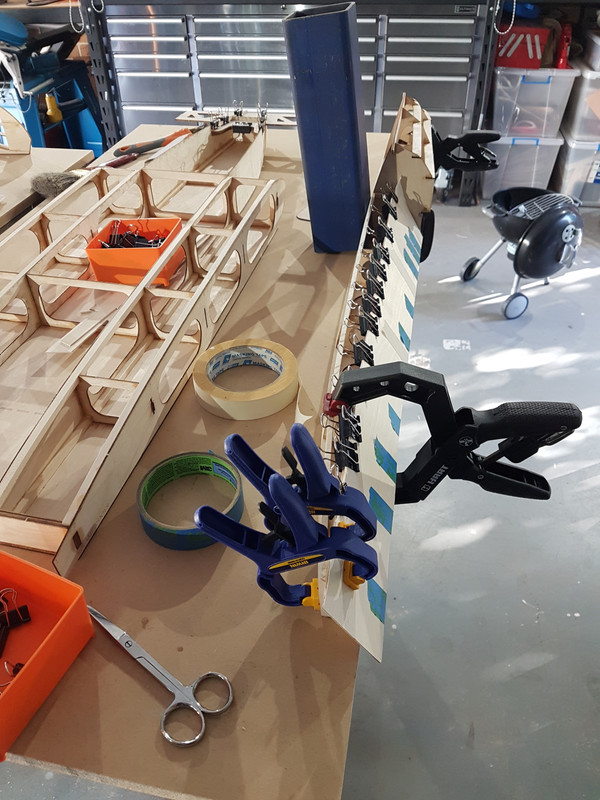
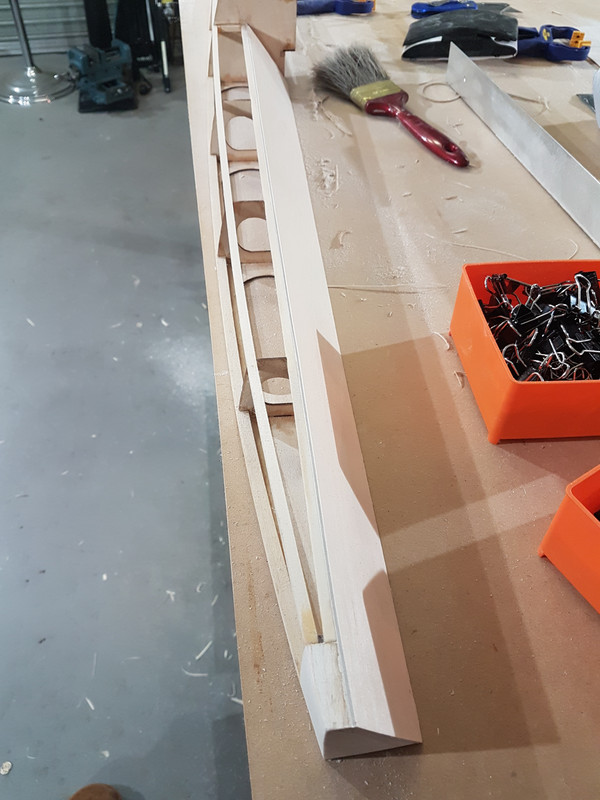
Next thing i tackled was the side skins for the back part of the sponsons. I think these are called the "non trips" (no idea why). I wanted to get these in place as the should really stiffen up the long section of the sponson and prevent warping. I was noticing that the whole thing was a different shape on rainy days vs hot days so wanted to lock things down and try to keep it all stable.
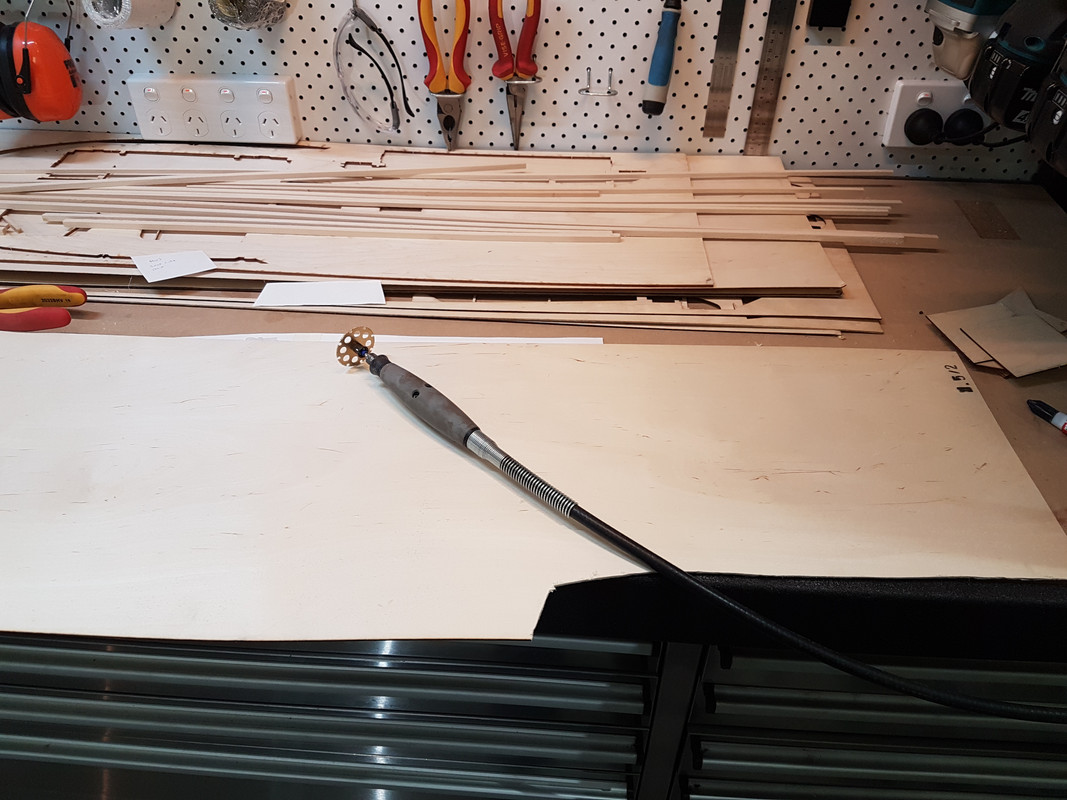
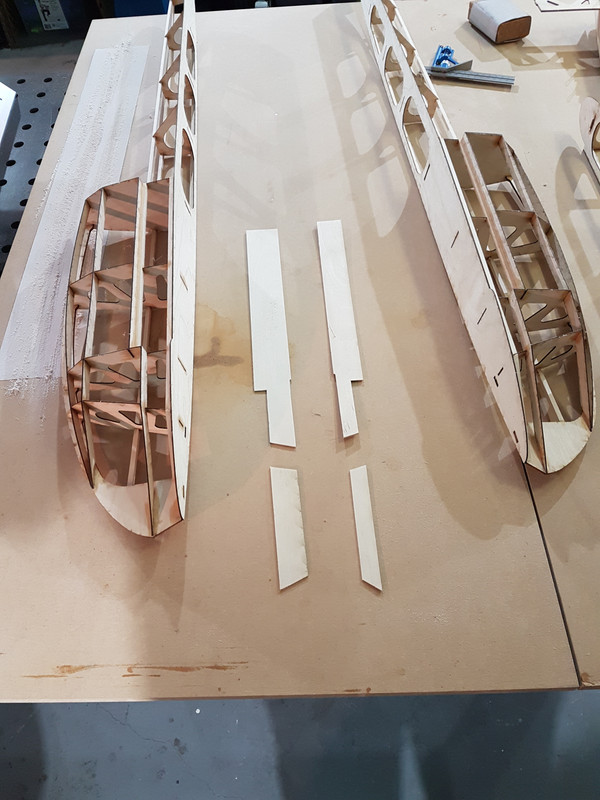
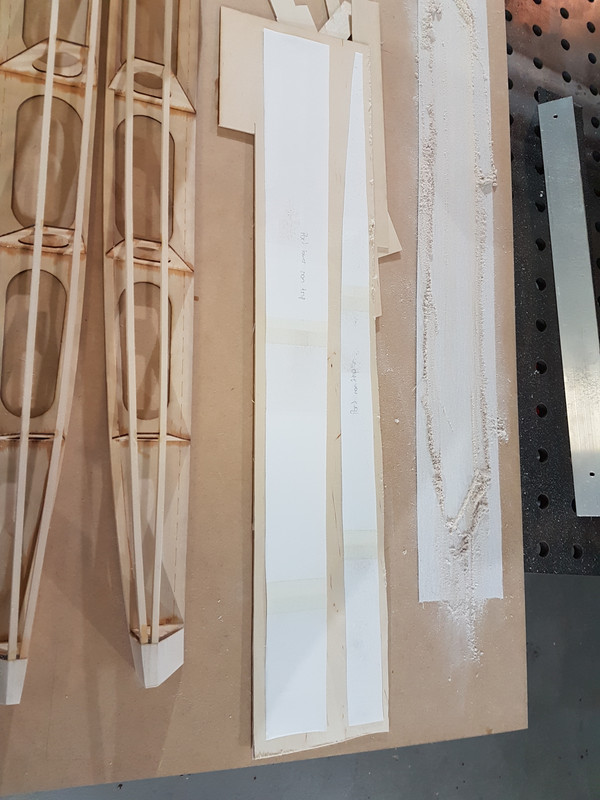
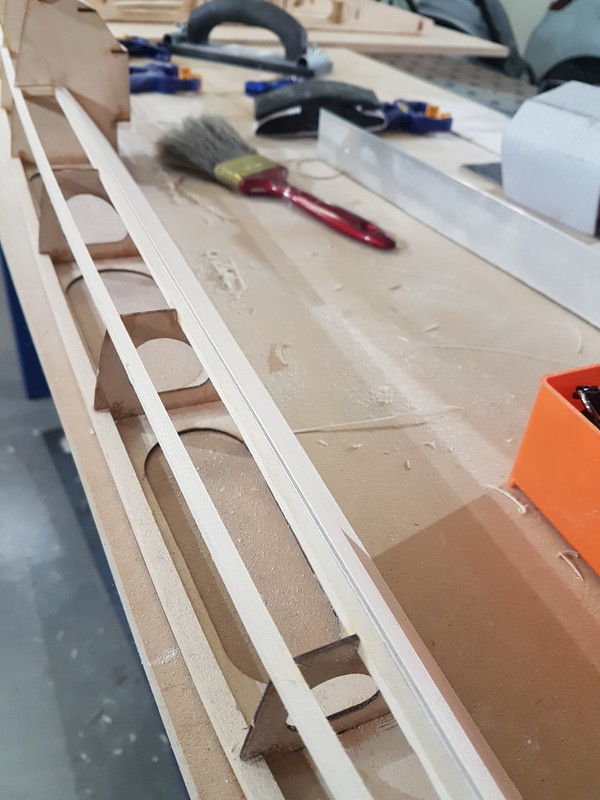
Here are the templates glued to some ply. Notice the sandpaper strip glued to the MDF board - really helps in keeping everything nice and straight.
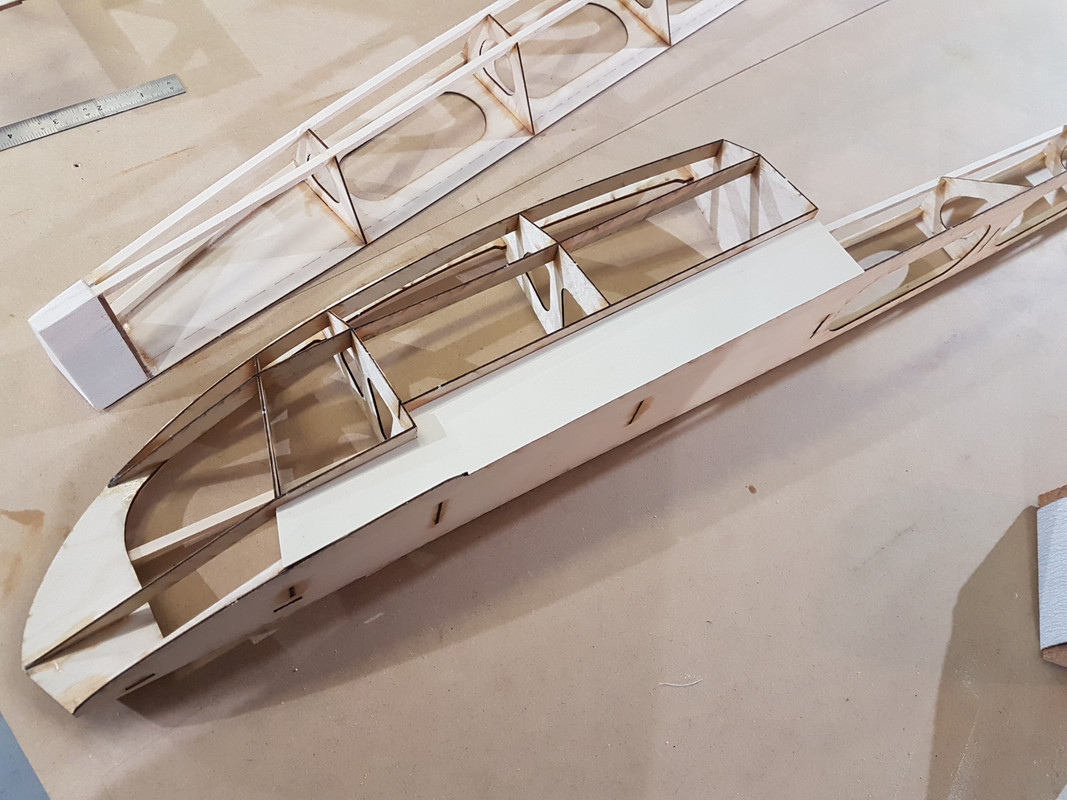
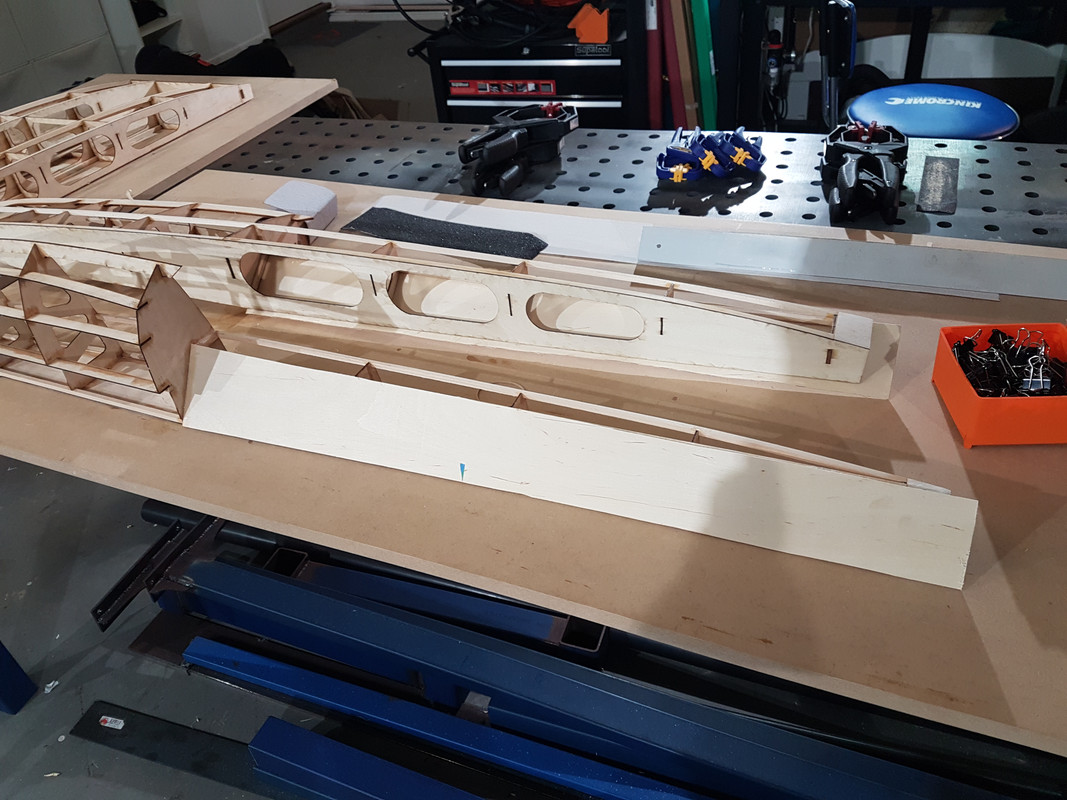
And here is the first piece clamped in place as i trimmed it down. I fitted it oversized and then sanded it down insitu.

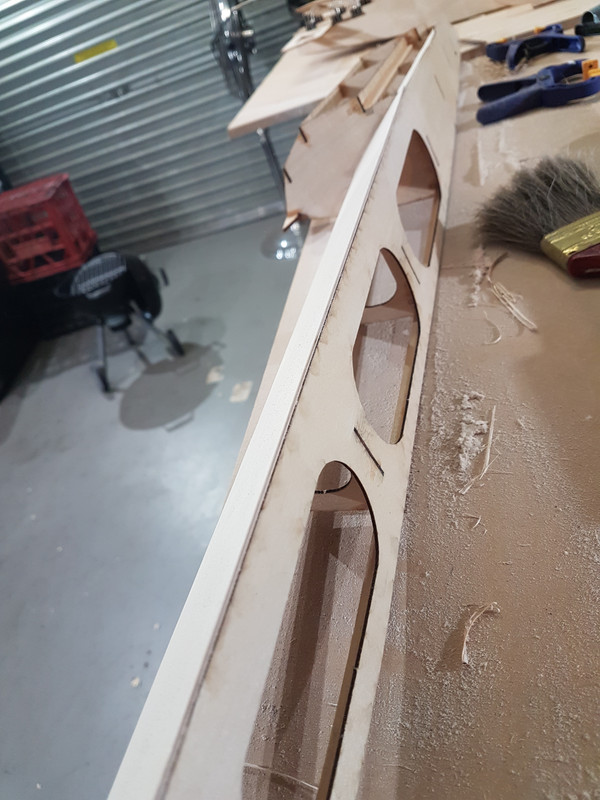
To give some extra support to the sheet, I decided to glue down some balsa strips to the bottom of the sponson. This gives some more surface area for the sheet to adhere to. Here is the gluing process:
Final product with balsa strips in place:
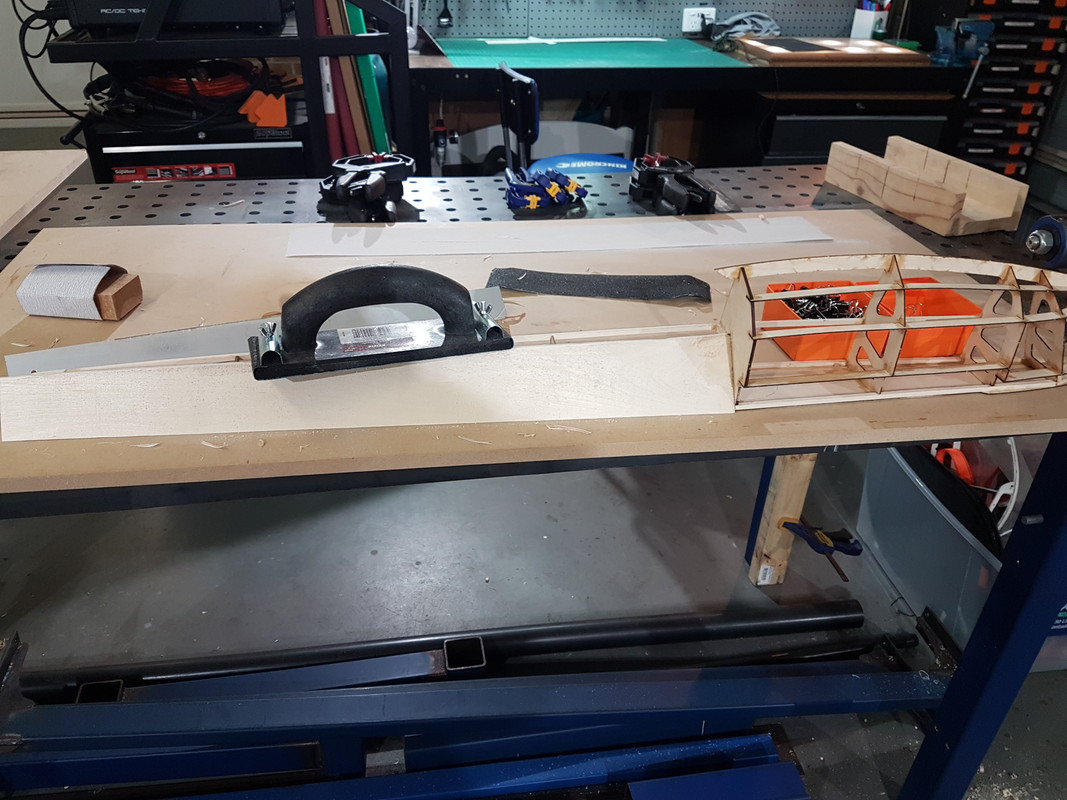
I then trimmed these down with some sandpaper to get them nice and flush with the sponson. Creates a nice surface and quite a lightweight solution:
Comment
-
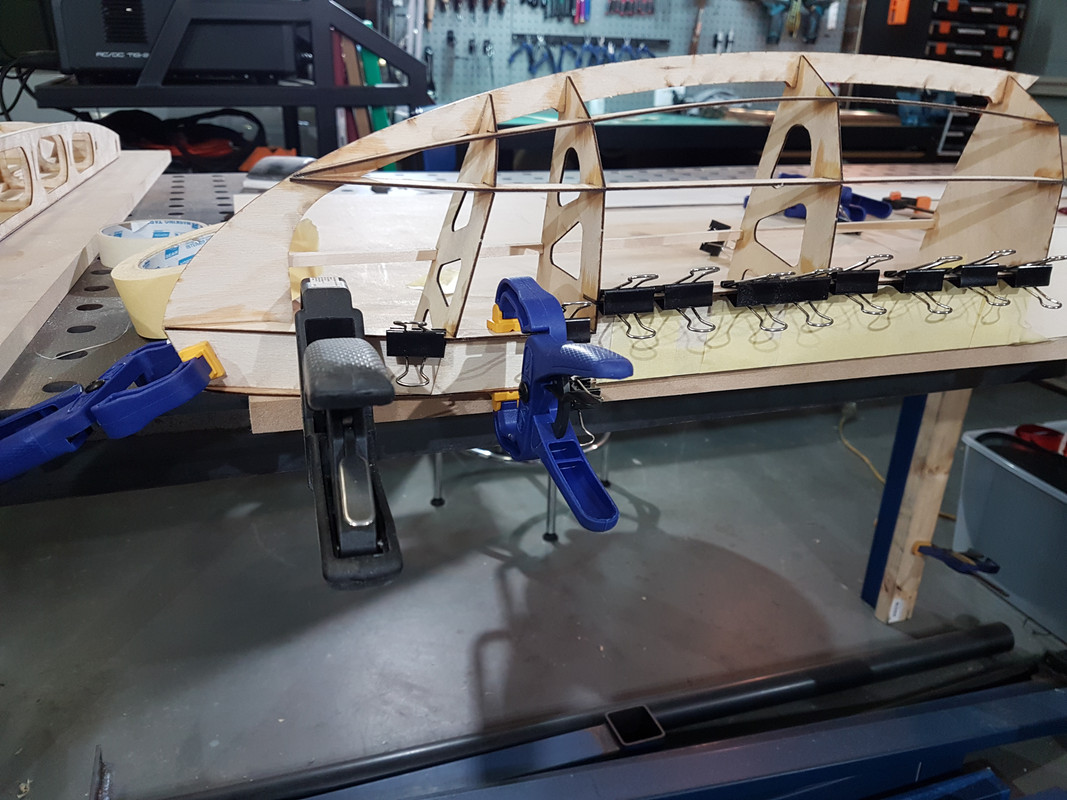
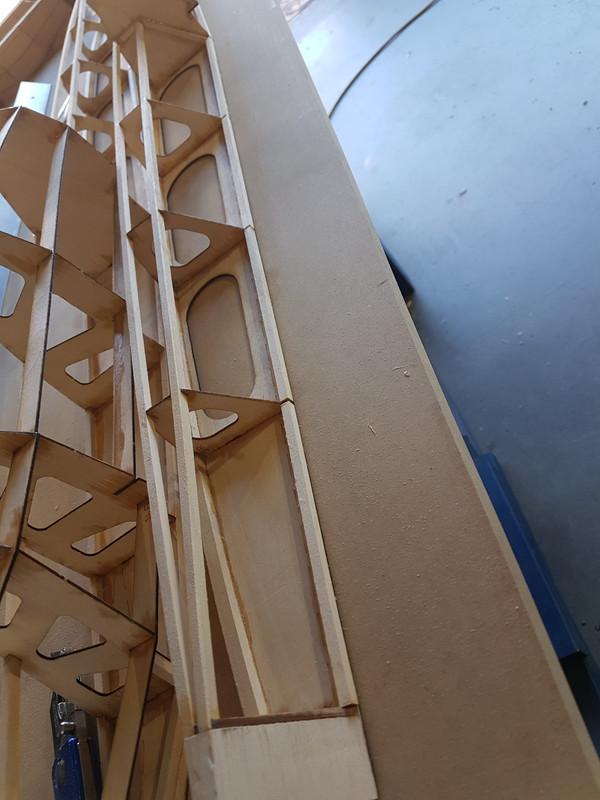
Gluing in the skin. I really paid attention to getting a full contact glue joint. The bottom joint is quite good because of the balsa we laid down earlier, however the top of the skin (in the below photo) is only laying against the edge of the stringer. To beef up the joint, I back it up with some thickened epoxy later on to create more surface area.
Lots of clamps and tape to try and get it as flat as possible:
Once the tape is off before trimming:
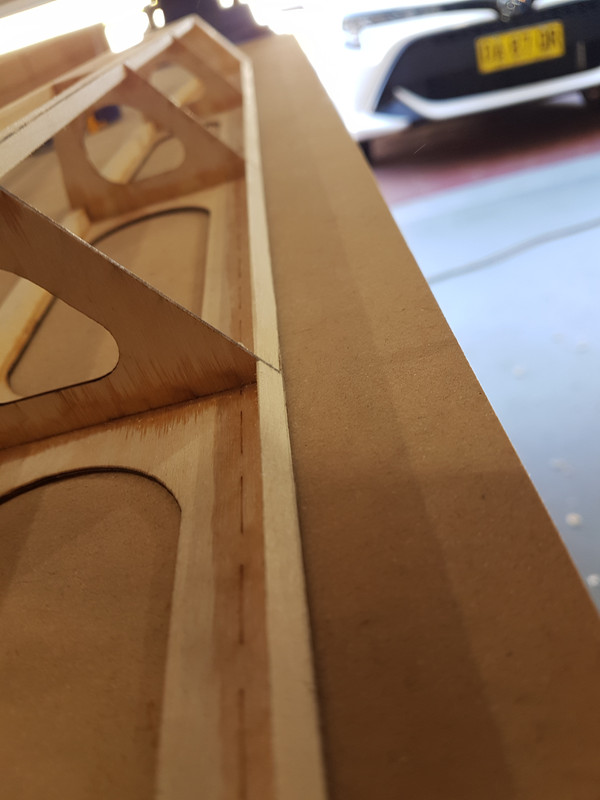
Here is that joint from the inside - nice clean fit

And here is the other joint I was talking about that I will fill with thickened epoxy

Starting to smooth down the excess plywood - all sanding was down with a sanding block to stop me from digging in anywhere. I later graduated to a small block plane which is much faster for the initial smoothing down.
Comment
-
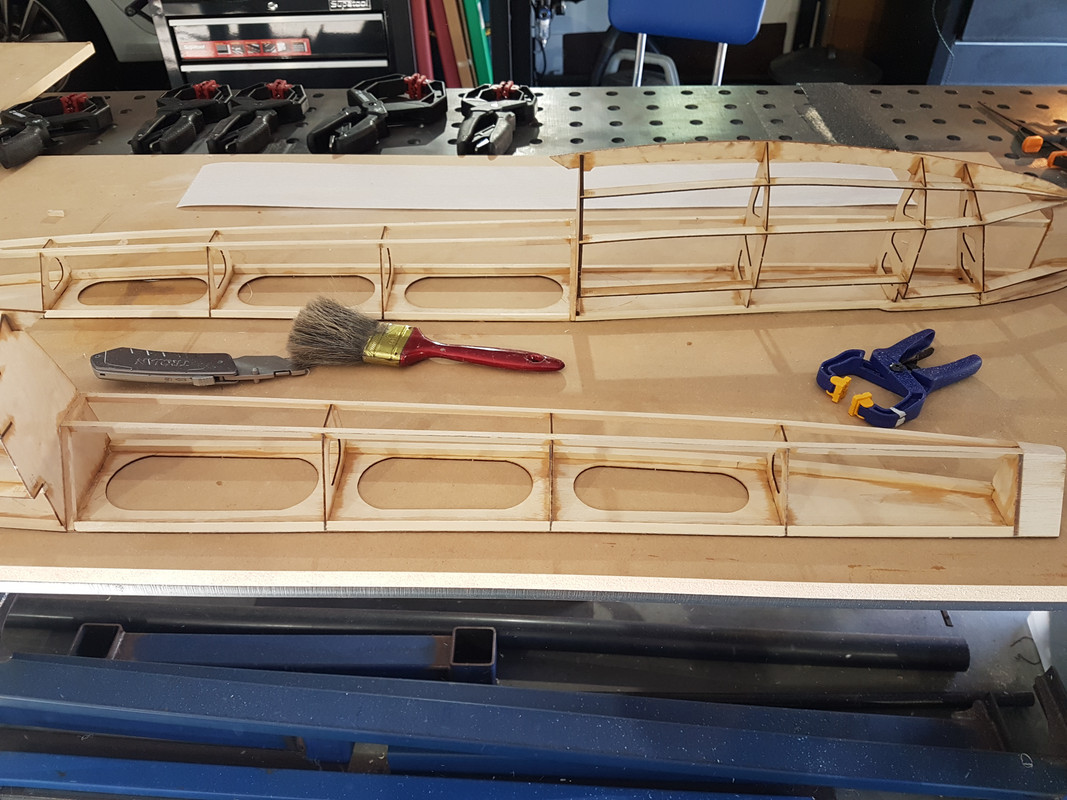
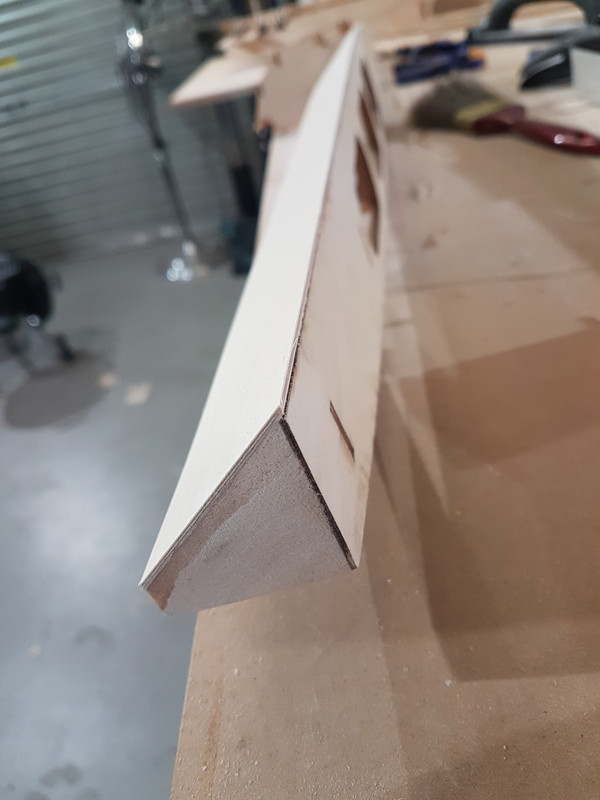
Final product sanded flush. The next sheet will be glued directly on here and then sanded flush in the same way
Comment
-
Great build log! Enjoyable to follow[emoji106]
Verstuurd vanaf mijn SM-G970F met TapatalkComment

Comment