 Tweet
Tweet
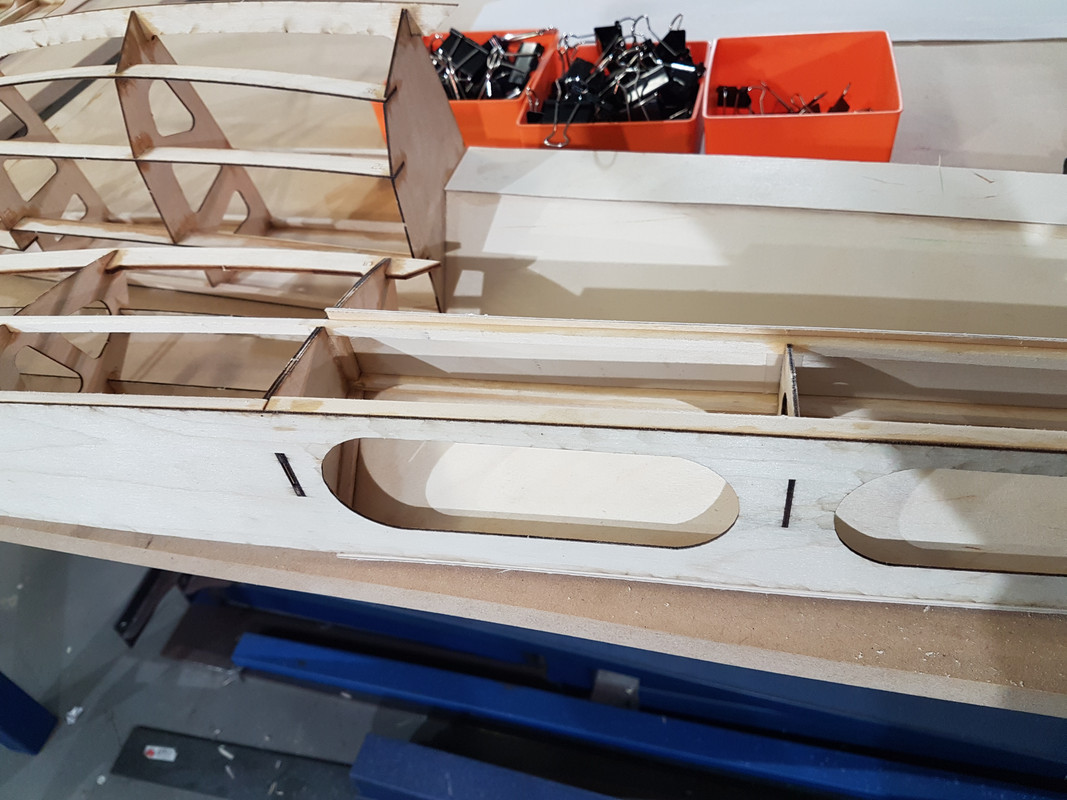
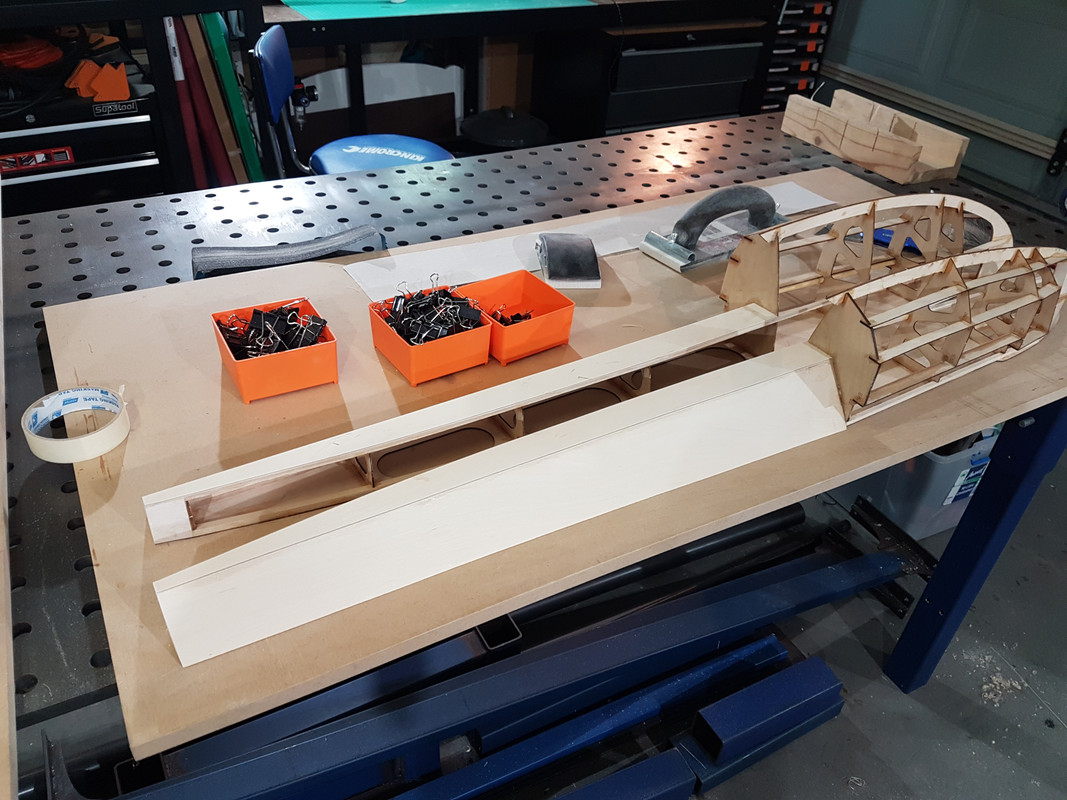
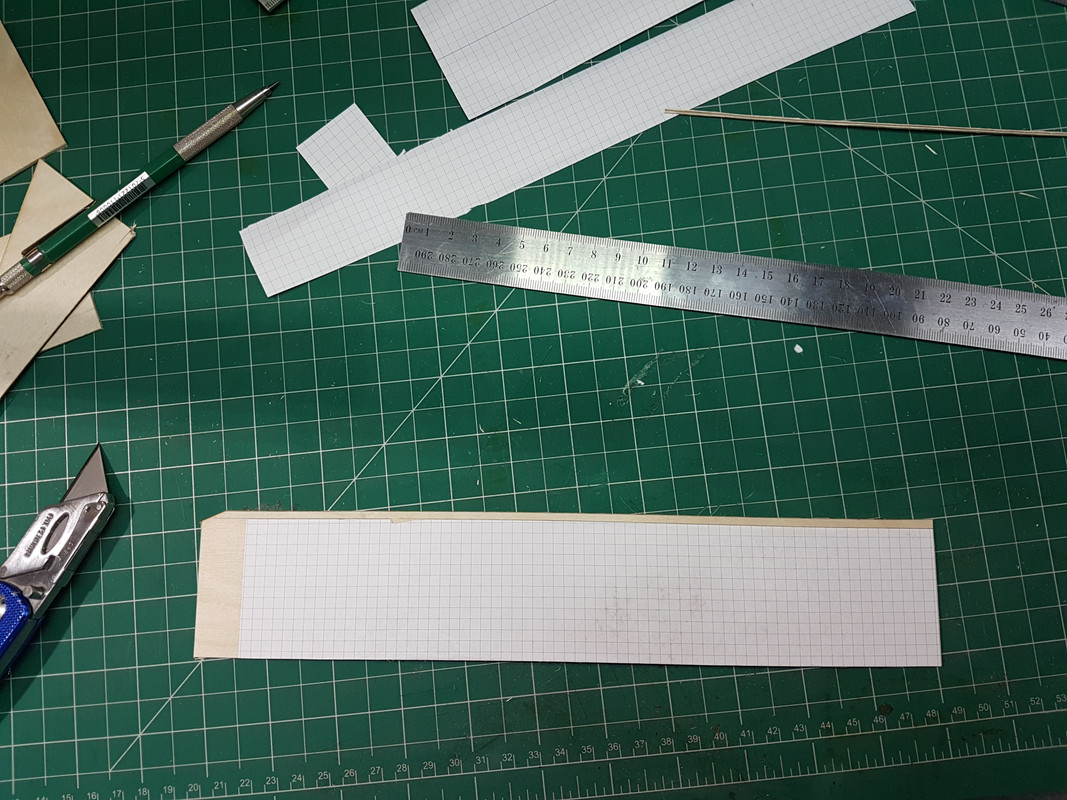
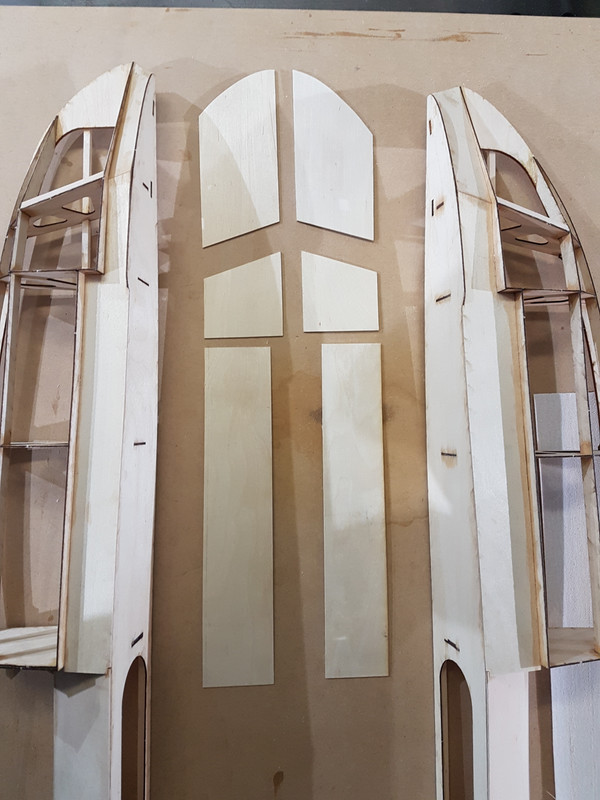
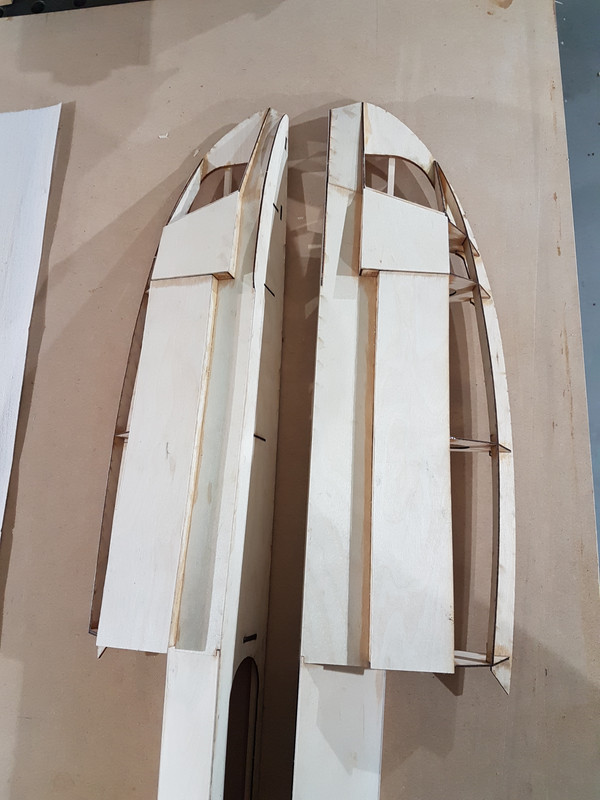
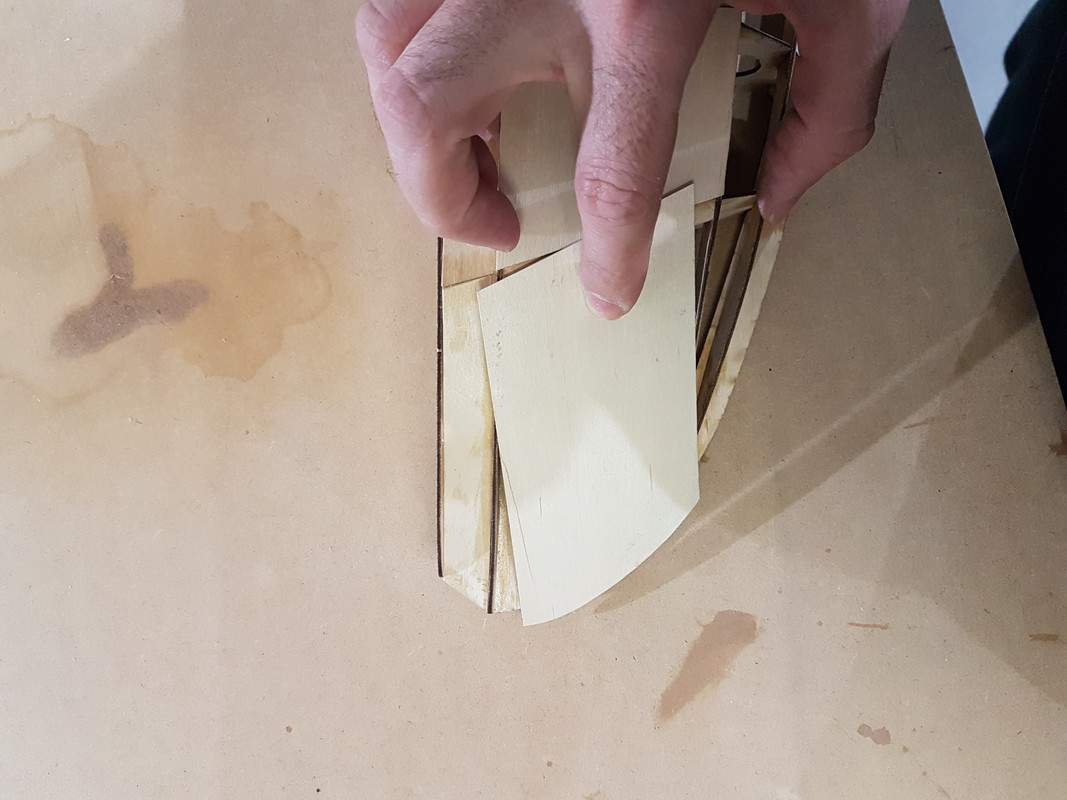
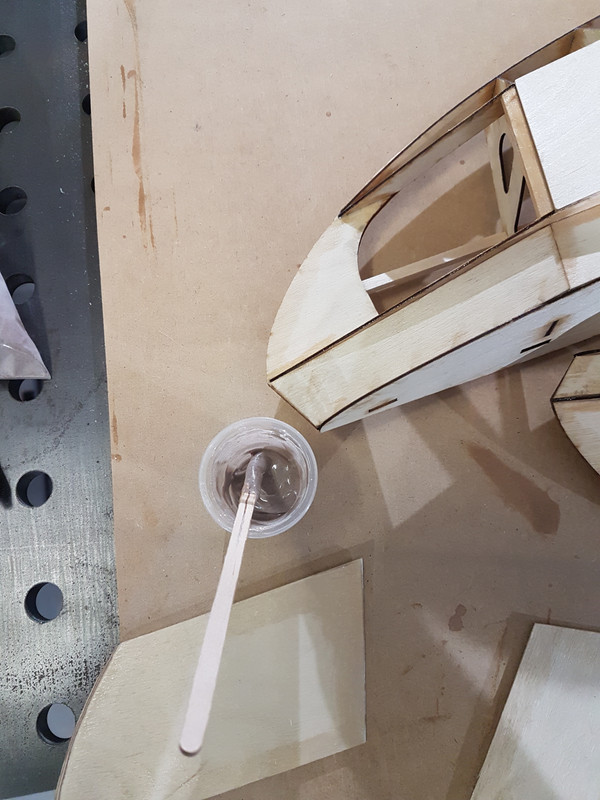
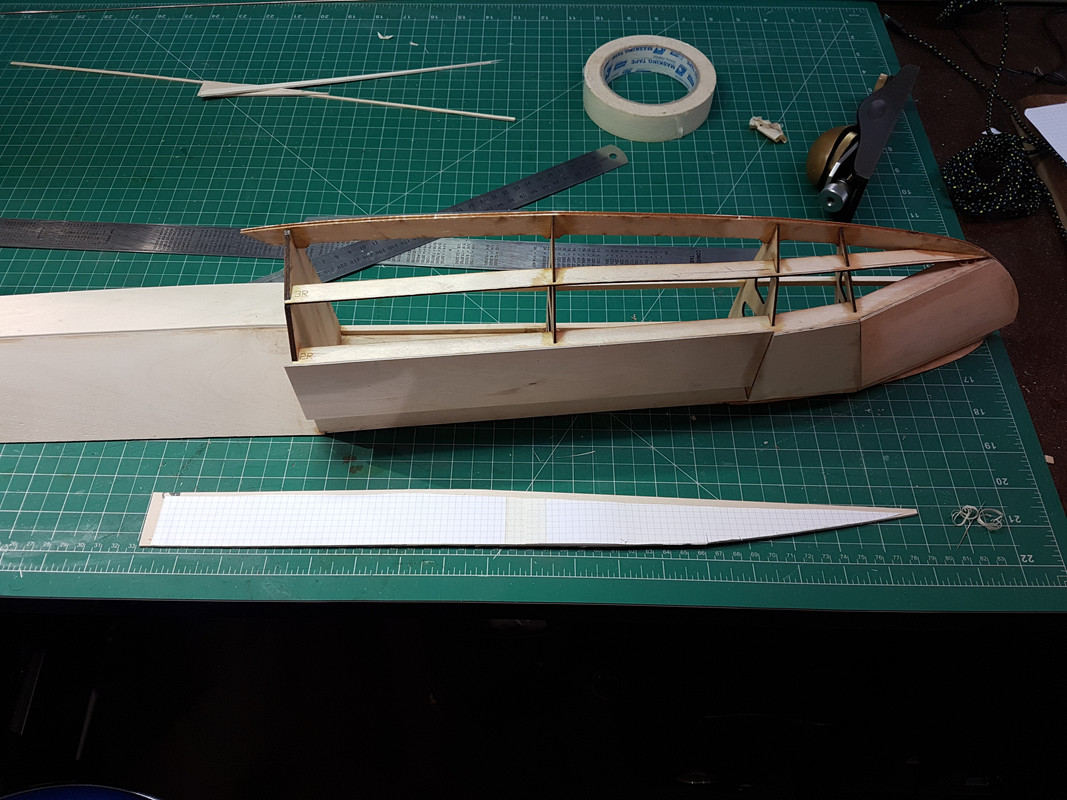
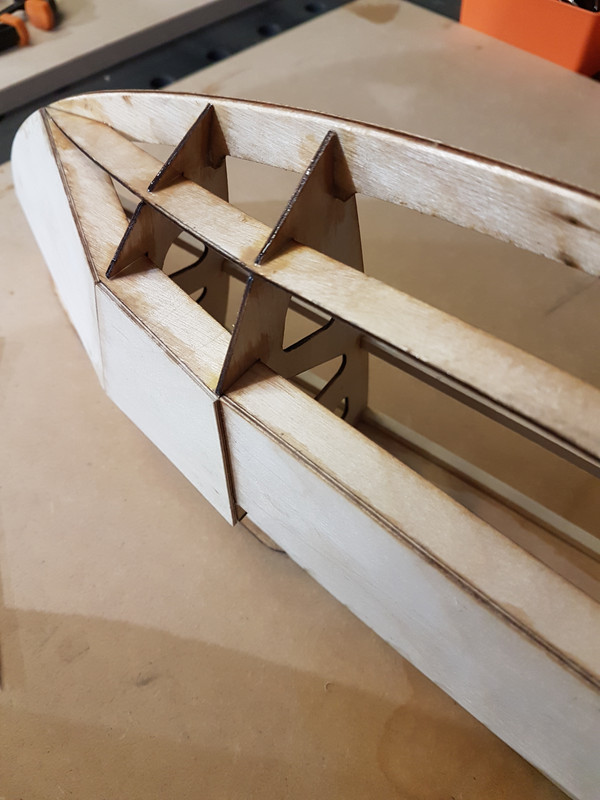
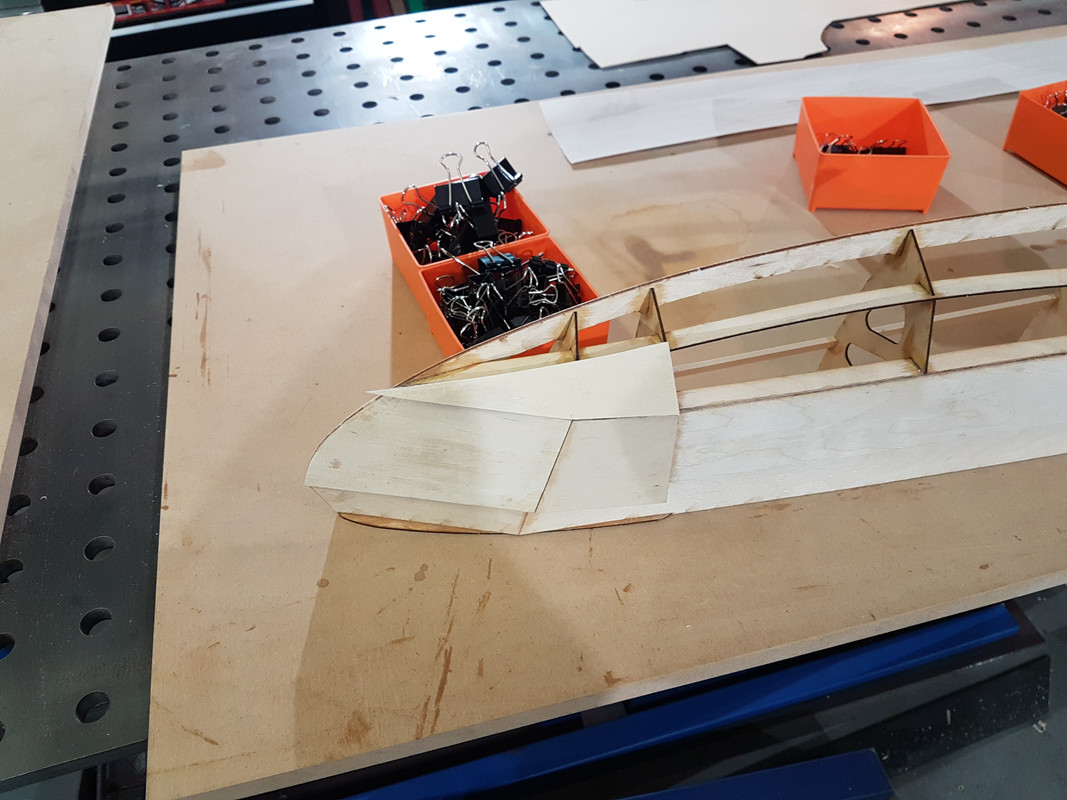
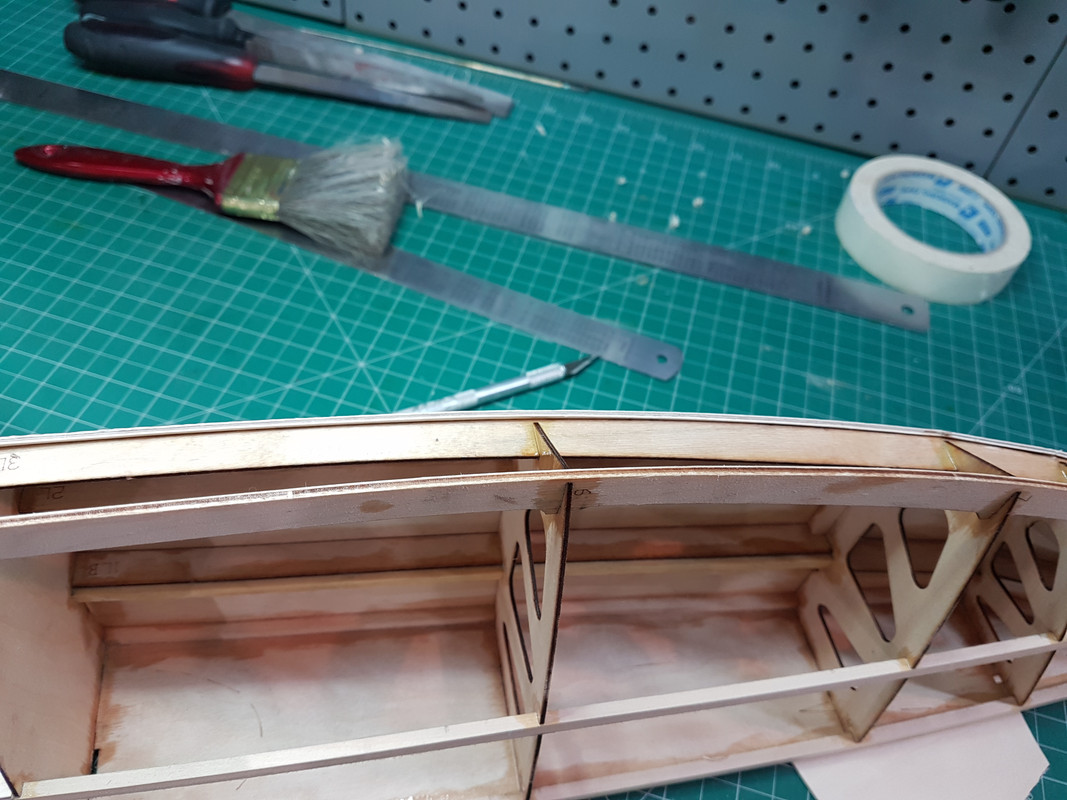
The next sheet is relatively easy to place as its a nice flat surface to glue to. Usual process, press paper over the part to create an outline, cut out paper and glue to plywood:

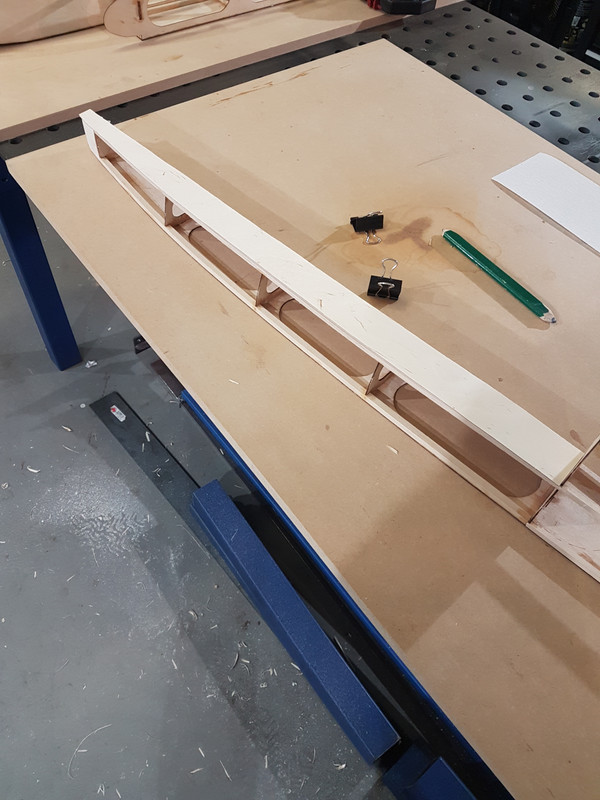
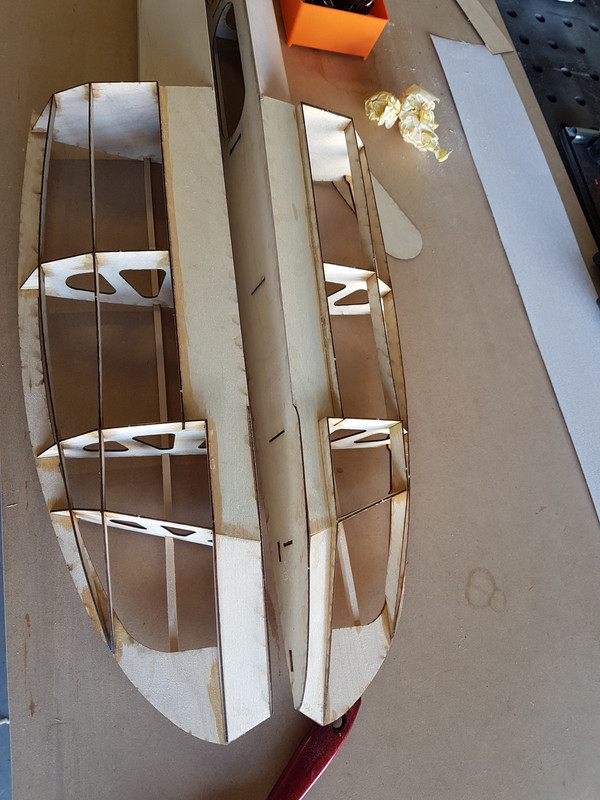
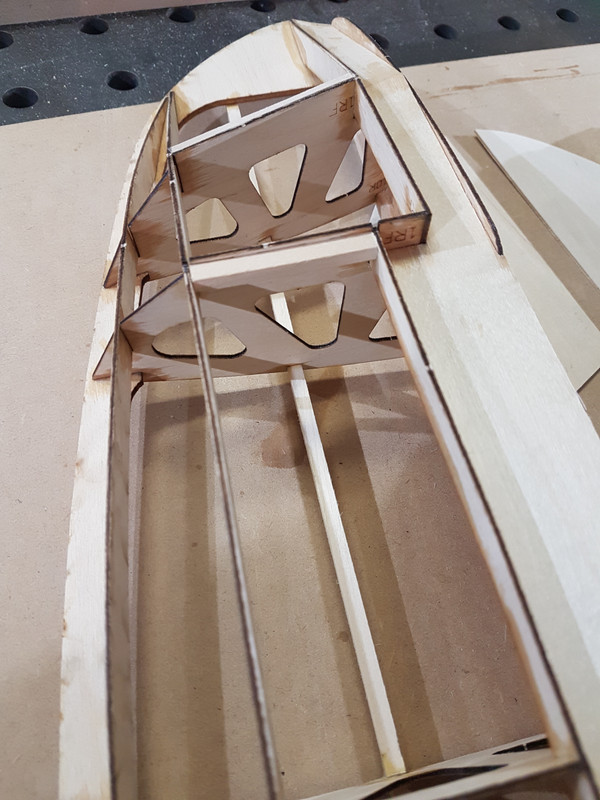
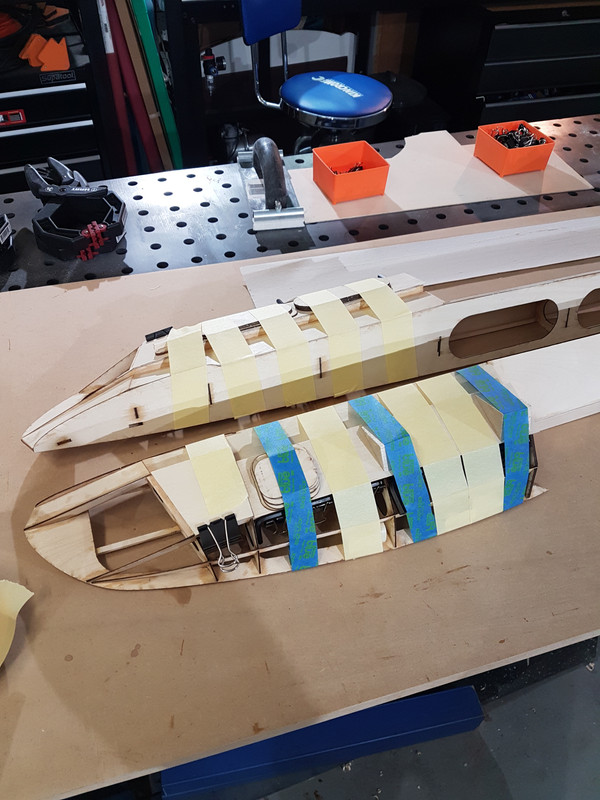
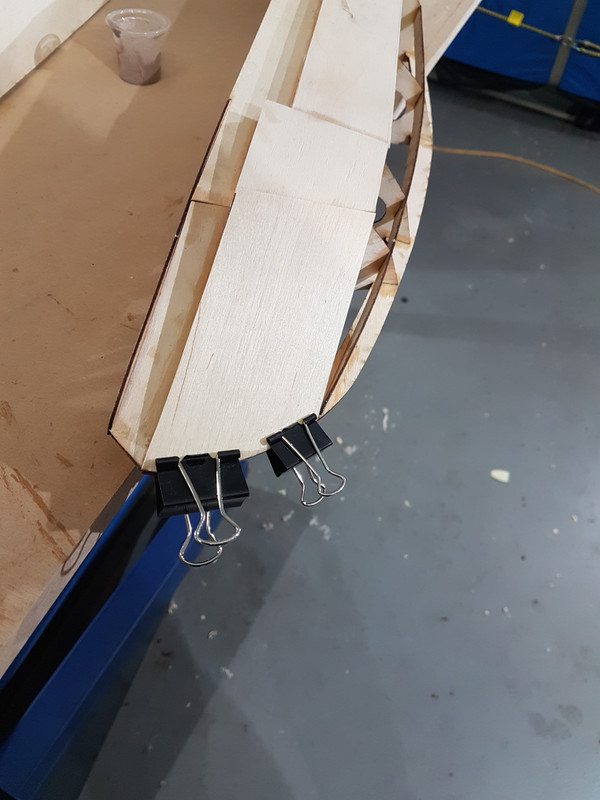
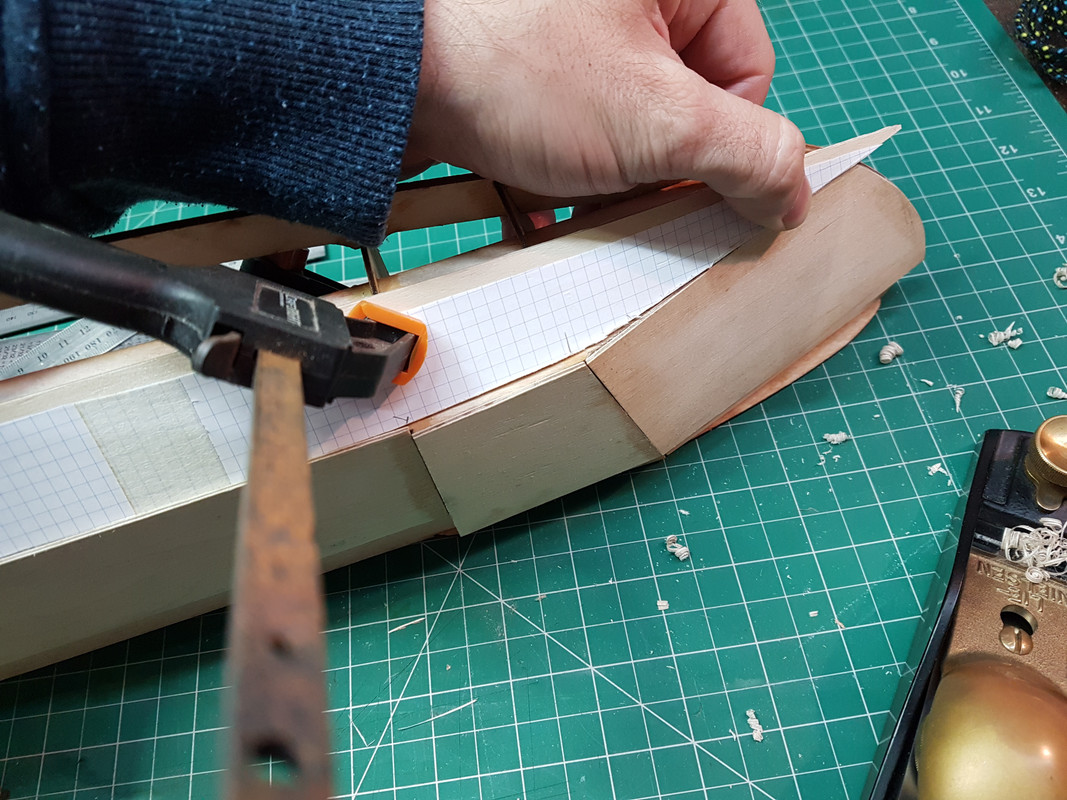
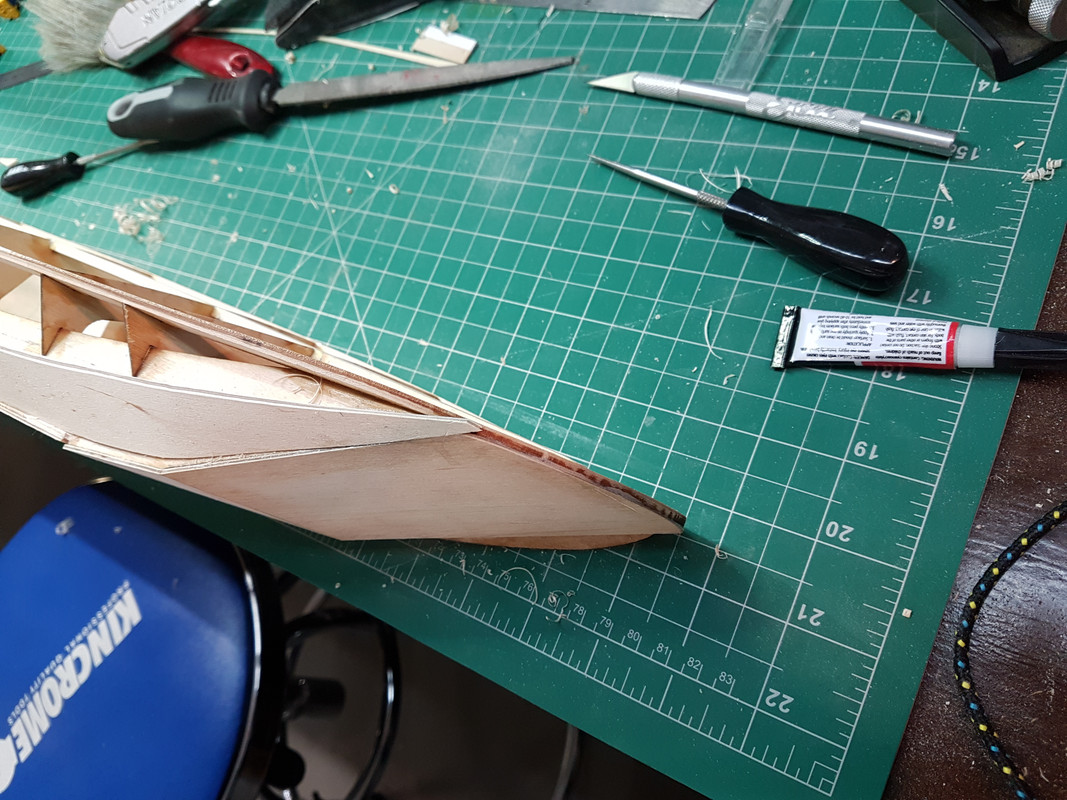
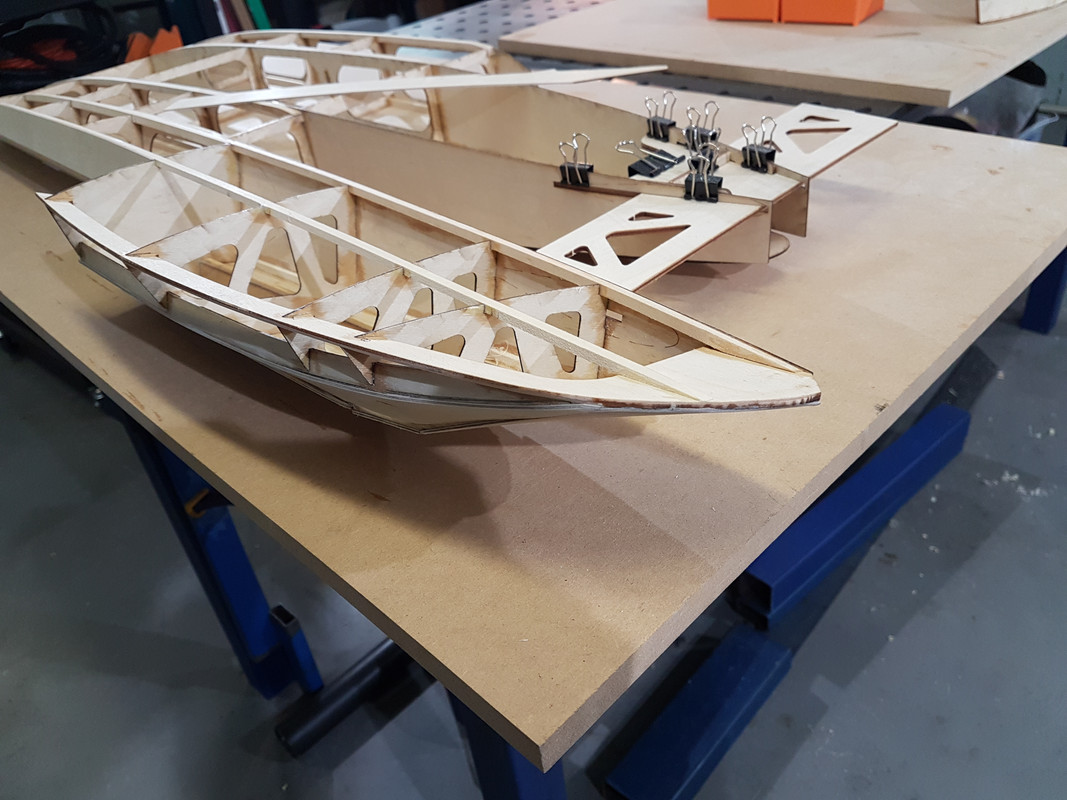
Laid down roughly in place - I leave about 5mm each side for later trimming:
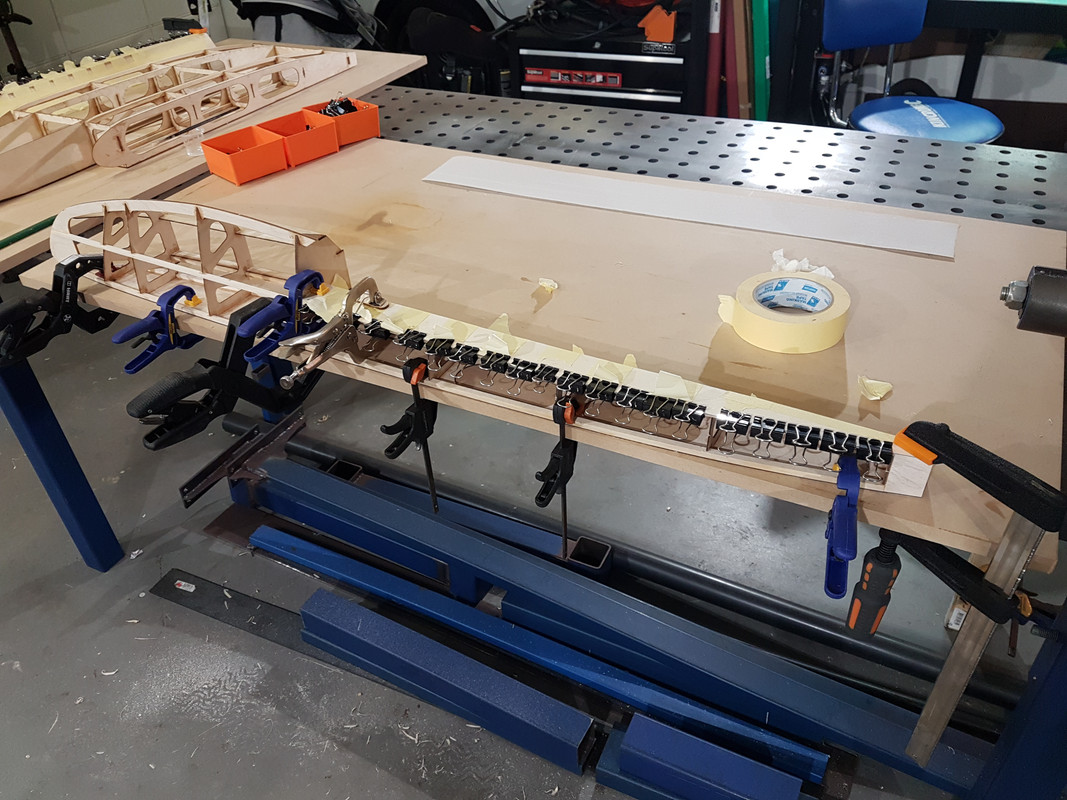
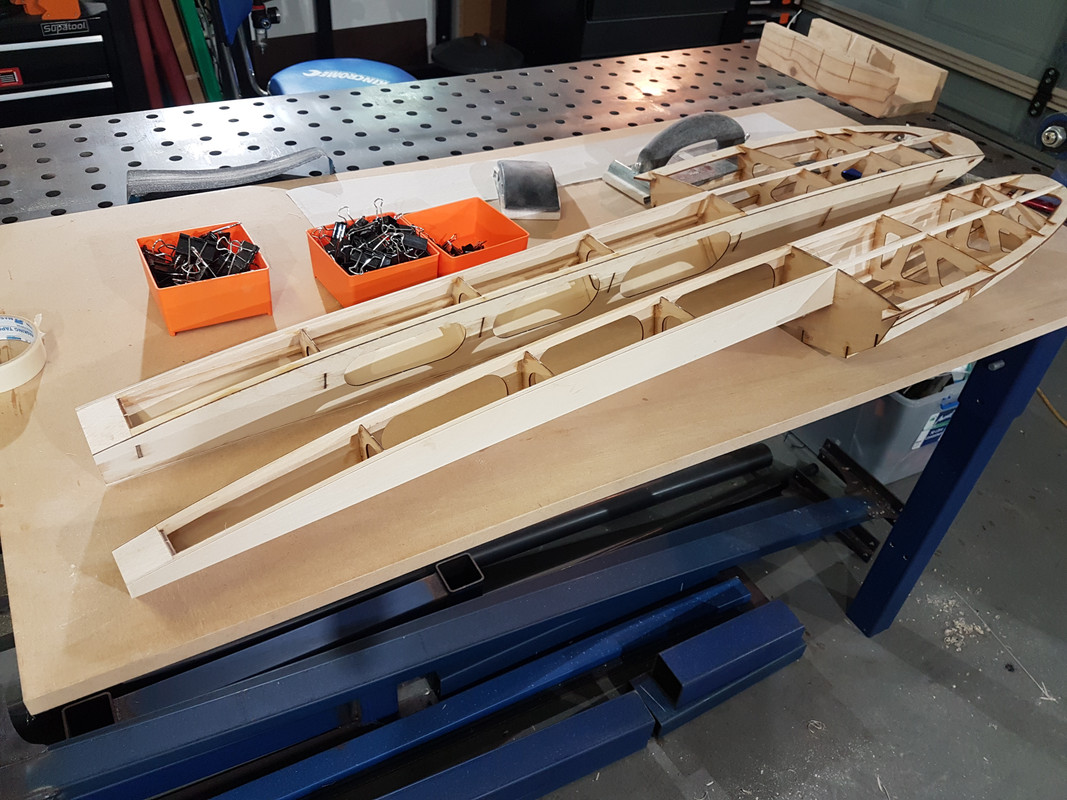
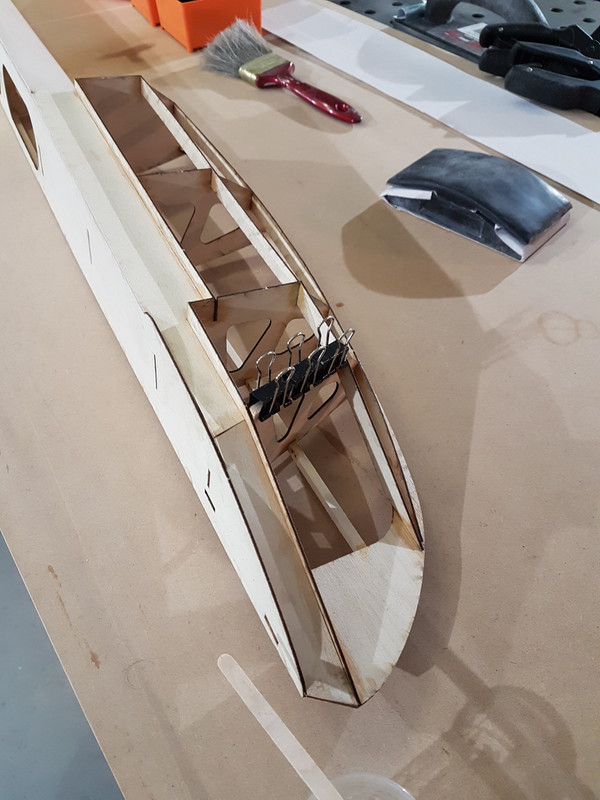
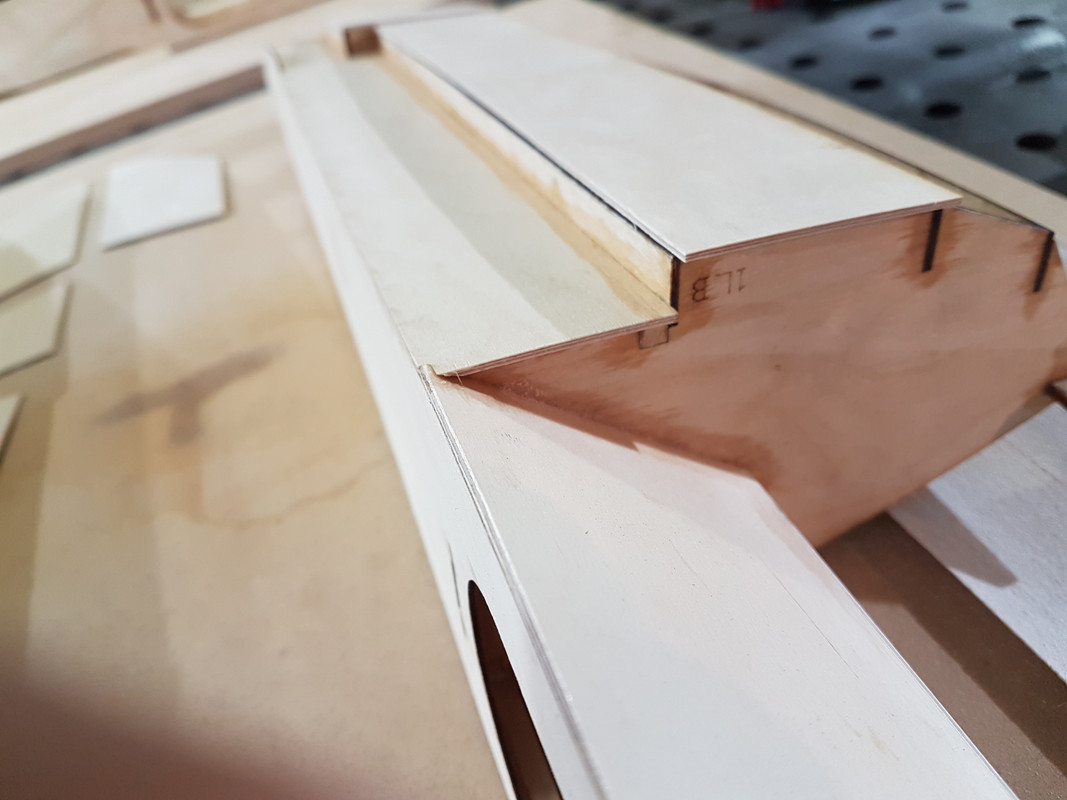
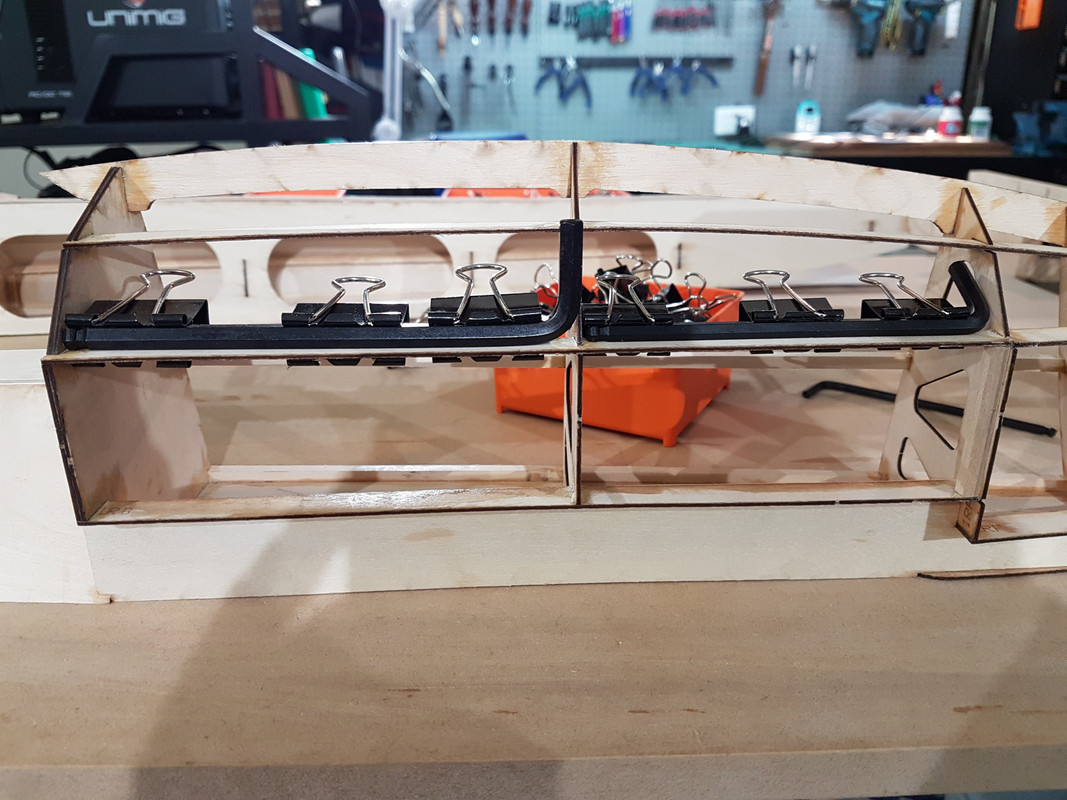
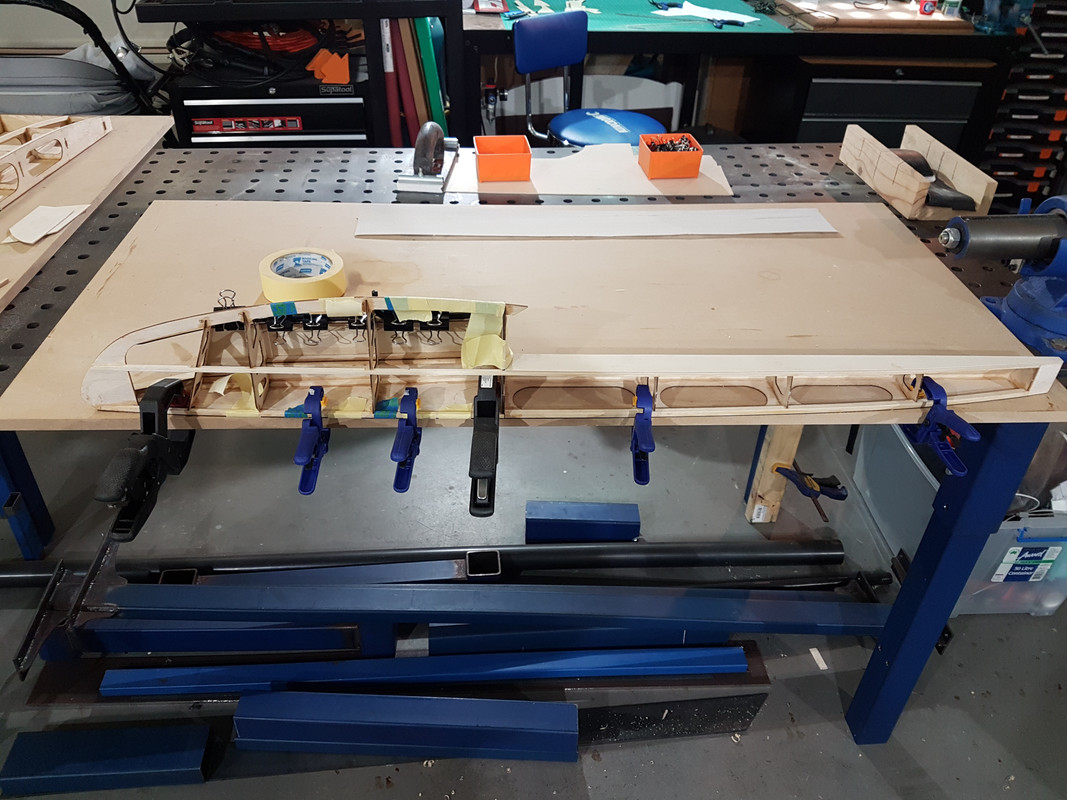
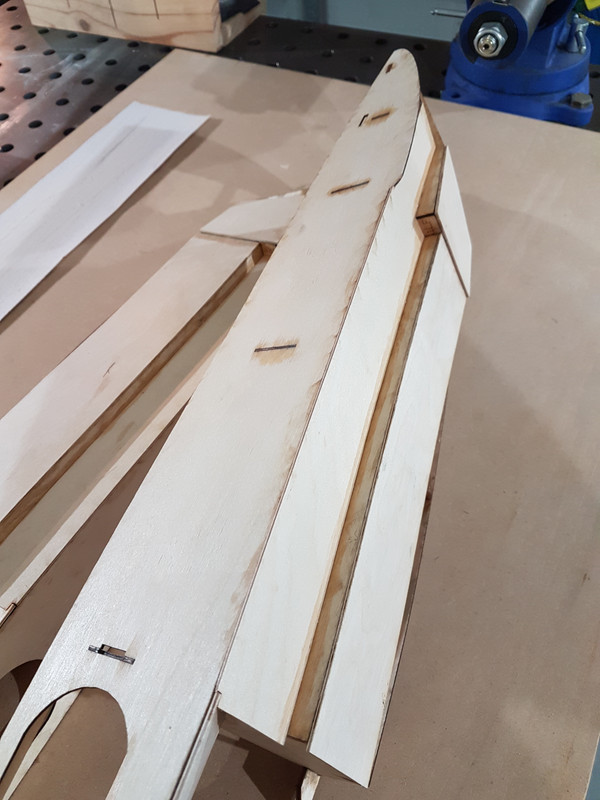
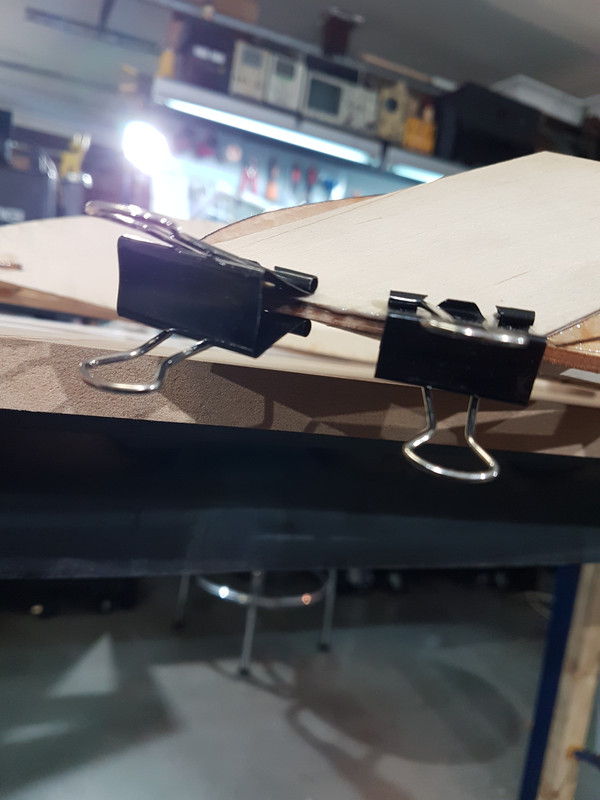
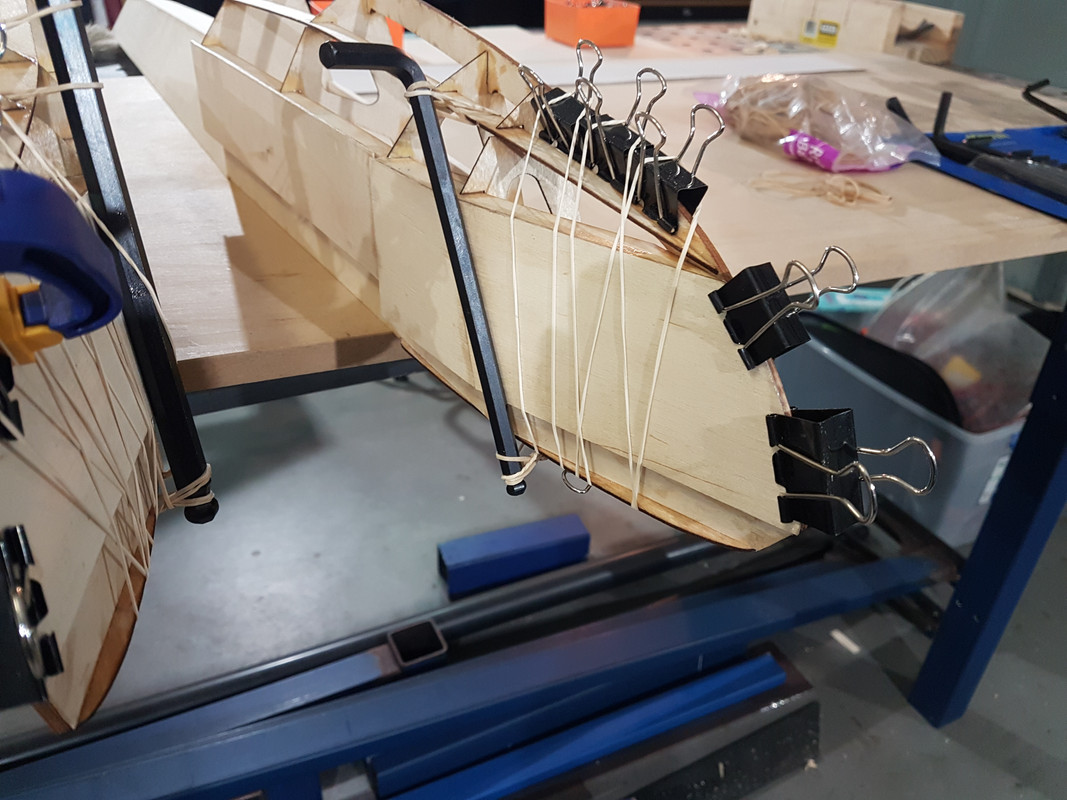
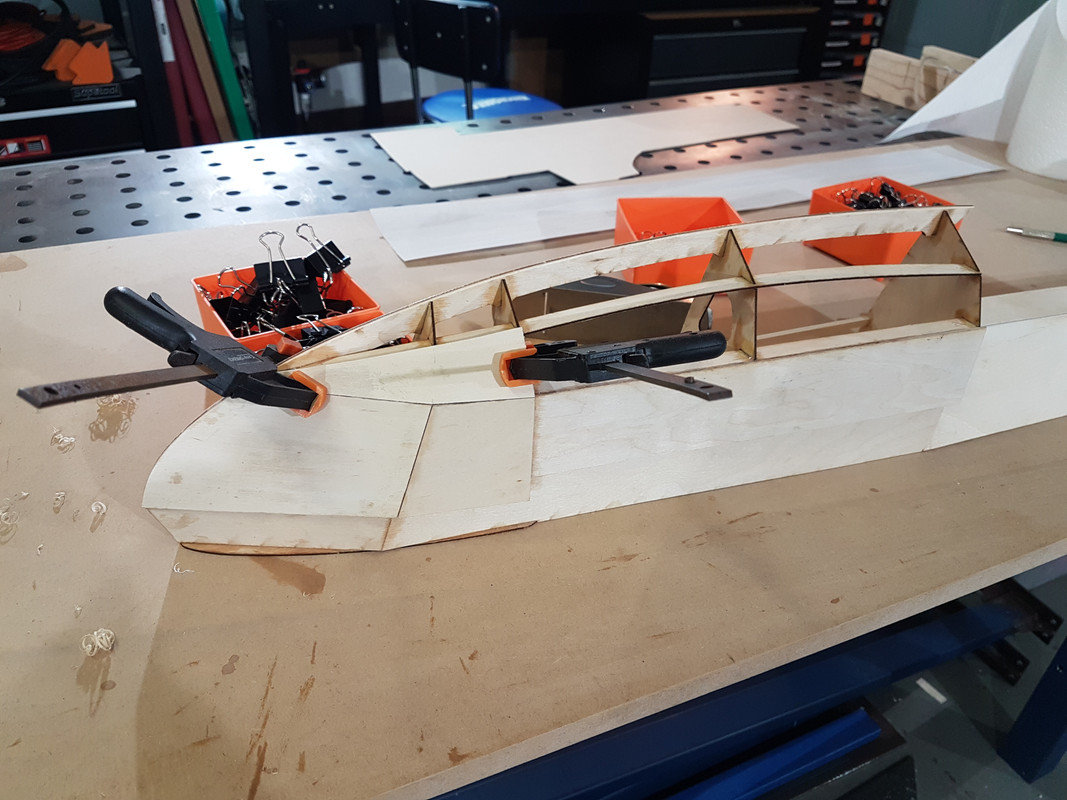
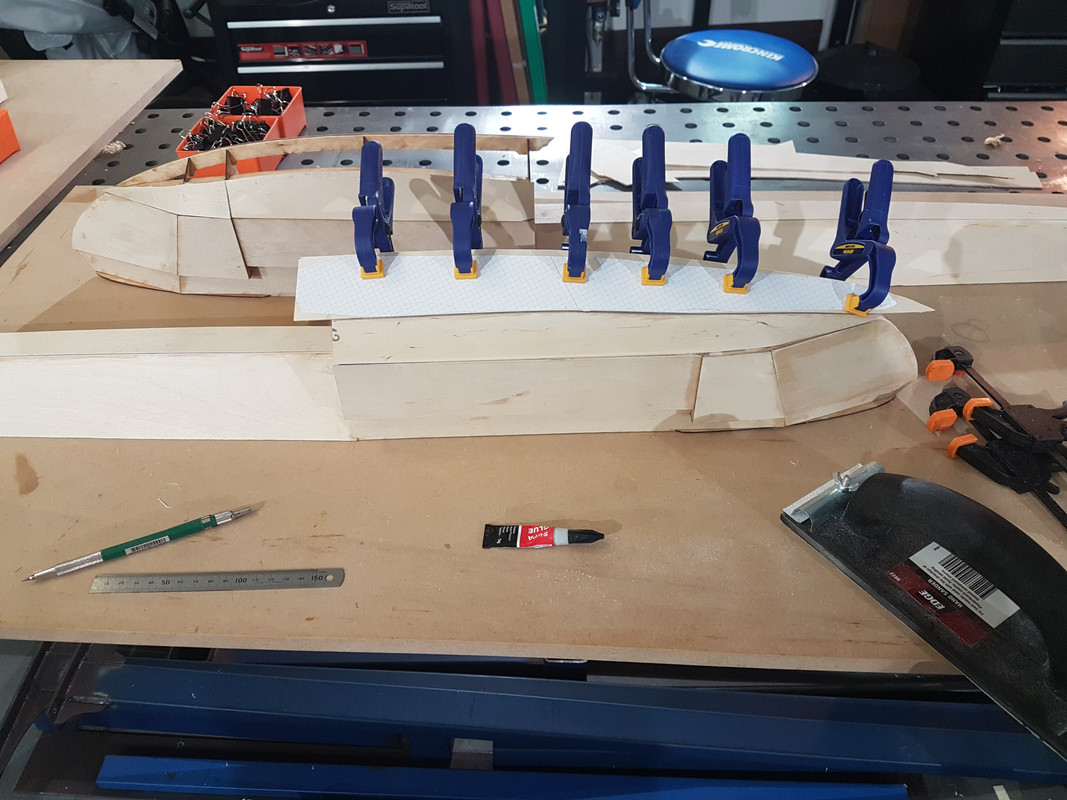
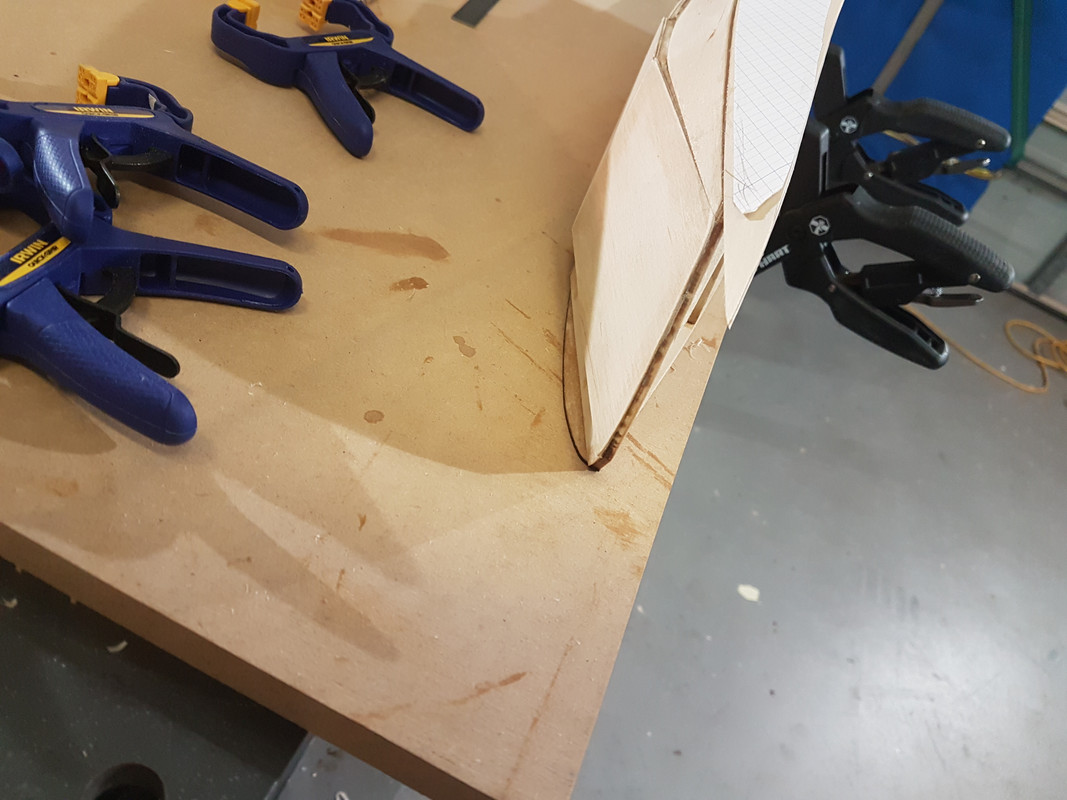
Lay down your epoxy and clamp the crap out of it. With these long pieces its really important to clamp the whole lot to the table so it dries straight:

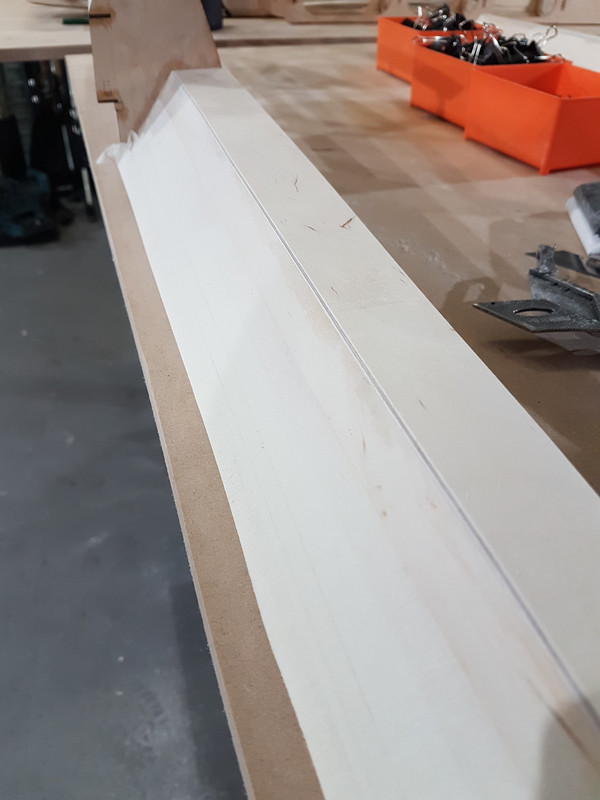
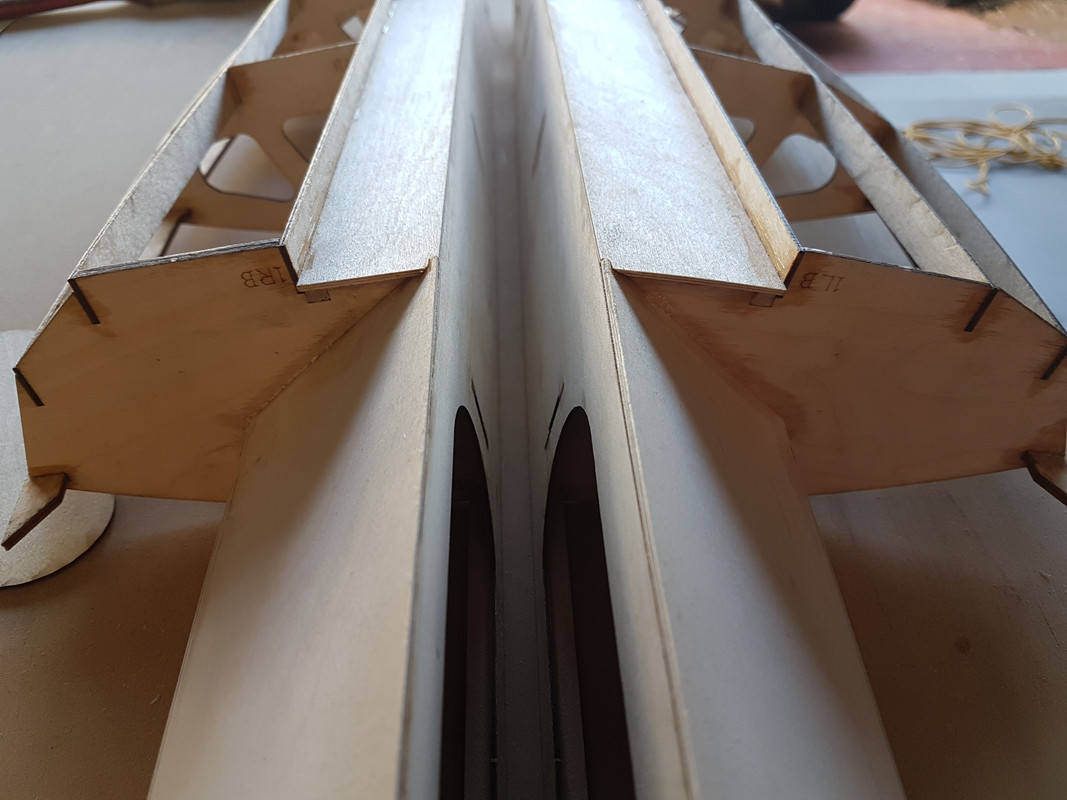
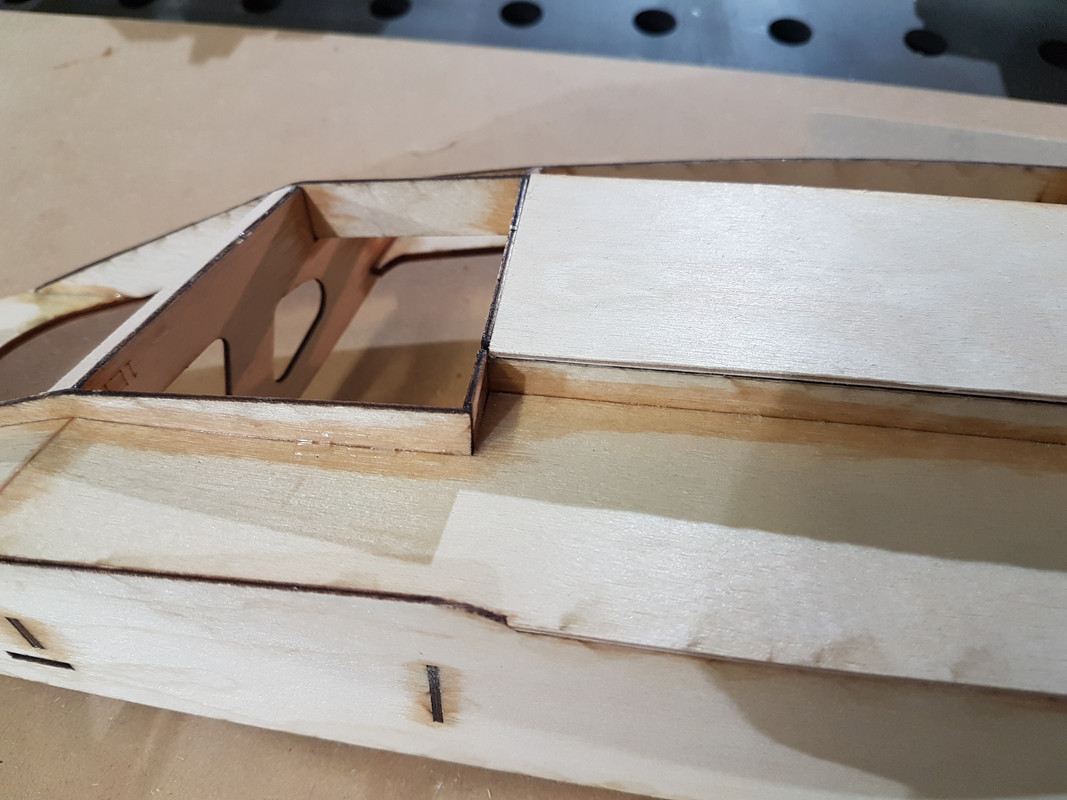
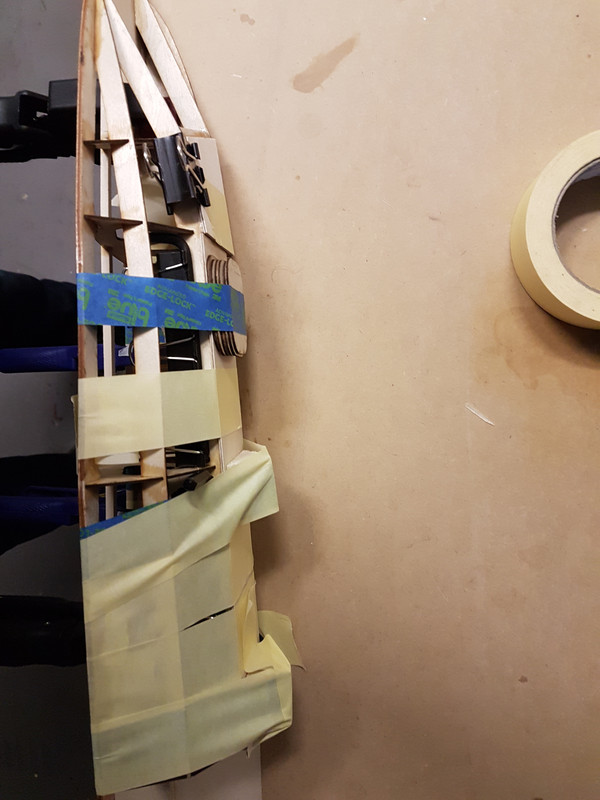
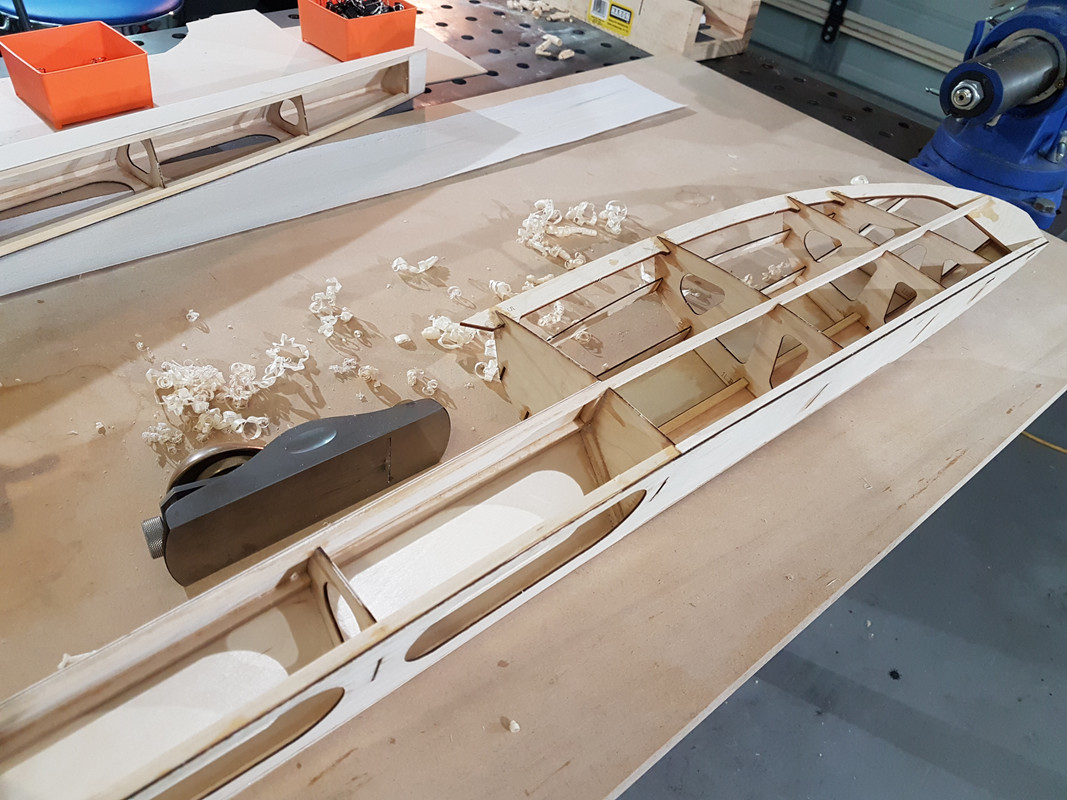
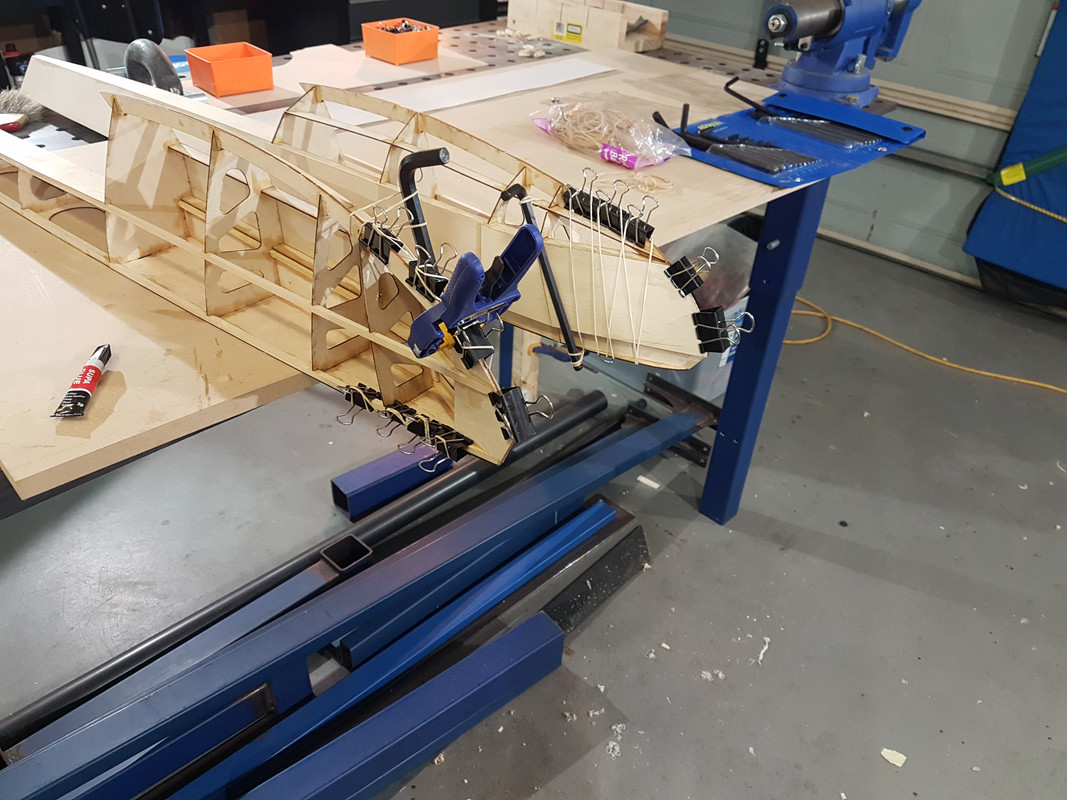
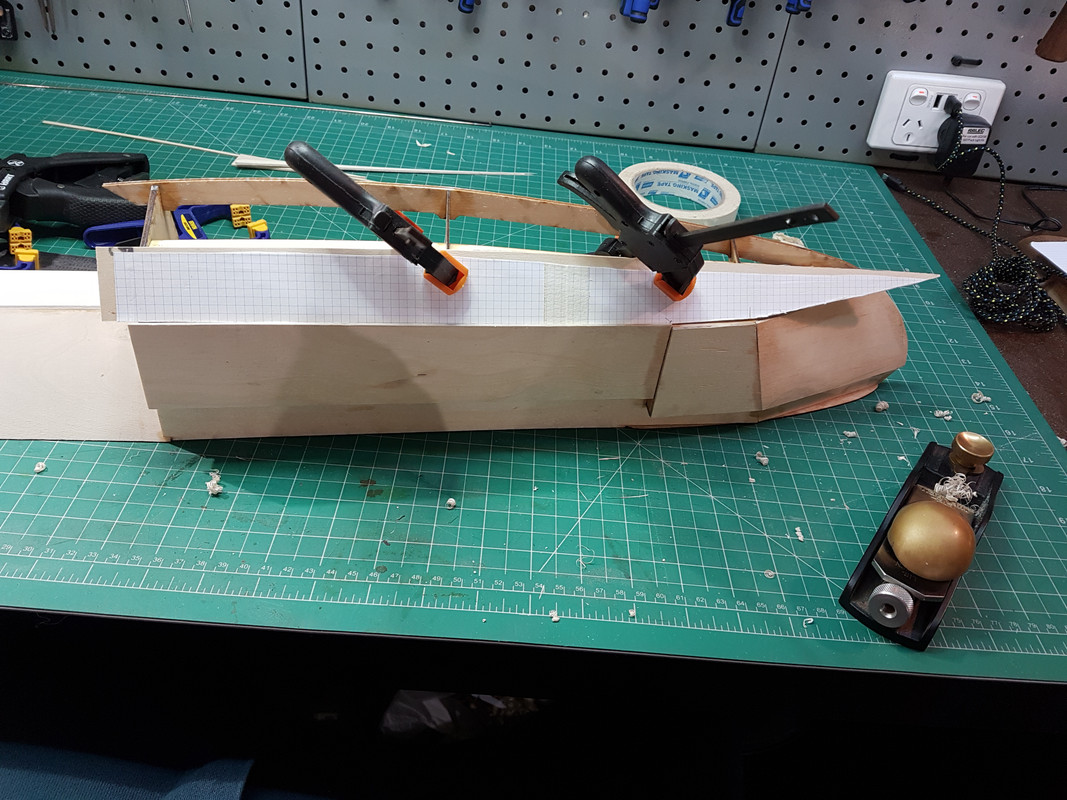
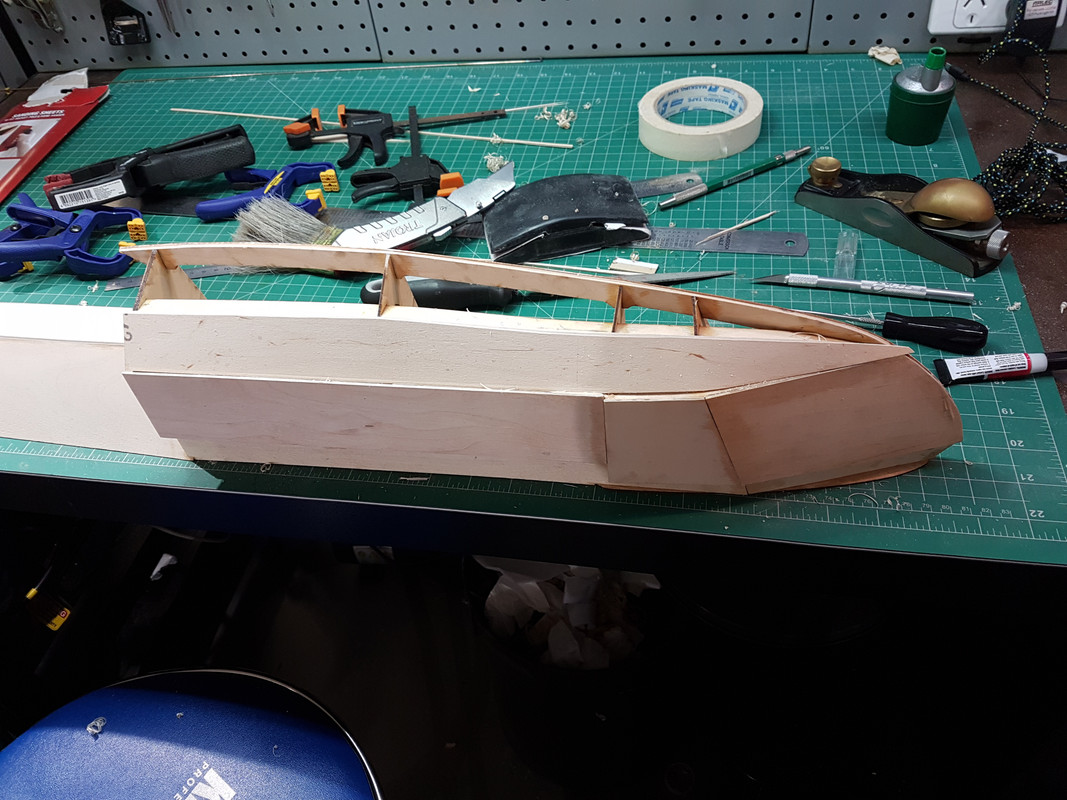
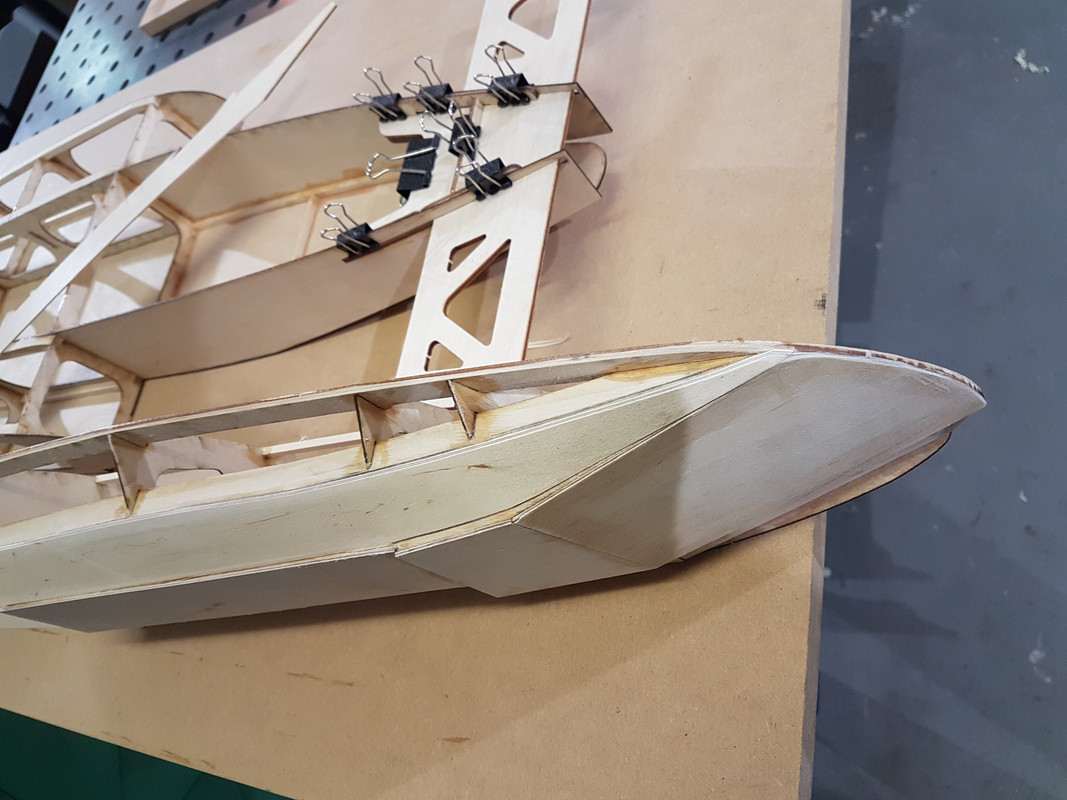
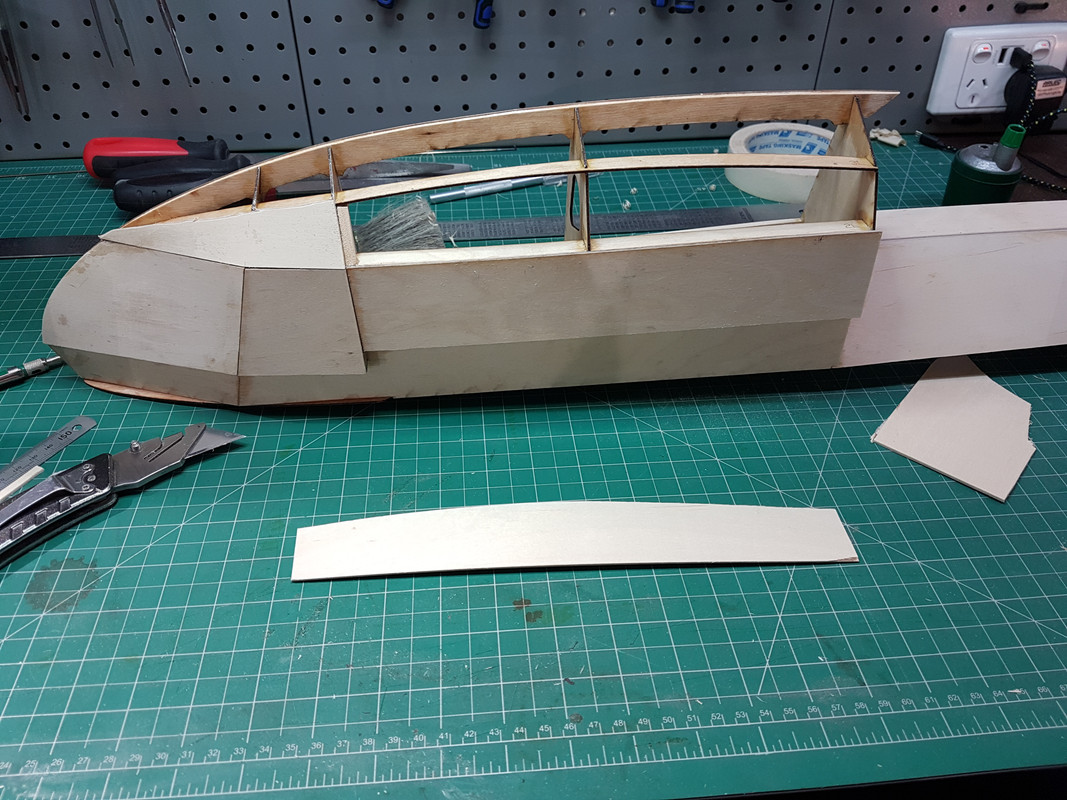
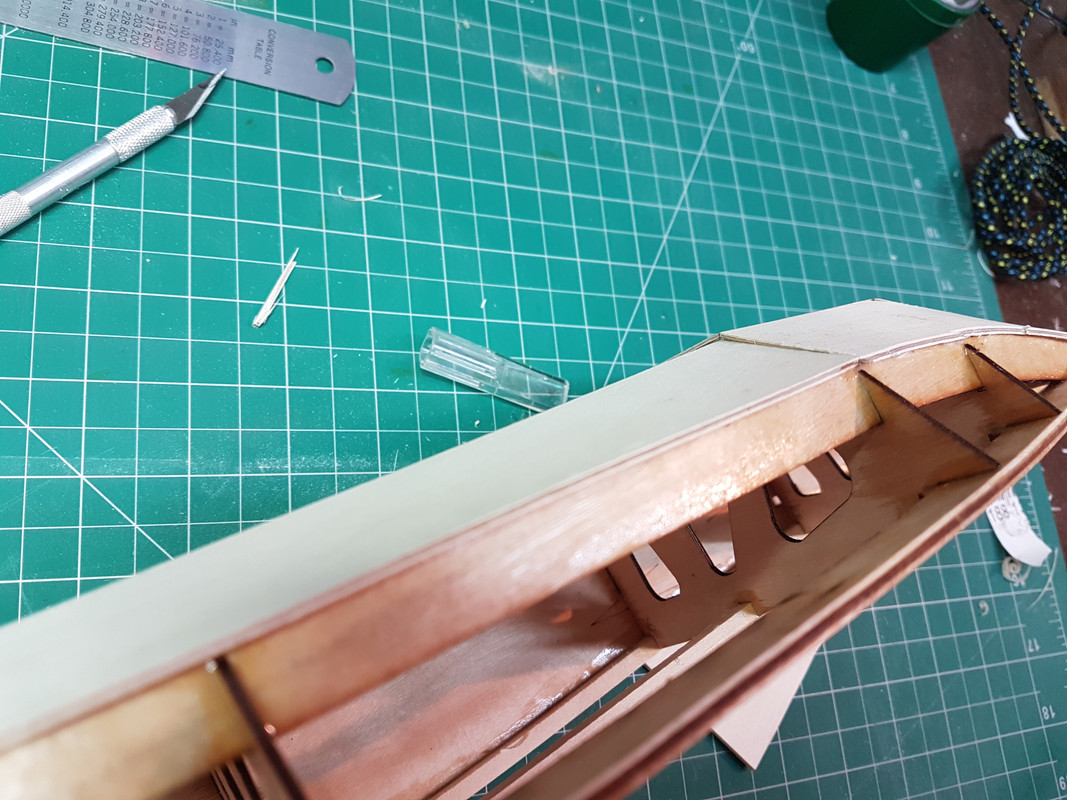
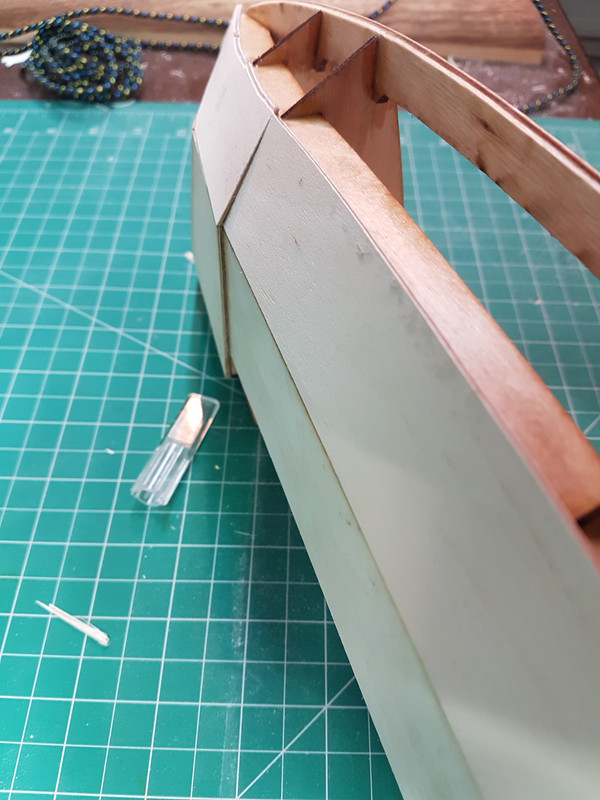
After drying this is the result:
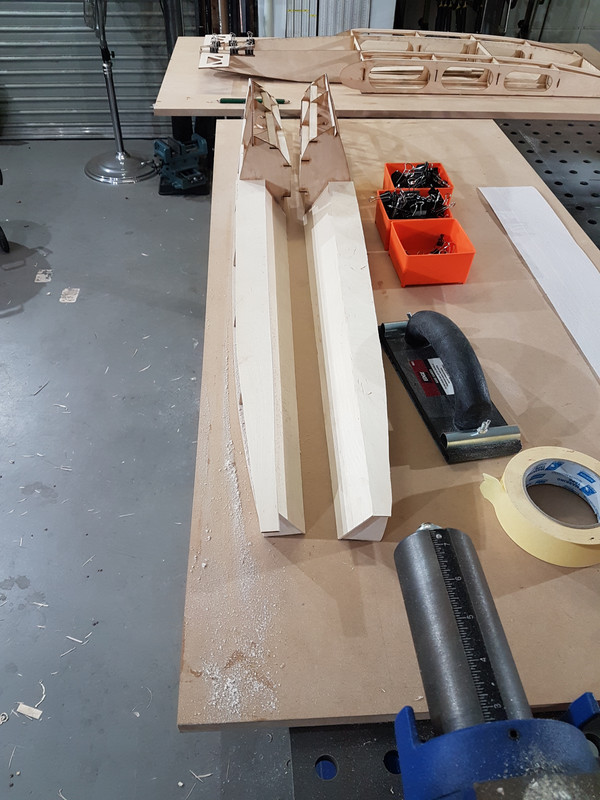
Its actually amazing how much stronger the whole thing becomes once the sheeting is in place. Really ties the whole lot together and prevents a lot of flex.
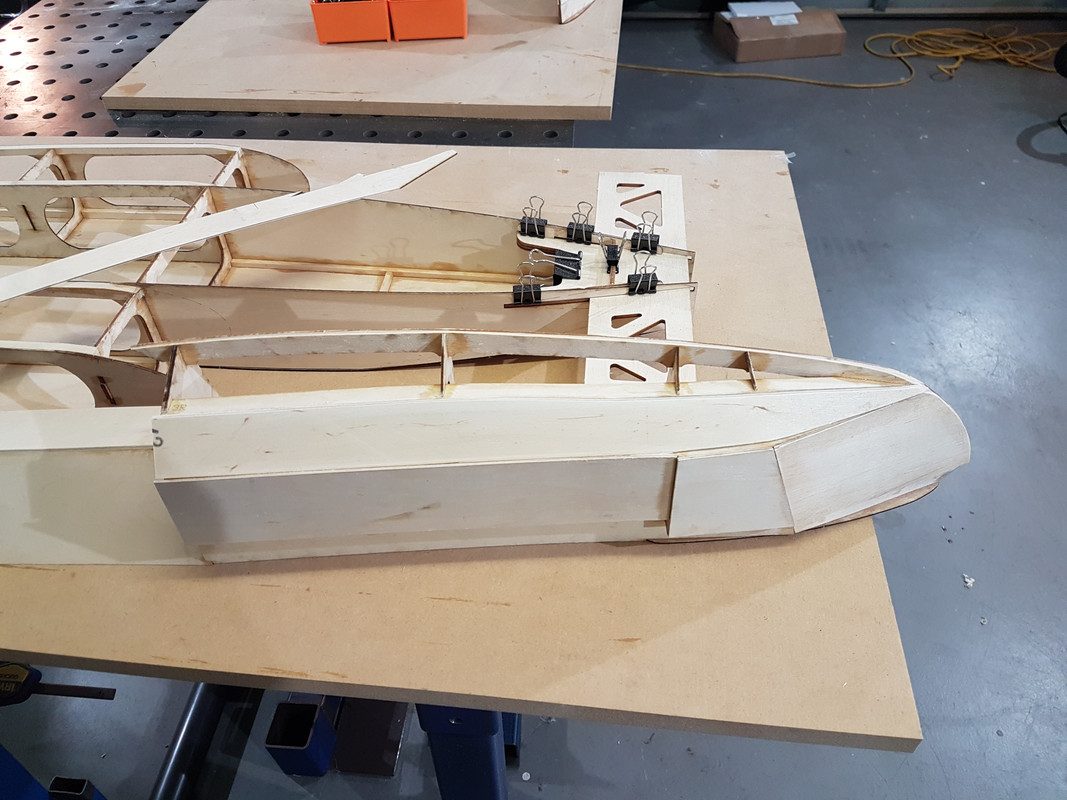
Laid down roughly in place - I leave about 5mm each side for later trimming:
Lay down your epoxy and clamp the crap out of it. With these long pieces its really important to clamp the whole lot to the table so it dries straight:
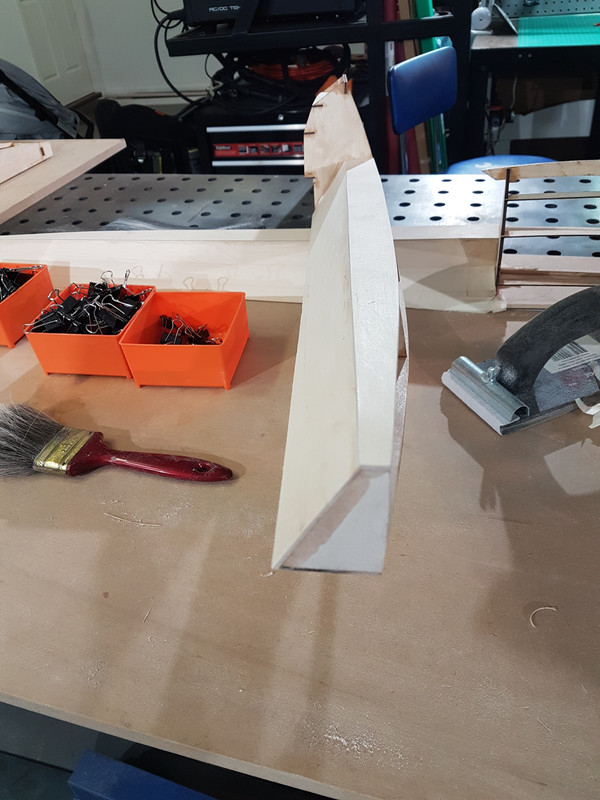
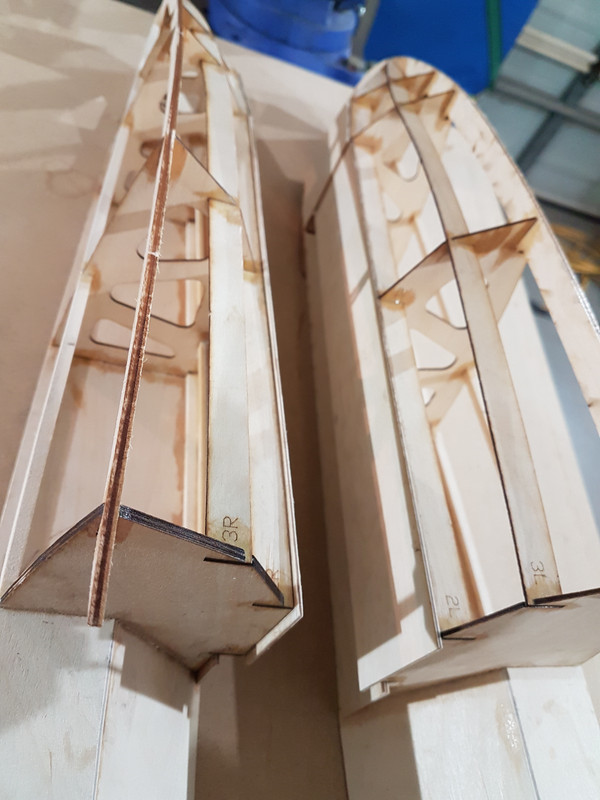
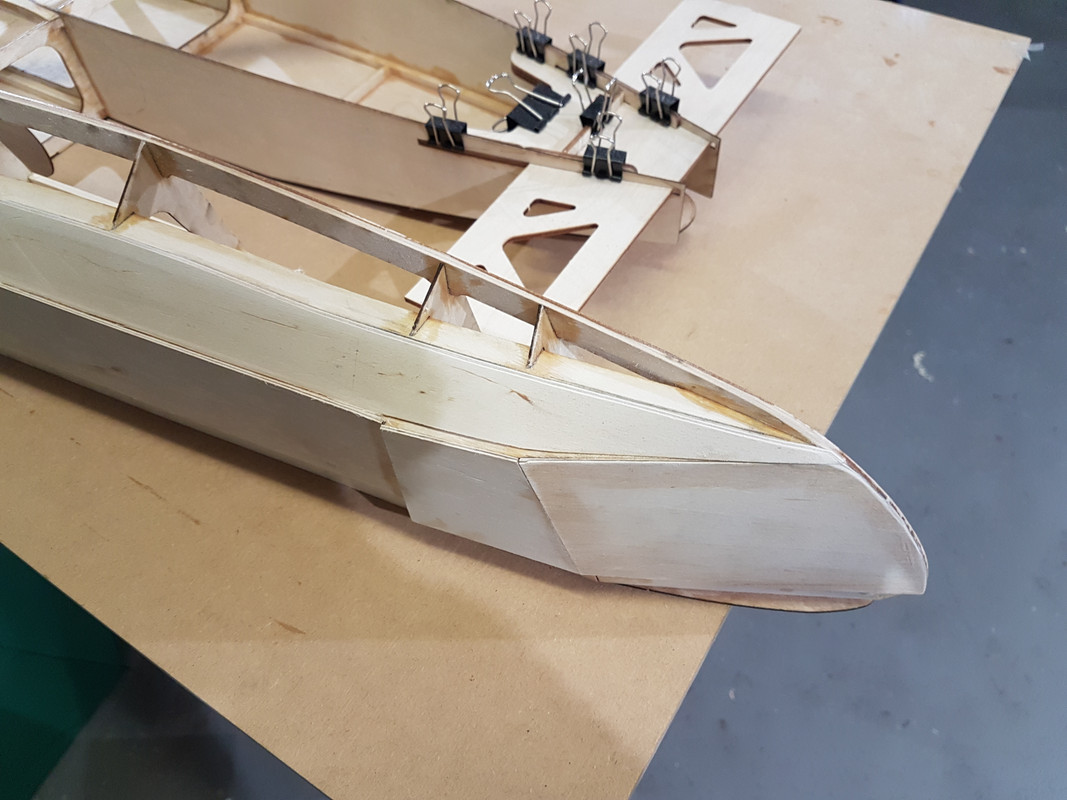
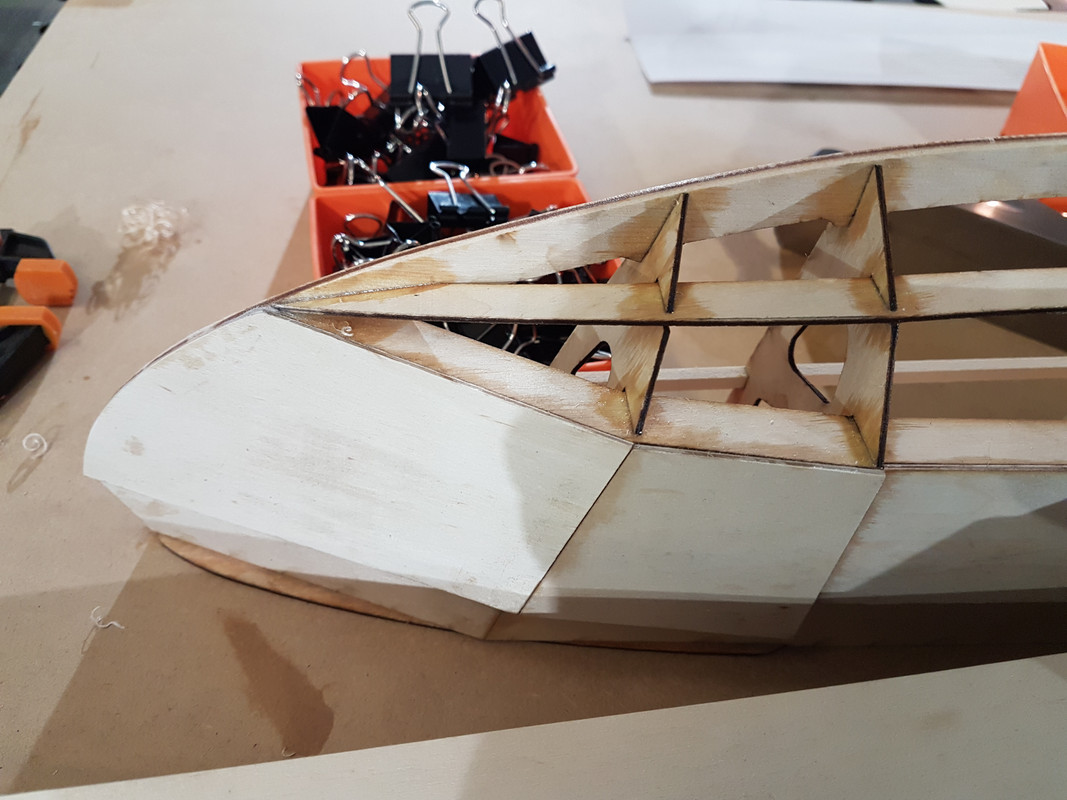
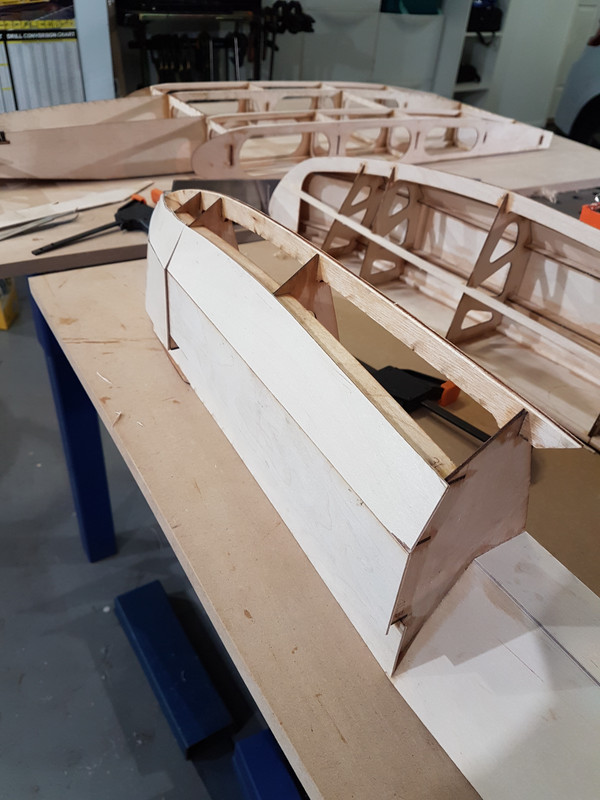
After drying this is the result:
Its actually amazing how much stronger the whole thing becomes once the sheeting is in place. Really ties the whole lot together and prevents a lot of flex.


Comment