Mean Machine, cheapy nitro conversion

Collapse
X
 
  • Time
  • Show
Clear All
new posts
  • millzee
    Ozzie Bloke
    • Nov 2010
    • 1092

    #1

    Mean Machine, cheapy nitro conversion

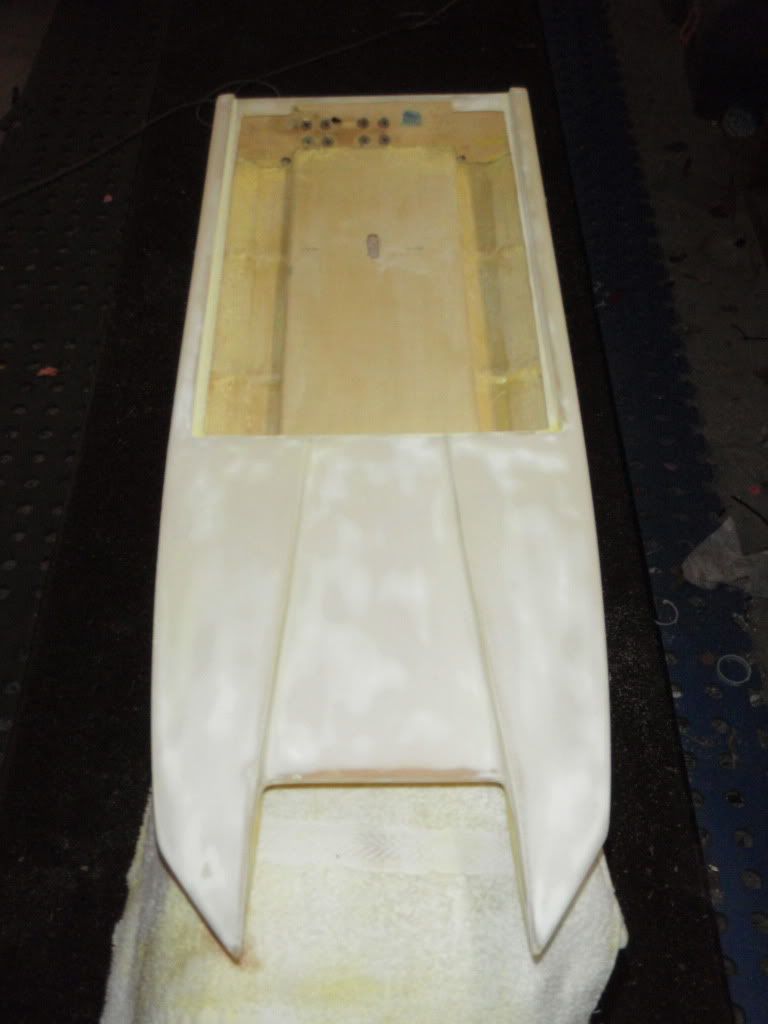
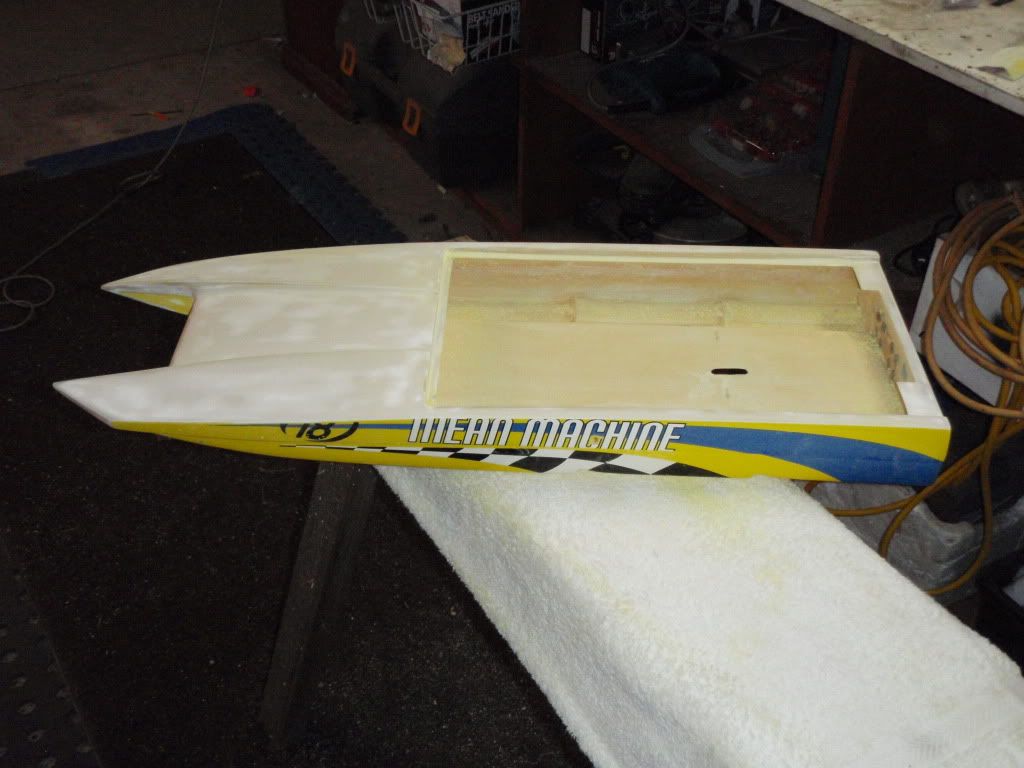
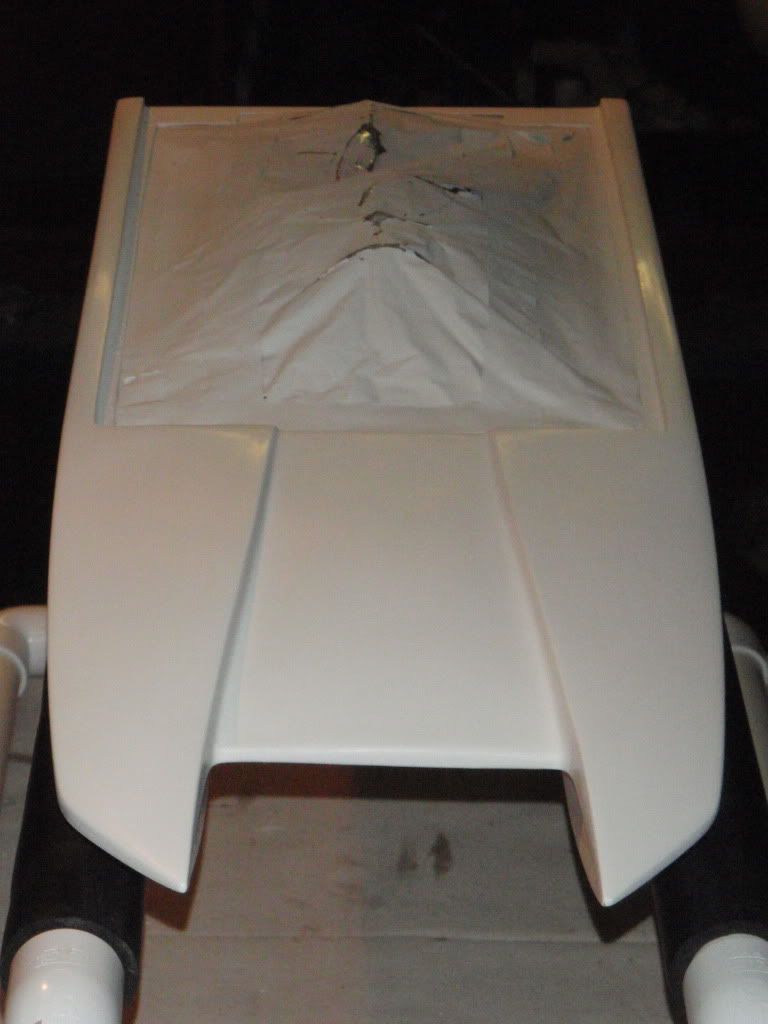
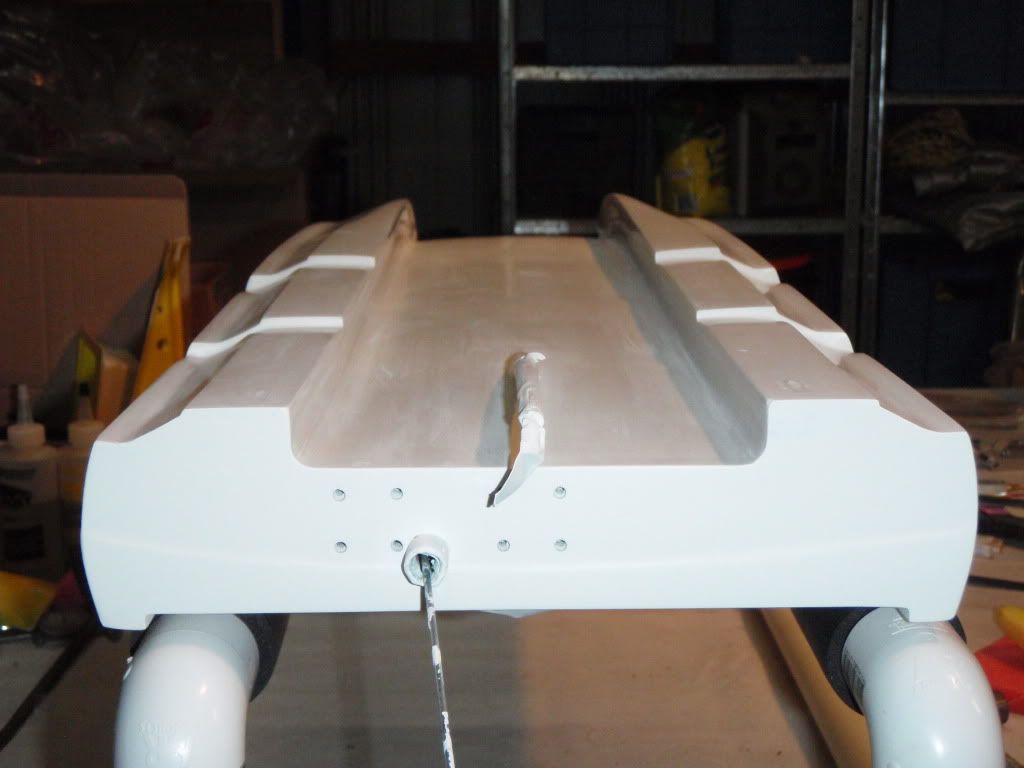
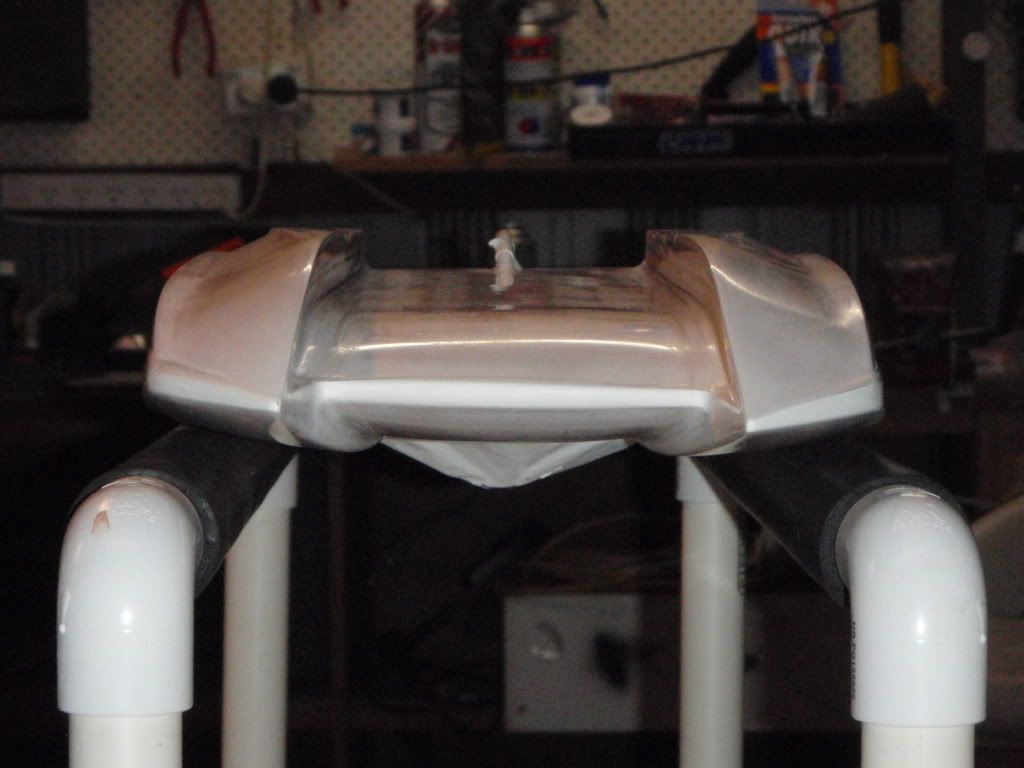
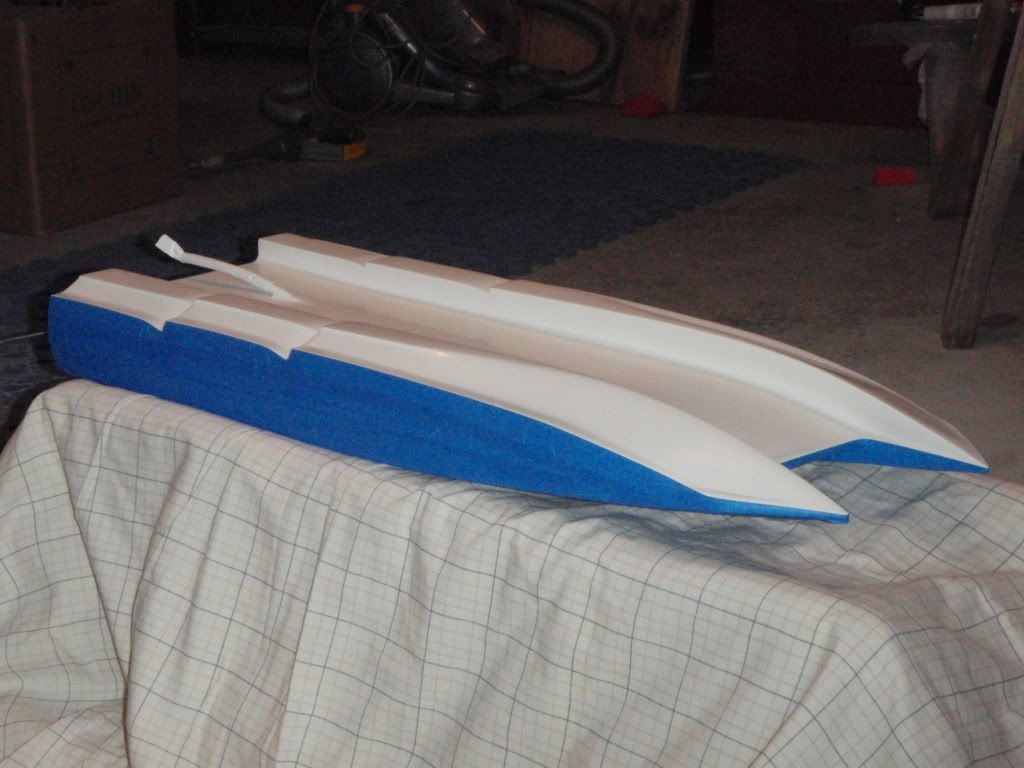
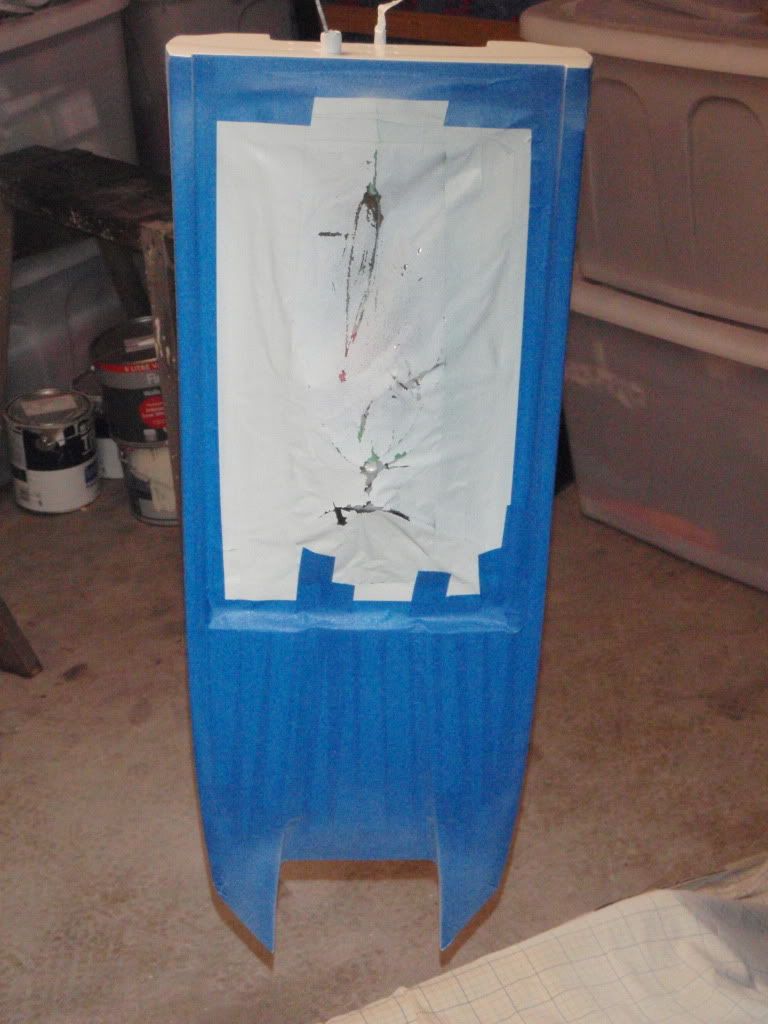
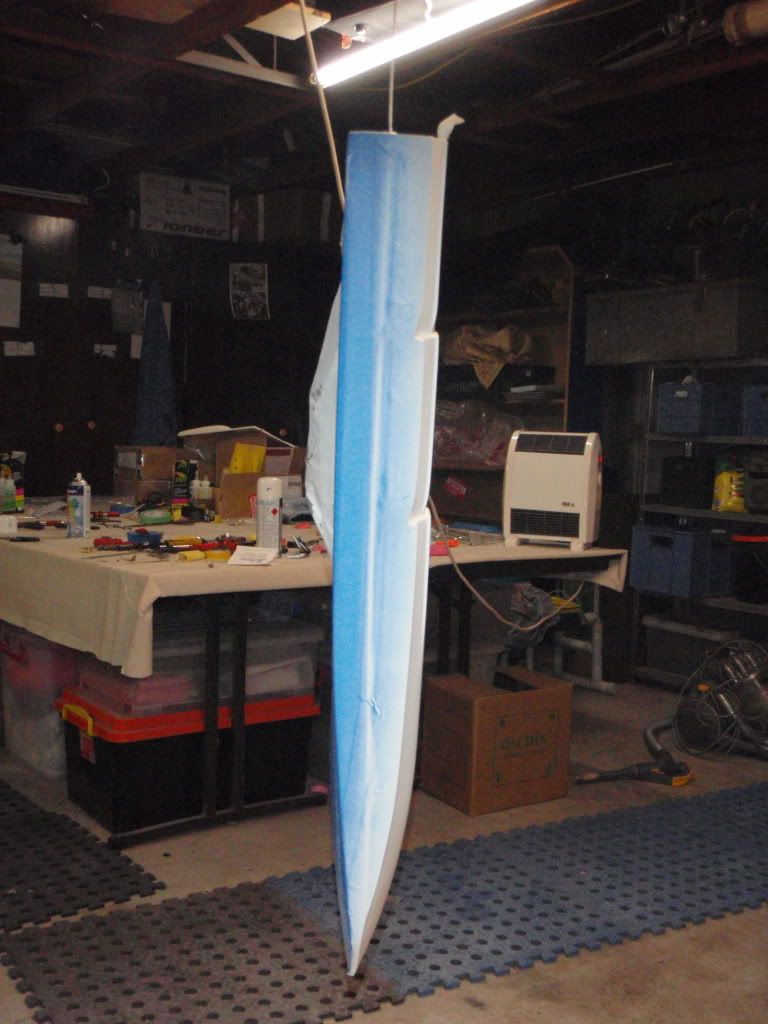
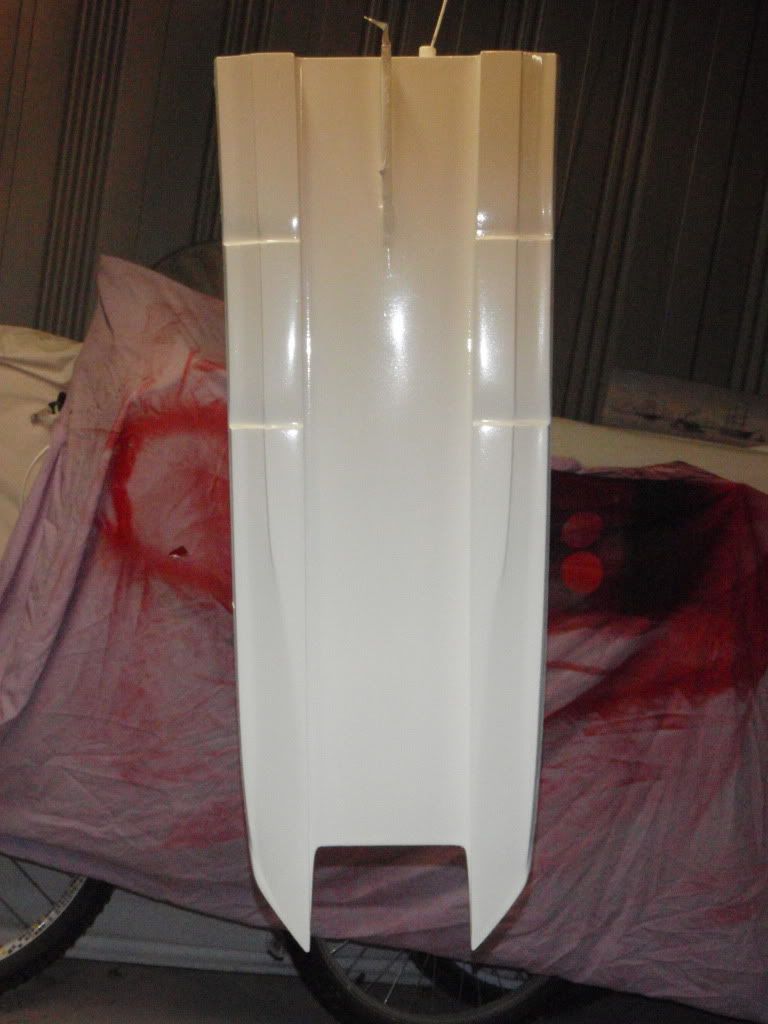
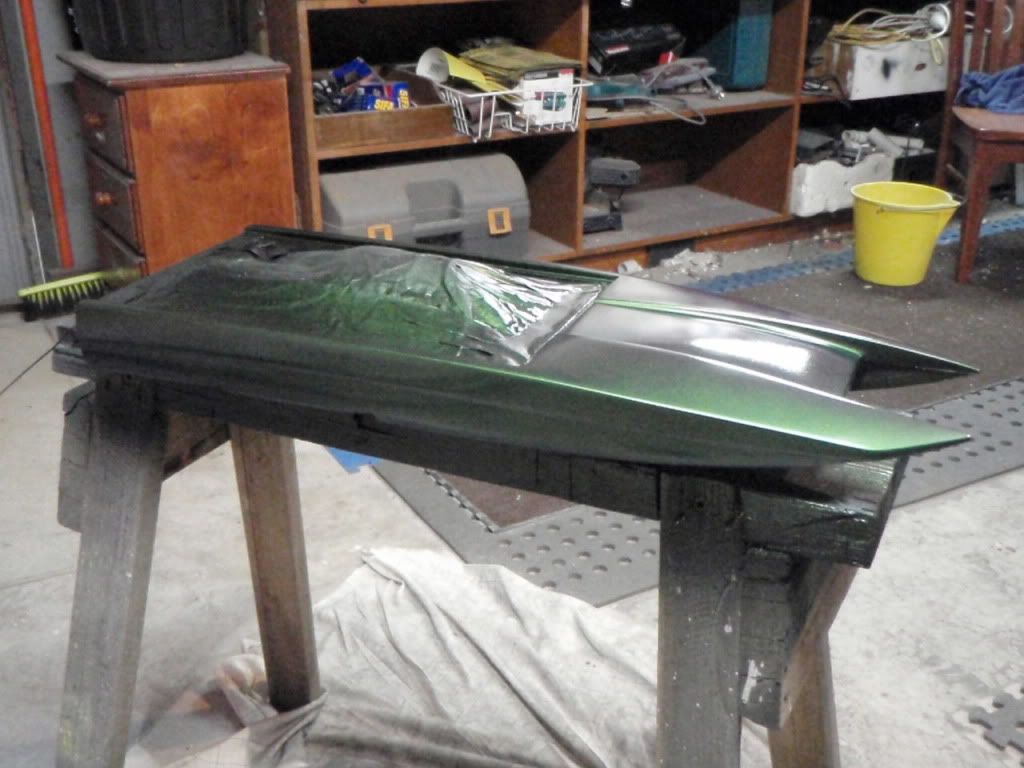
    Well I've been working away now for a few weeks, I only get a few hours at night to play around so it takes a while but I'm just prepping the hull for painting and I thought I'd get my build thread underway whilst the primer dry's.
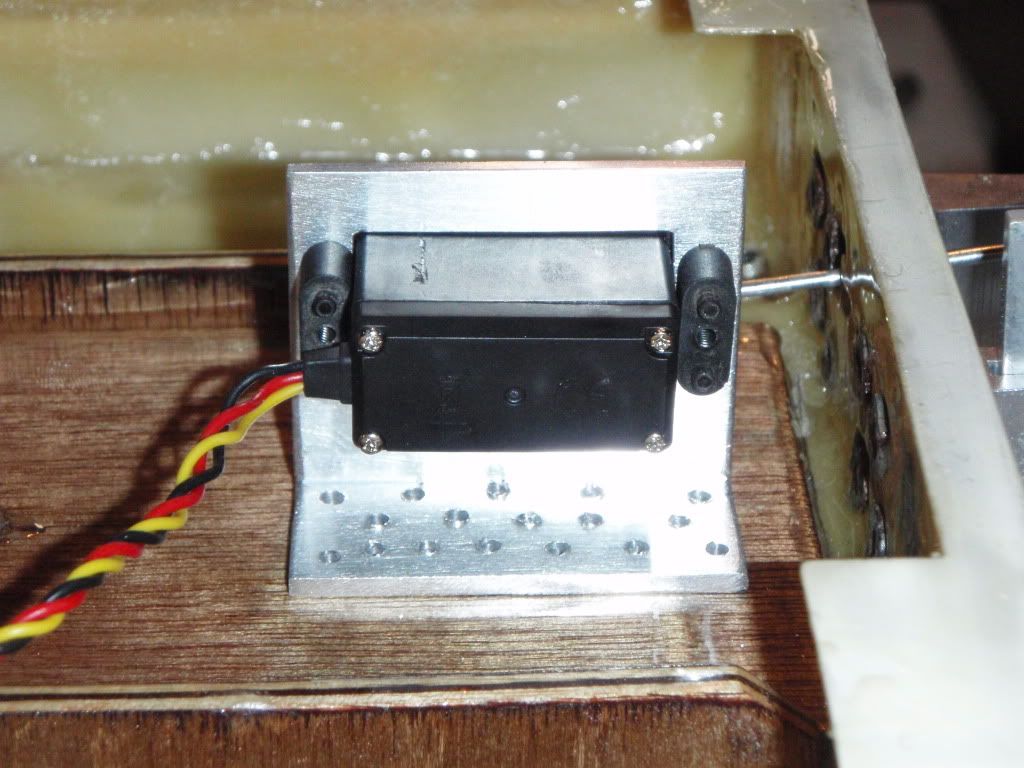
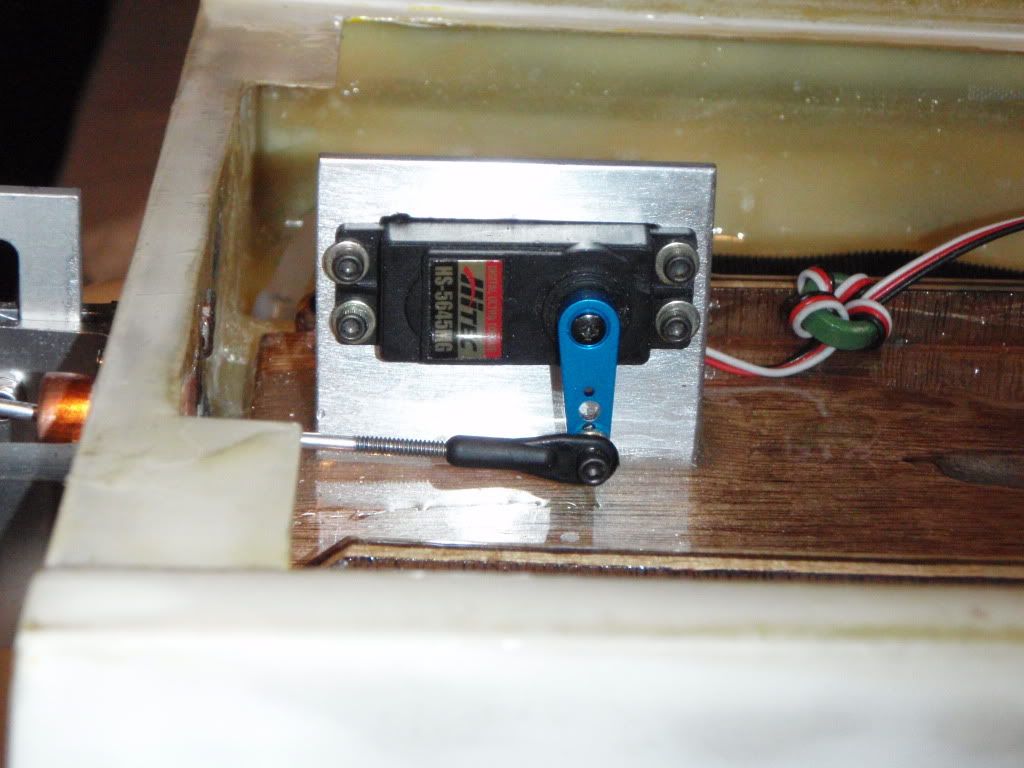
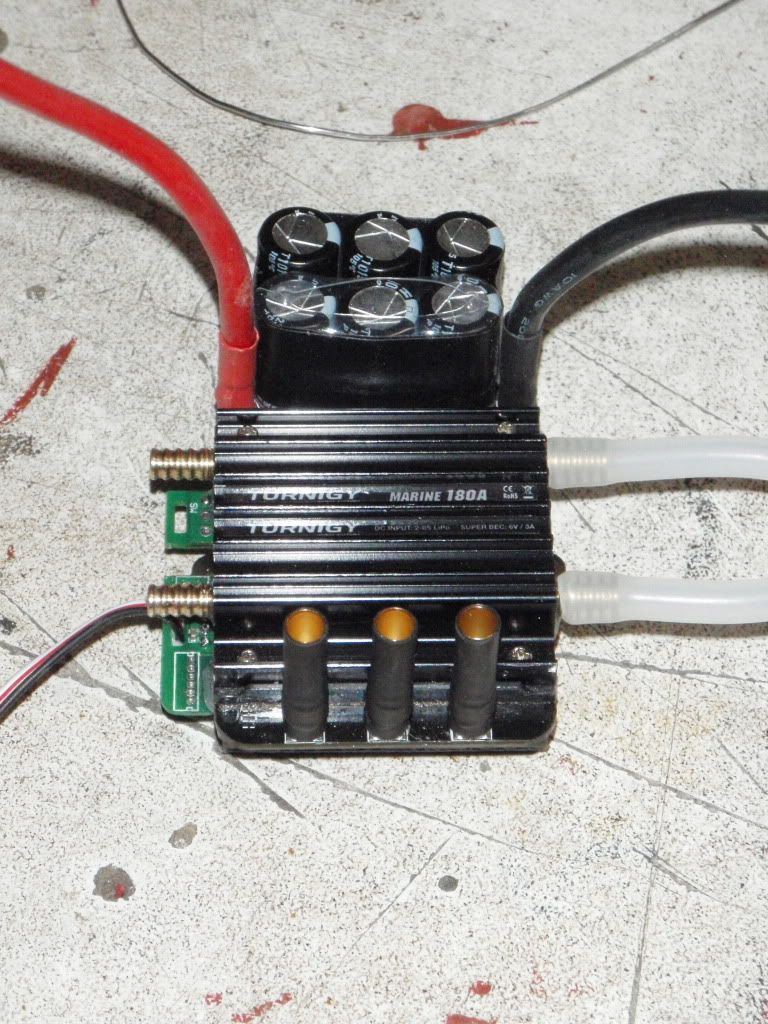
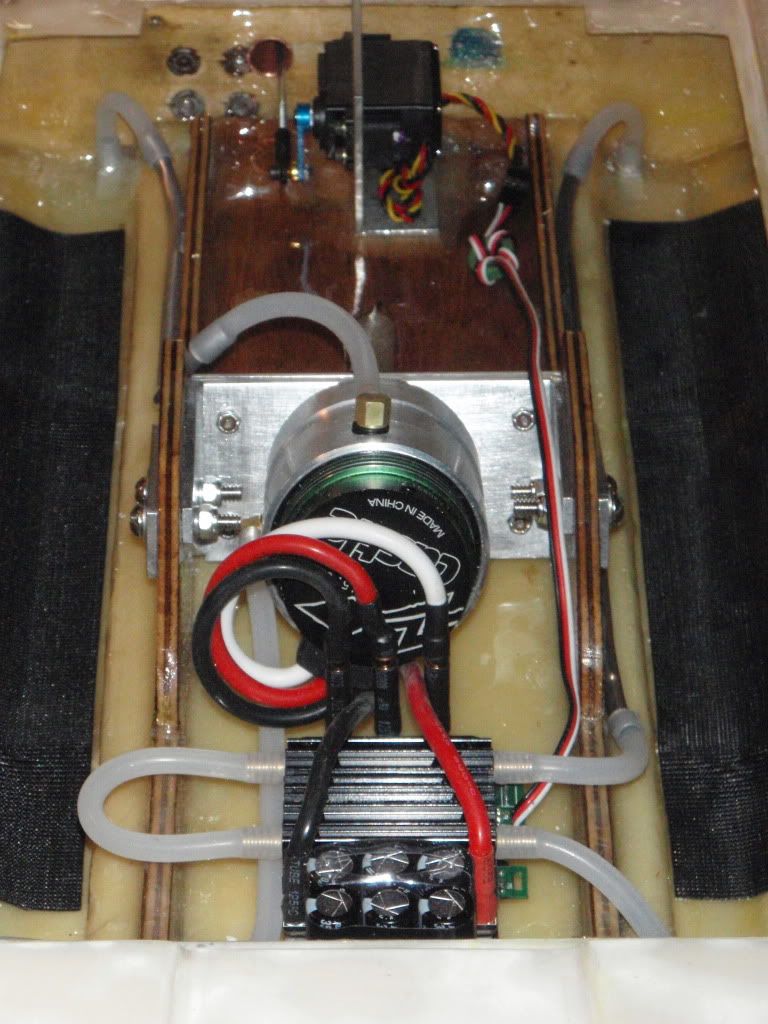
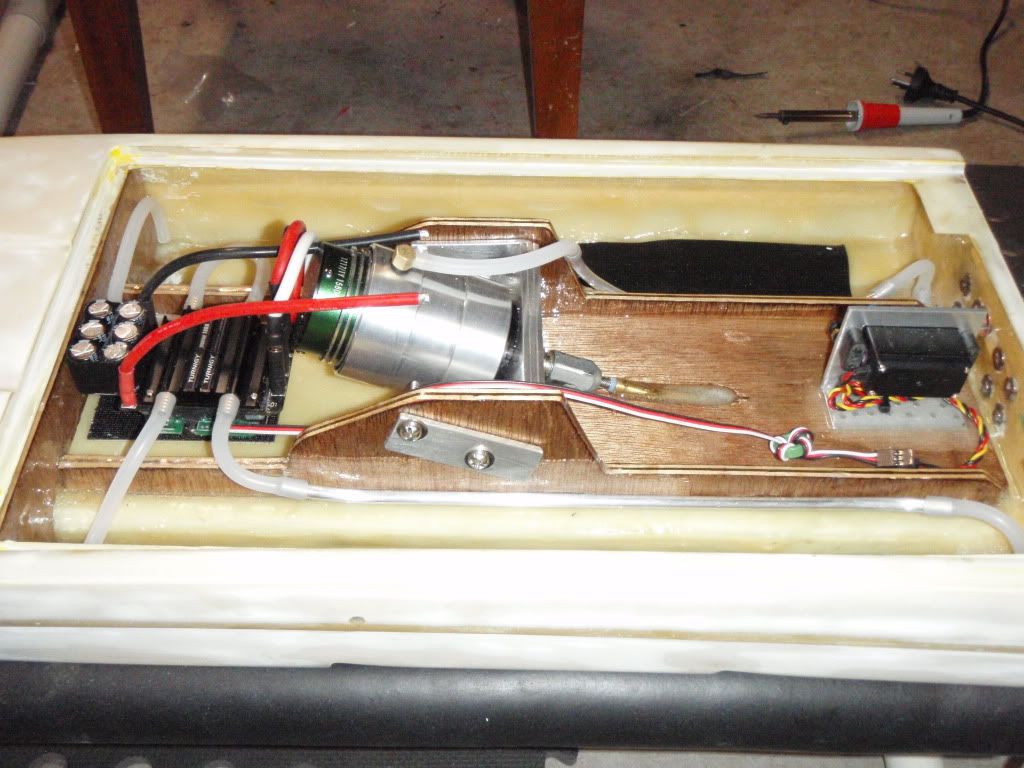
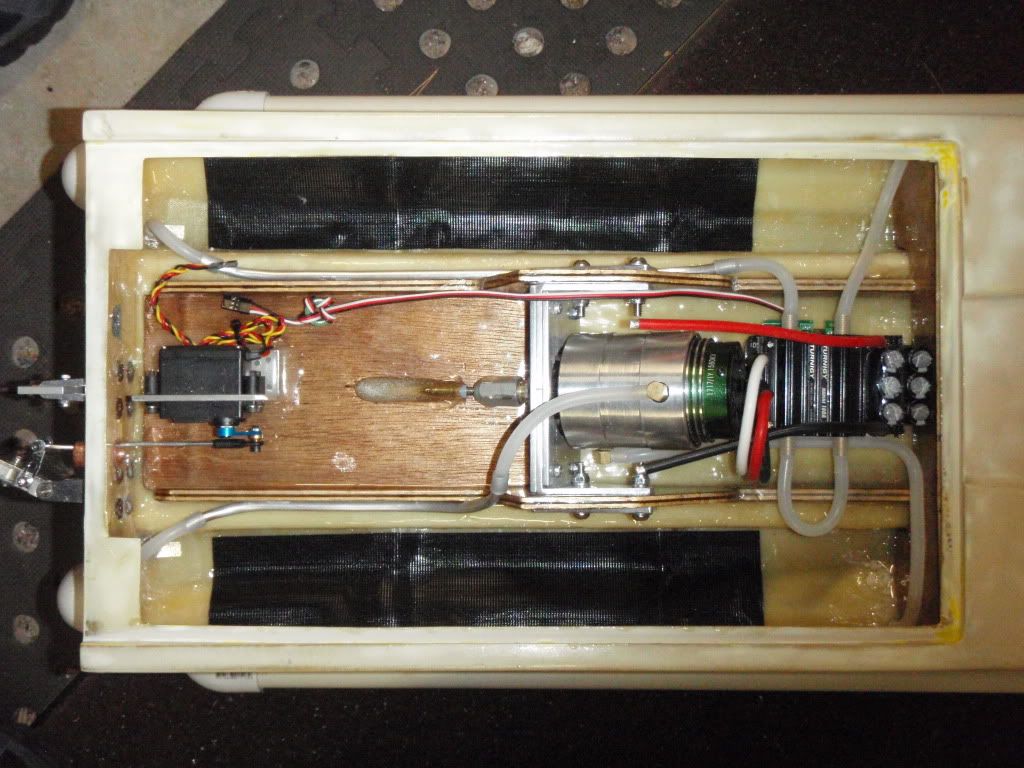
    For this build I'm starting with a "water damaged" Aeromarine mean machine. I'll be putting in a castle 1717, turnigy 180 amp esc, hitec hs-5645 servo and a spektrum mr300 rx. I plan on running 6s2p 10000mAh with probably a M445 and maybe a m447 for my driving but this build is more for my boy's to learn on. For the kids, I plan on running 4s2p 10000mAh with a X442 thats had the tongues removed, I'm hoping this will slow it down to a reasonable speed for learning, keep temps down and increase run times.
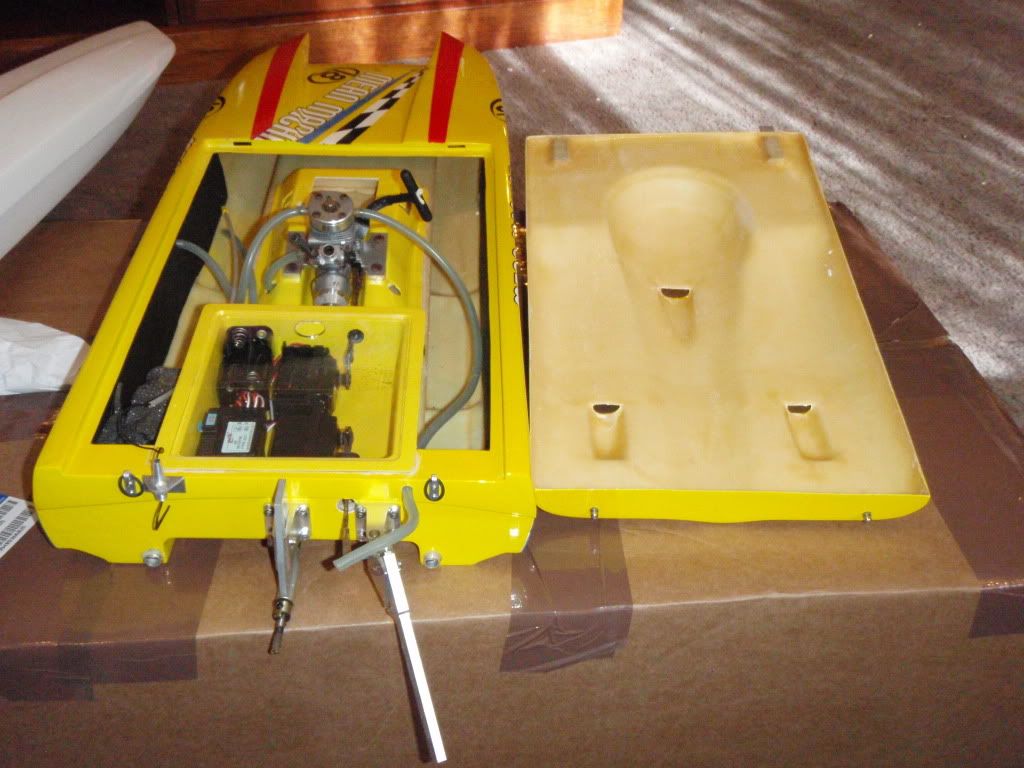
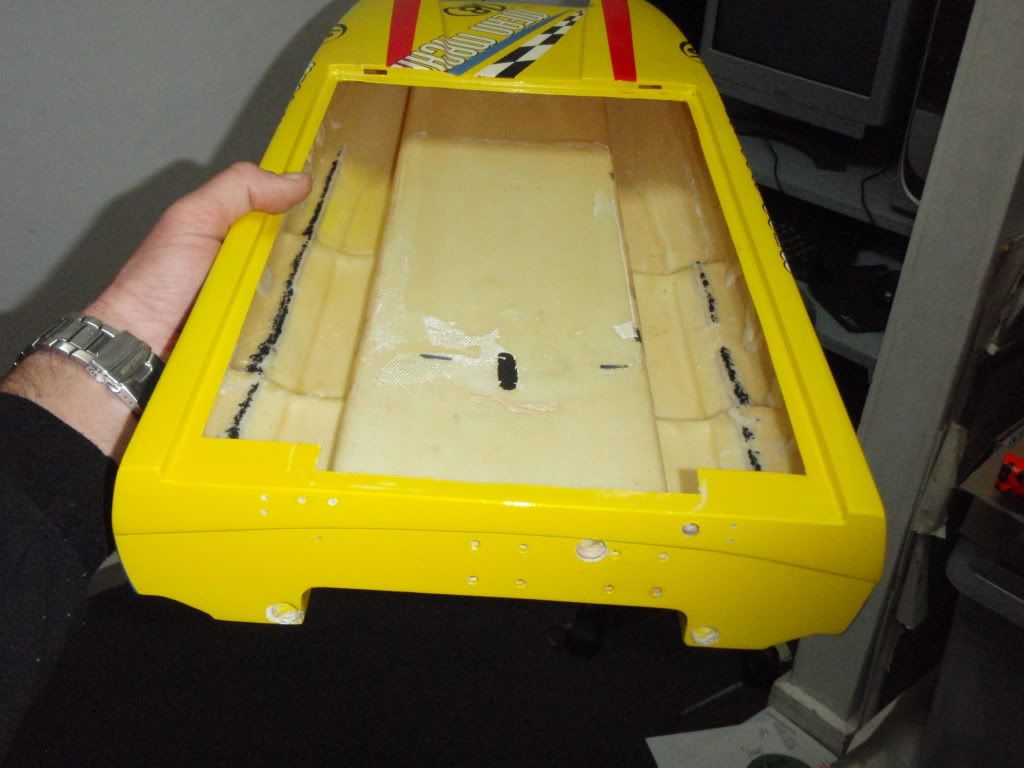
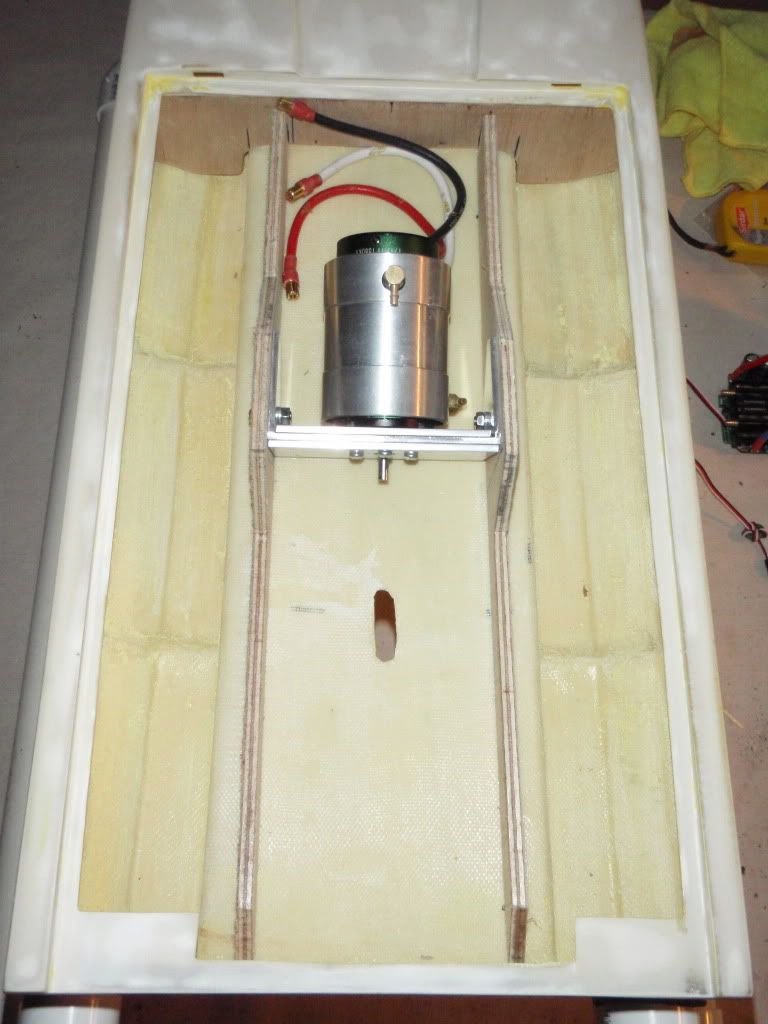
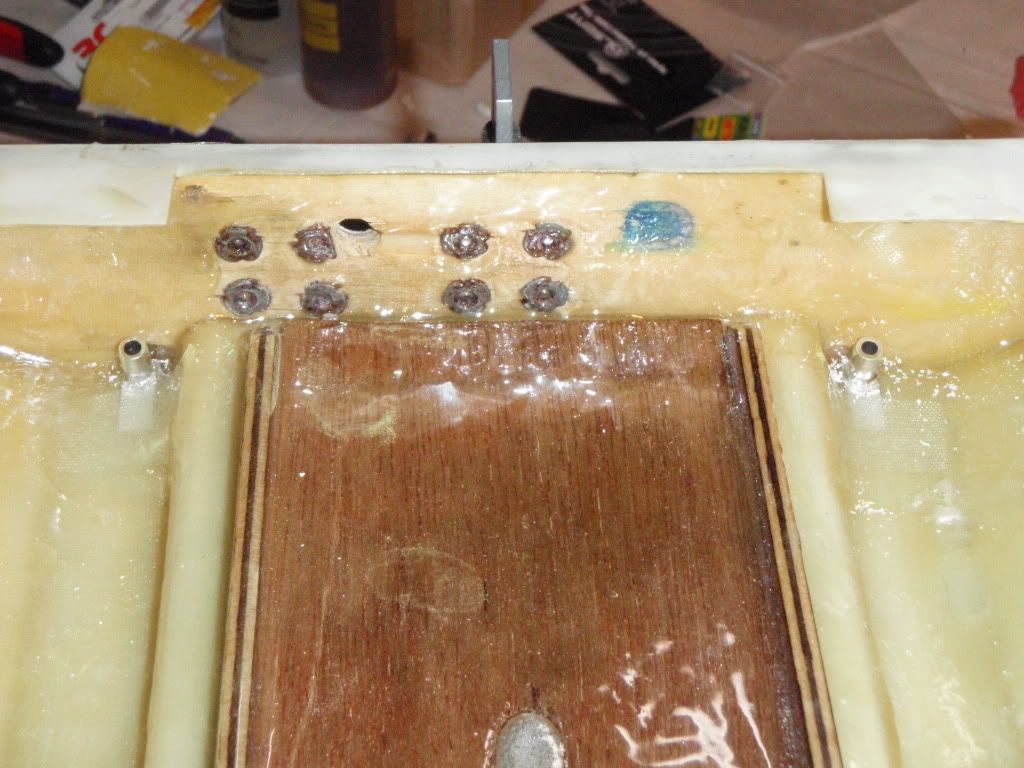
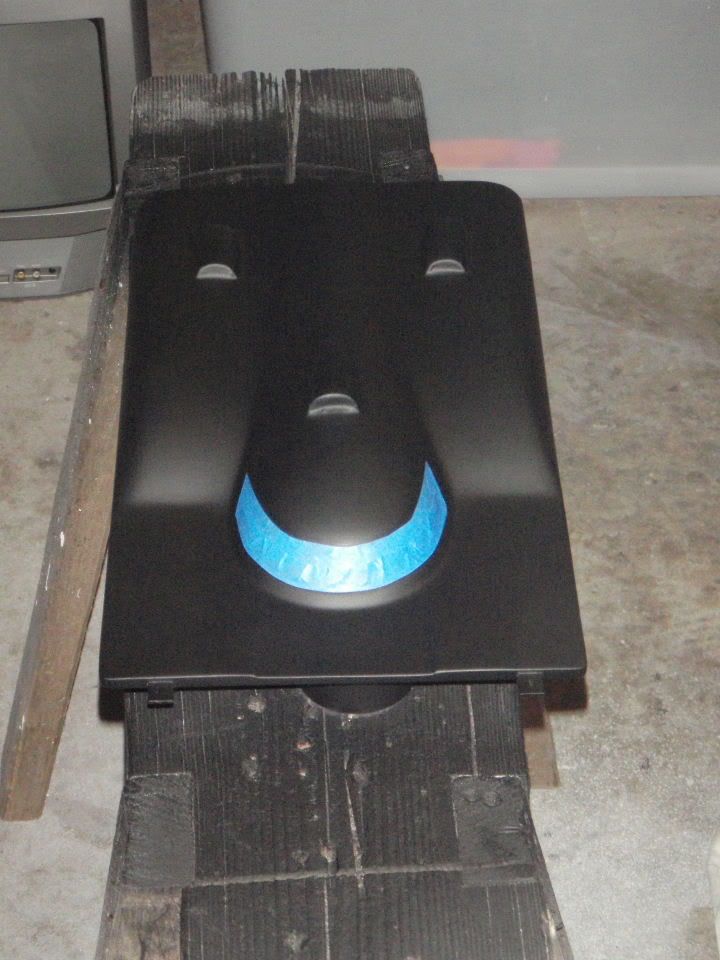
    I started by stripping down the nitro rtr, it suprised me how easy everything come out. The "water damage" hadn't effected too much, all the screws, push rod and connectors were rusted but otherwise things were pretty good.
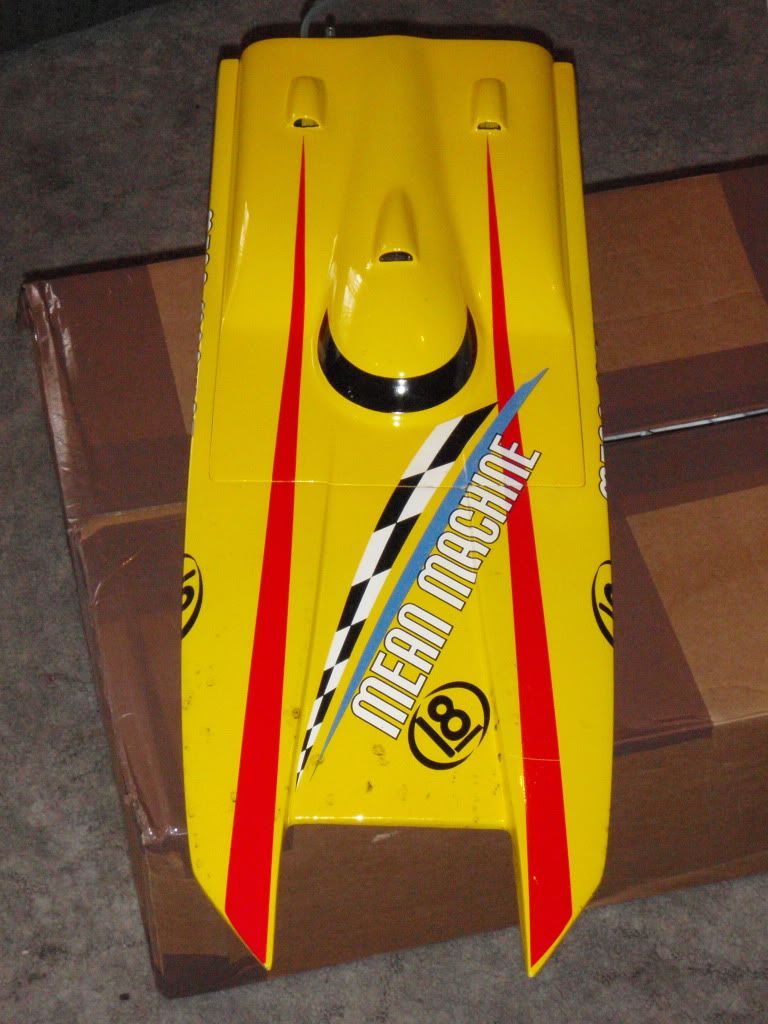


    http://www.youtube.com/user/1millzee?feature=mhum
    "Gimmy Toyz for FUN"
  • millzee
    Ozzie Bloke
    • Nov 2010
    • 1092

    #2
    After getting back to a bare hull I noticed how thin and flimsy it was so I reinforced the entire interior of the hull with heavy fiberglass matt using x-poxy finishing resin. The important areas like the the join seams and the sponsons got a double layer, then I figured I may as well lay another across the tunnel too. After sanding it all, I filled the front of the hull with spray foam, I made sure that it got distributed evenly and from the tips of the sponson to the opening of the hatch. I figured this will add both flotation and strength, it's like a rock now, I pitty what ever it is my boy's hit. Too fill the air holes on the hatch I used Kahfil, a 2 part body filler. This was easier than I thought it was going to be be, all I did was mask off the front of the holes, sanded the inside of the hatch and filled the air intake cavities with the filler, the masking tape stopped it from flowing through and the result was a nice smooth finish, yeah!


    http://www.youtube.com/user/1millzee?feature=mhum
    "Gimmy Toyz for FUN"

    Comment

    • millzee
      Ozzie Bloke
      • Nov 2010
      • 1092

      #3
      I then played around with a few different layout options and motor mount ideas and from what I've read from a few of you guy's, it's hard to get a 1717 with a cooling can into this hull, so I made up my own motor mount out of 50x50x3mm angle aluminium that I cut into 50mm lengths, placed them together and made front and back plates out of 50x3mm flat bar aluminium. I used ca glue and pressed them together in a vice, it hold's tight and is perfectly square and to reinforce it I put a 3mm bolt with a lock nut in each corner of the plates. I have made the mount adjustable so it makes it easier to remove the collett and motor when needed. Then I made up some rails out of 6mm plywood and after trying to get a few designs to fit under the hatch, ended up comming up with one that would also allow me to layout the other electronics in a format that I think will work well enough. When installing the rails I also painted the ply with zpoxy 30 minute epoxy and reinforced them with fg matt.


      http://www.youtube.com/user/1millzee?feature=mhum
      "Gimmy Toyz for FUN"

      Comment

      • millzee
        Ozzie Bloke
        • Nov 2010
        • 1092

        #4
        Following the rails come the installation of the stuffing tube and water inlets. I have chosen to use a teflon liner because the stuffing tube is the one that come with the rtr, this just made my life easier. You'll see in the pic's that I added a 6mm ply base into my rail set up, this helped me set up the angle of the tube and should give great support, after a lot of filing, I got the angle correct, masking tapped the outside of the under tunnel where the tube comes out and then filled the hole with 30 minute epoxy. Once dry I removed the tape from the outside and used body filler to fill any imperfections and make a nice smooth support for the tube. Then I decided to add the water intakes, I chose to go with the bottom pick up's as I had them in shed and want practice b4 my next build. One thing I have learnt from this is that I should have installed them before I layed all that fg in the sponsons, it made hard work of an easy job, oh well they come up alright in the end.


        http://www.youtube.com/user/1millzee?feature=mhum
        "Gimmy Toyz for FUN"

        Comment

        • millzee
          Ozzie Bloke
          • Nov 2010
          • 1092

          #5
          Next I took a look at the servo, I didn't have any mounts on hand so I made one. I used a piece of 50x50x3mm aluminium and cut out a rectangle the size of the servo, drilled some holes for the mounting bolts and too make it easier for removal I used a couple of servo mounts that I had spare from my truck for the bolts to go into. Then I cut the bottom of the mount to size and drilled holes for the epoxy to get a good hold. Instead of polishing the aluminum I used steel wool and dragged it across to give the brushed look.


          http://www.youtube.com/user/1millzee?feature=mhum
          "Gimmy Toyz for FUN"

          Comment

          • Brushless01
            Senior Member
            • Apr 2010
            • 487

            #6
            Very nice i ordered one of these flood hulls ! Will be also running a 1717 and a seaking 180 esc, are you going to run the stock flex shaft ?
            Prince 25 8XL,Delta force 29 8XL, SV27,Rio 51,Mini Rio,Stock Miss Geico m445,ERBE,Baja 5B SS, Hyper ST, Castle Emaxx.

            Comment

            • millzee
              Ozzie Bloke
              • Nov 2010
              • 1092

              #7
              As you may have seen in another thread I put up, I was having a bit of trouble getting the esc wires to fit and I come up with a way by removing the esc motor wires and replacing them with female EC5 connectors. I then soldered male connectors to the motor and it fits like a glove. While I had the soldering iron hot I added three extra caps, nothing special, just following everyone else. I added some aluminium tubing to carry the water from one end of the hull to the other to keep things tidy and I'll put the outlets, one on each side up the front out of the way of my lipo's. I am able to move the lipo's to range the cog for both the 6s and 4s packs between 28.5% and 33.5%. I weighed the boat fully loaded the other night but have forgotten the exact weights, I think it was around 5kg / 11lb, I'll have to weigh it again once I get it all back together.


              http://www.youtube.com/user/1millzee?feature=mhum
              "Gimmy Toyz for FUN"

              Comment

              • millzee
                Ozzie Bloke
                • Nov 2010
                • 1092

                #8
                At the moment she's hanging in the shed and the primer is drying, I'll try to get it painted over this week. I made the mistake of letting tho boy's chose the color and the stickers(with only marginal guidence from me) and I'm not exactly happy with either of there choices but hey, I'm sure they'll scratch and ding it up quick enough for me to be able to rub it back and repaint it in the not too distant future
                http://www.youtube.com/user/1millzee?feature=mhum
                "Gimmy Toyz for FUN"

                Comment

                • dana
                  Banned
                  • Mar 2010
                  • 3573

                  #9
                  Looks nice and clean man... Sweet! Mine runs leopard 2200. On m445 I'm getting low 50's. One thing that was weird was everyone kept telling me to put strut 1/4" above sponsons...weird. Turns out it's true! Being my first cat, I had trouble wrapping my head around the idea lol

                  Comment

                  • millzee
                    Ozzie Bloke
                    • Nov 2010
                    • 1092

                    #10
                    thanks mate, I'll drilling a little bit more out of the strut so it'll move up more on the bracket, thanks for the tip
                    http://www.youtube.com/user/1millzee?feature=mhum
                    "Gimmy Toyz for FUN"

                    Comment

                    • millzee
                      Ozzie Bloke
                      • Nov 2010
                      • 1092

                      #11
                      Originally posted by Brushless01
                      Very nice i ordered one of these flood hulls ! Will be also running a 1717 and a seaking 180 esc, are you going to run the stock flex shaft ?
                      I'm was going to try with the stock flex cable but I have a new one on the way, the stock cable had a slight bend near the prop shaft attachment that caused more vibrations than needed for my liking
                      http://www.youtube.com/user/1millzee?feature=mhum
                      "Gimmy Toyz for FUN"

                      Comment

                      • millzee
                        Ozzie Bloke
                        • Nov 2010
                        • 1092

                        #12
                        Blueprinted, primmed, rubbed back again with 600grit and ready for painting.


                        http://www.youtube.com/user/1millzee?feature=mhum
                        "Gimmy Toyz for FUN"

                        Comment

                        • millzee
                          Ozzie Bloke
                          • Nov 2010
                          • 1092

                          #13
                          all masked up and begining the spraying


                          http://www.youtube.com/user/1millzee?feature=mhum
                          "Gimmy Toyz for FUN"

                          Comment

                          • Boaterguy
                            Fast Electric Addict!
                            • Apr 2011
                            • 1760

                            #14
                            looks really good!

                            Comment

                            • millzee
                              Ozzie Bloke
                              • Nov 2010
                              • 1092

                              #15
                              Been painting again and she's comming up allright, the "Ugly" color my boy's picked out actually looks pretty good. I've sprayed the flat black base coat with rustolium spray and then used restolium color change, green-purple. It's very hard to get a good camera shot of the effects this paint gives but here's a few shots.

                              Black base coat- Hull


                              Black -Hatch


                              one of the hull with the paint on, it doesn't show the color too well
                              http://www.youtube.com/user/1millzee?feature=mhum
                              "Gimmy Toyz for FUN"

                              Comment

                              Working...