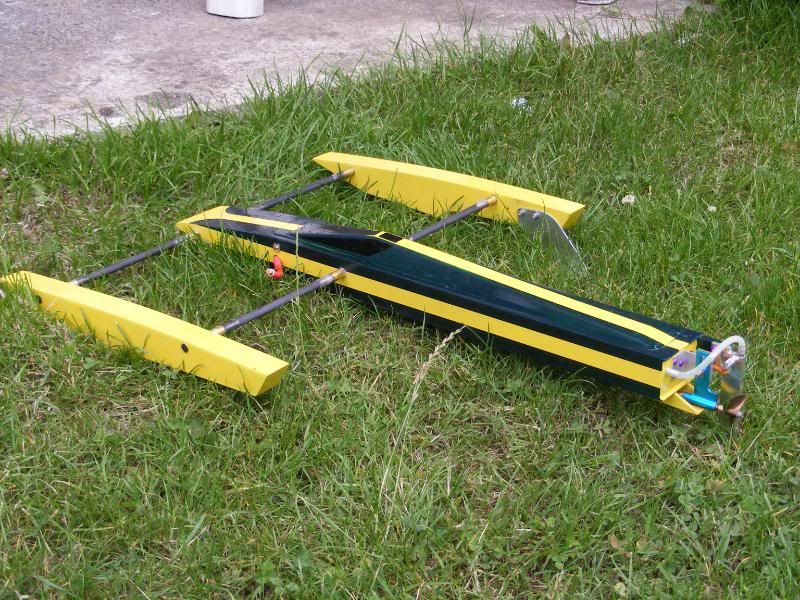
JAE .12 Rigger Christmas Build

Collapse
X
 
  • Time
  • Show
Clear All
new posts
  • capnswanny
    Senior Member
    • Feb 2012
    • 817

    #1

    JAE .12 Rigger Christmas Build

    Here is my Christmas gift build thread for my new JAE .12 Rigger. This boat was gifted to me by Diegoboy (Danny) with hull and sponson's already built and LED lights installed to set the mood!
    Thankfully, I made Santa's nice list because olwarbirds (DJ) generously donated carbon spars, collets, and an adjustable strut!
    Thank you so much gentlemen, I am taken aback by your generosity!!!

    I started by dry fitting the sponson's and cutting out where the light wiring feeds into the hull.
    After that I stripped down the hull and did my first CF inlay.
    I clamped the tub down while it set to take a very slight warp out of it:

    IMG_20150109_204037.jpgIMG_20150109_213740.jpgIMG_20150109_230618.jpgIMG_20150109_230738.jpgIMG_20150109_232126.jpg
    This is NOT a toy?!?
  • capnswanny
    Senior Member
    • Feb 2012
    • 817

    #2
    Build Continued...

    I fabricated a motor mount from angle aluminum, decided I'd have the motor lay flat and do an 'S' bend on the stuffing tube to try and keep it below the tub so I can have a flat cowl:

    IMG_20150117_215222.jpgIMG_20150117_215238.jpgIMG_20150117_221051.jpgIMG_20150117_221507.jpg
    This is NOT a toy?!?

    Comment

    • capnswanny
      Senior Member
      • Feb 2012
      • 817

      #3
      Build Continued...

      I made a servo mount from flat aluminum, beat over in the bench vice and cleaned up:

      IMG_20150117_212425.jpgIMG_20150117_233620.jpgIMG_20150117_234218.jpg
      This is NOT a toy?!?

      Comment

      • capnswanny
        Senior Member
        • Feb 2012
        • 817

        #4
        Build Continued...

        I fixed mounts down with g-flex, 403 added and a couple drops of black paint to darken the mix to blend with the cf:

        IMG_20150118_171140.jpgIMG_20150119_213129.jpgIMG_20150119_213144.jpgIMG_20150119_213304.jpg
        This is NOT a toy?!?

        Comment

        • capnswanny
          Senior Member
          • Feb 2012
          • 817

          #5
          Build Continued...

          Decided to extend the rudder so the leading edge of the blade meets the front of the prop. Still some filing, sanding, and polishing to be done:

          IMG_20150117_212442.jpgIMG_20150117_212454.jpg
          This is NOT a toy?!?

          Comment

          • capnswanny
            Senior Member
            • Feb 2012
            • 817

            #6
            To be continued.....
            This is NOT a toy?!?

            Comment

            • macace123
              Robotics Operator
              • Mar 2013
              • 477

              #7
              Nice looking good
              Its not the boat its the driver http://namba2016fenats.com/
              Whiplash,Sprint Cat, Pursuit, 83' Miss Rock modern hydro JAE21, Dragon M11 Tunnel, Mickey Beez Jet, CF JAE21

              Comment

              • grsboats
                Senior Member
                • Jul 2012
                • 975

                #8
                Sweet but personally I wouldn't extend the rudder .keep the back of it in front of the drive dog...this is a rule for most riggers and here is no exception.Gill
                GO FAST AND TURN RIGHT !
                www.grsboats.com.br

                Comment

                • capnswanny
                  Senior Member
                  • Feb 2012
                  • 817

                  #9
                  Thanks Gill, I shall rectify that!
                  Any recommendation for placement, like trailing edge rudder to leading edge prop?
                  Again, thanks for the advice!
                  Corey
                  This is NOT a toy?!?

                  Comment

                  • grsboats
                    Senior Member
                    • Jul 2012
                    • 975

                    #10
                    You're welcome and the trailing edge of your rudder must be in front of the front of the drive dog (looking boat from transom)..the pic is from a Jae .12 light equipped with a Novarossi .12 I built years ago.hope this help.Gill
                    Attached Files
                    GO FAST AND TURN RIGHT !
                    www.grsboats.com.br

                    Comment

                    • capnswanny
                      Senior Member
                      • Feb 2012
                      • 817

                      #11
                      Originally posted by grsboats
                      You're welcome and the trailing edge of your rudder must be in front of the front of the drive dog (looking boat from transom)..the pic is from a Jae .12 light equipped with a Novarossi .12 I built years ago.hope this help.Gill
                      Big help, thanks!!
                      This is NOT a toy?!?

                      Comment

                      • NativePaul
                        Greased Weasel
                        • Feb 2008
                        • 2759

                        #12
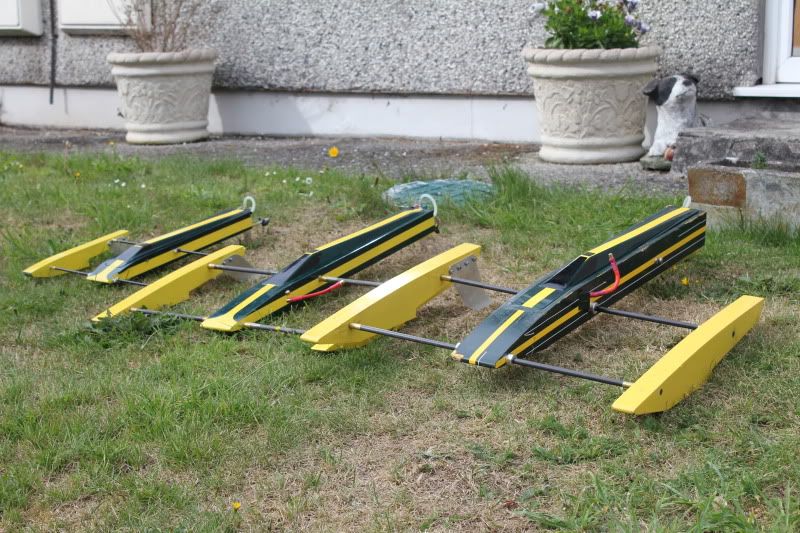
                        Do you know that you can modify the Vac-U-Boat JAE.21FE hatch to fit the JAE.12 pretty easily? It needs trimming all the way round, and where you trim it at the back will still be in the raised section so you fill that with some scrap trimmings and taper it down with a file or sandpaper, pretty easy to do in a couple of hours and most of that is waiting for glue to dry, and it looks really good, better than it does on the .21 in my opinion, and much better than it looks with a flat deck. It also allows for J bend.

                        Check it out, the .12 is the middle one in this picture.

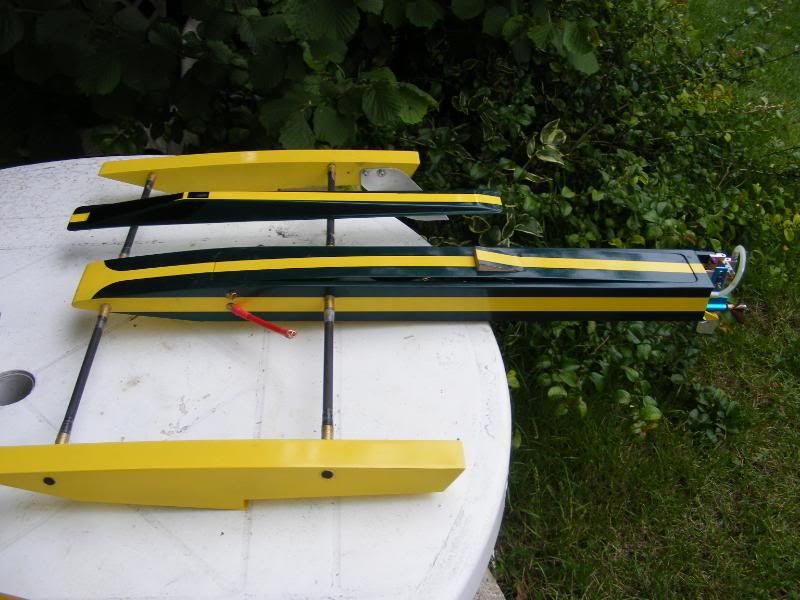
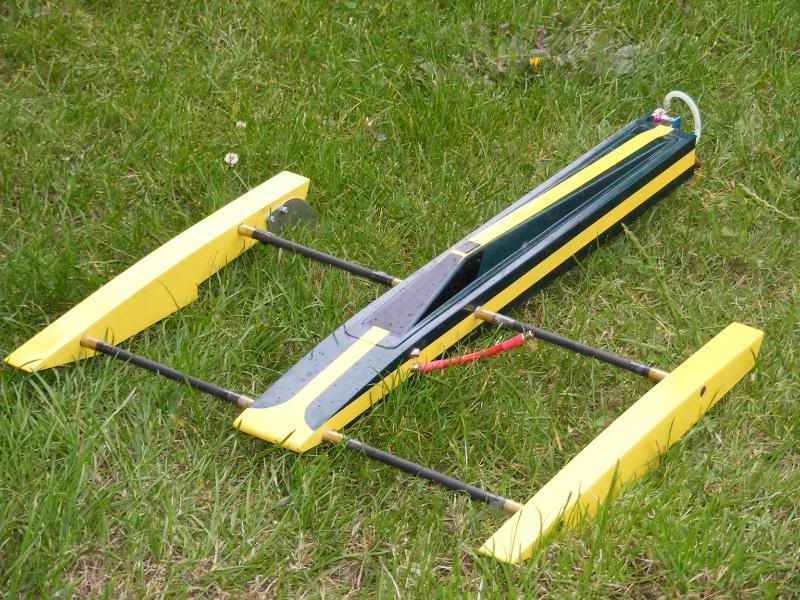
                        With a flat (ish, (J bend & 2860 motor)) hatch.

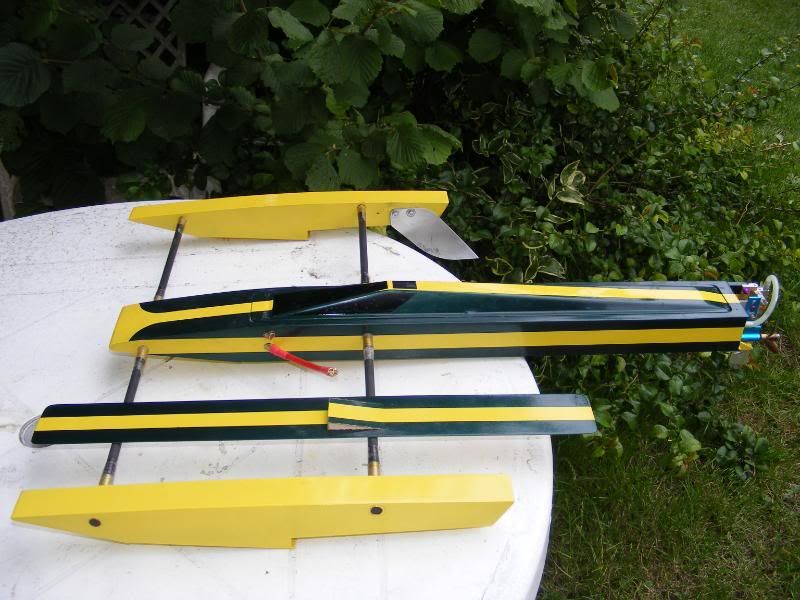
                        With the modded Vac-u-Boat .21 canopy.


                        Paul Upton-Taylor, Greased Weasel Racing.

                        Comment

                        • tlandauer
                          Fast Electric Addict!
                          • Apr 2011
                          • 5666

                          #13
                          Originally posted by capnswanny
                          I fabricated a motor mount from angle aluminum, decided I'd have the motor lay flat and do an 'S' bend on the stuffing tube to try and keep it below the tub so I can have a flat cowl:

                          [ATTACH=CONFIG]127155[/ATTACH][ATTACH=CONFIG]127156[/ATTACH][ATTACH=CONFIG]127157[/ATTACH][ATTACH=CONFIG]127158[/ATTACH]
                          Awesome motor mount! Your build looks great!
                          Too many boats, not enough time...

                          Comment

                          • capnswanny
                            Senior Member
                            • Feb 2012
                            • 817

                            #14
                            Thanks Paul, that looks more complete with the cowl. I'll drop Phil a line on Monday and get one coming.
                            I modified his turbine cowl much the same way to foot my Navy Jet inspired cf hydro (my avatar) Phil's cowls are the goods!!


                            Originally posted by NativePaul
                            Do you know that you can modify the Vac-U-Boat JAE.21FE hatch to fit the JAE.12 pretty easily? It needs trimming all the way round, and where you trim it at the back will still be in the raised section so you fill that with some scrap trimmings and taper it down with a file or sandpaper, pretty easy to do in a couple of hours and most of that is waiting for glue to dry, and it looks really good, better than it does on the .21 in my opinion, and much better than it looks with a flat deck. It also allows for J bend.
                            This is NOT a toy?!?

                            Comment

                            • capnswanny
                              Senior Member
                              • Feb 2012
                              • 817

                              #15
                              Thanks Tim, I appreciate your kind words!!
                              I was pleased with the way it came out using just a jigsaw and drill press. :)


                              Originally posted by tlandauer
                              Awesome motor mount! Your build looks great!
                              This is NOT a toy?!?

                              Comment

                              Working...