Df 35 Pirate - Rebuild

Collapse
X
 
  • Time
  • Show
Clear All
new posts
  • millzee
    Ozzie Bloke
    • Nov 2010
    • 1092

    #1

    Df 35 Pirate - Rebuild

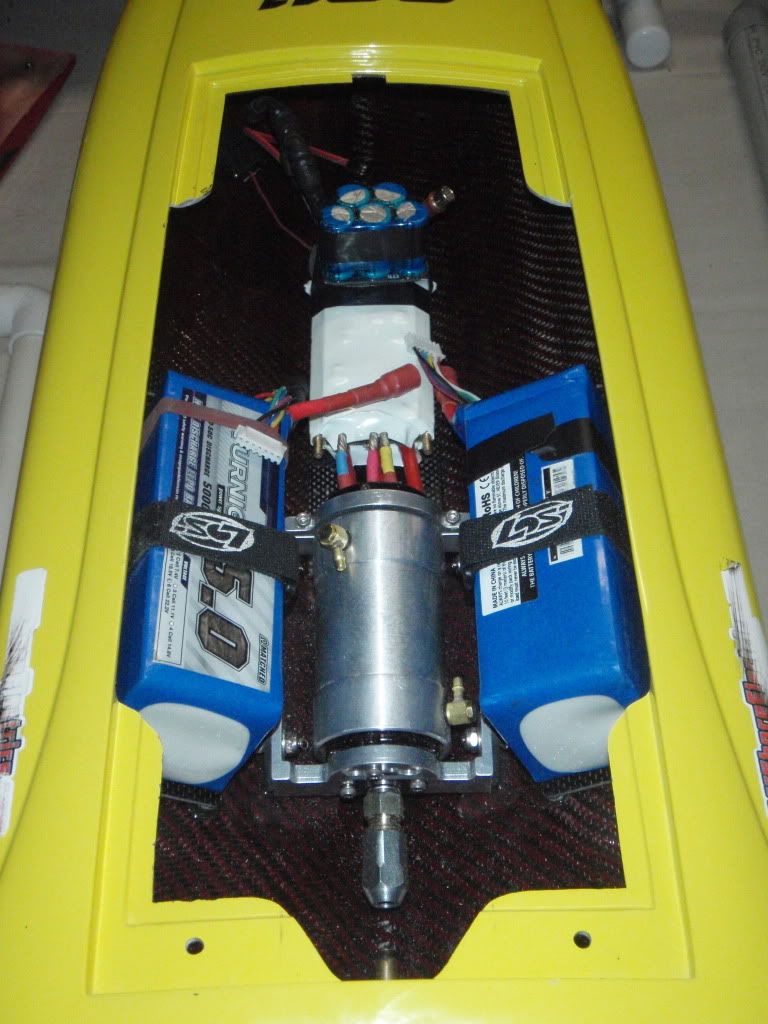
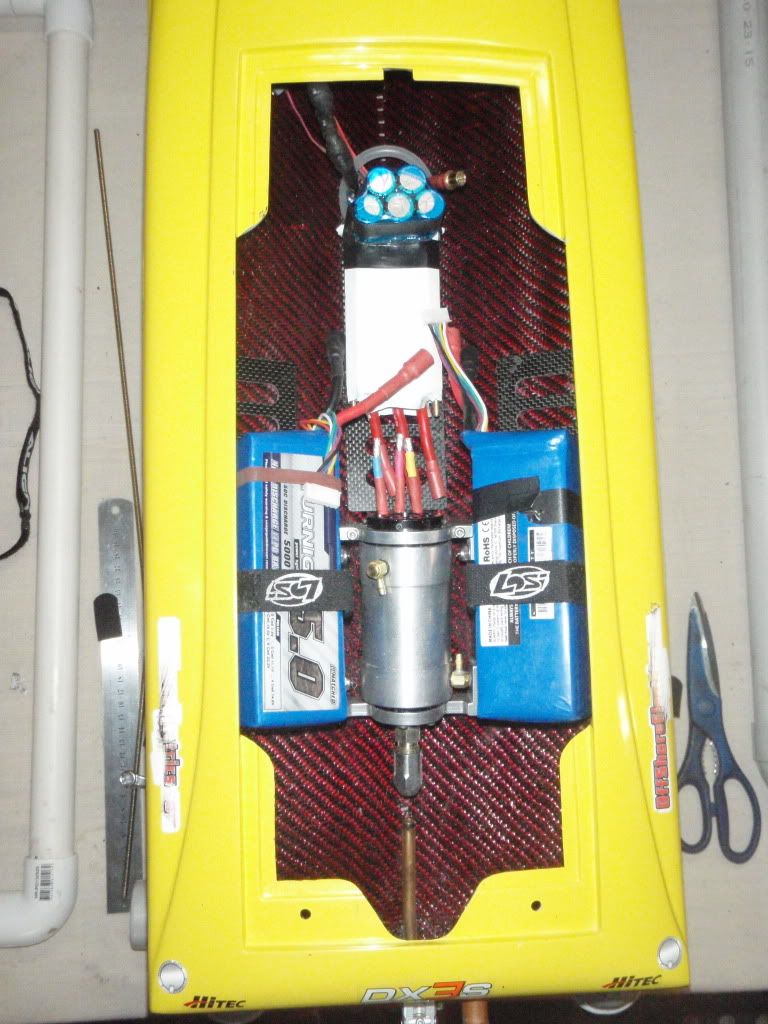
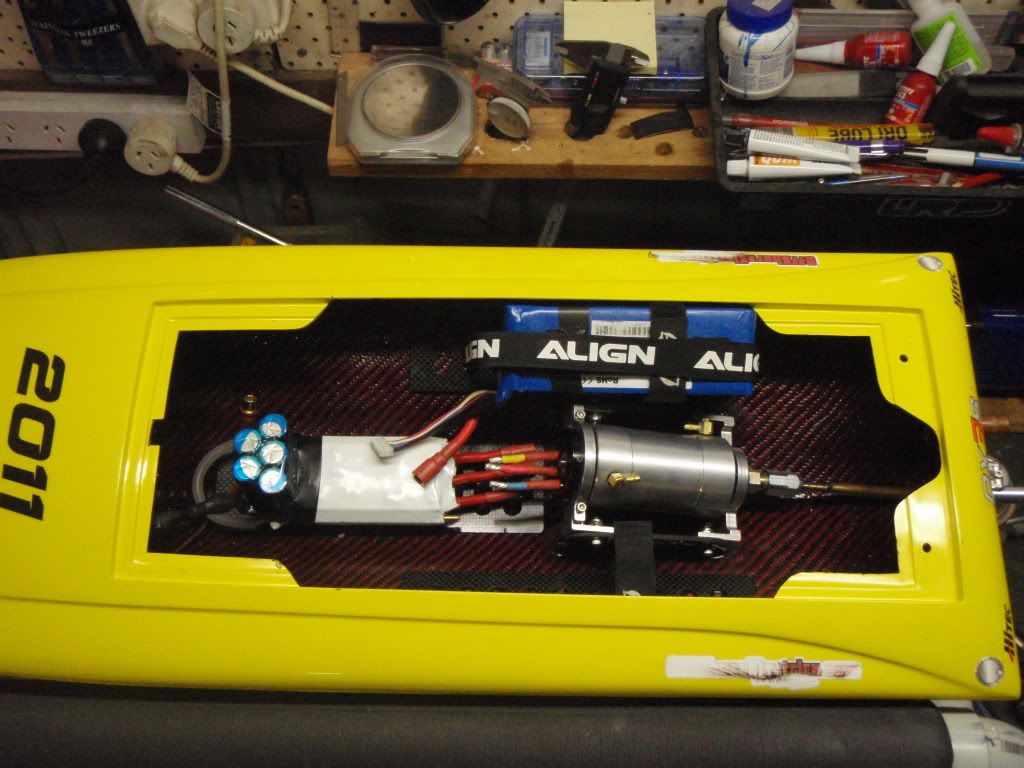
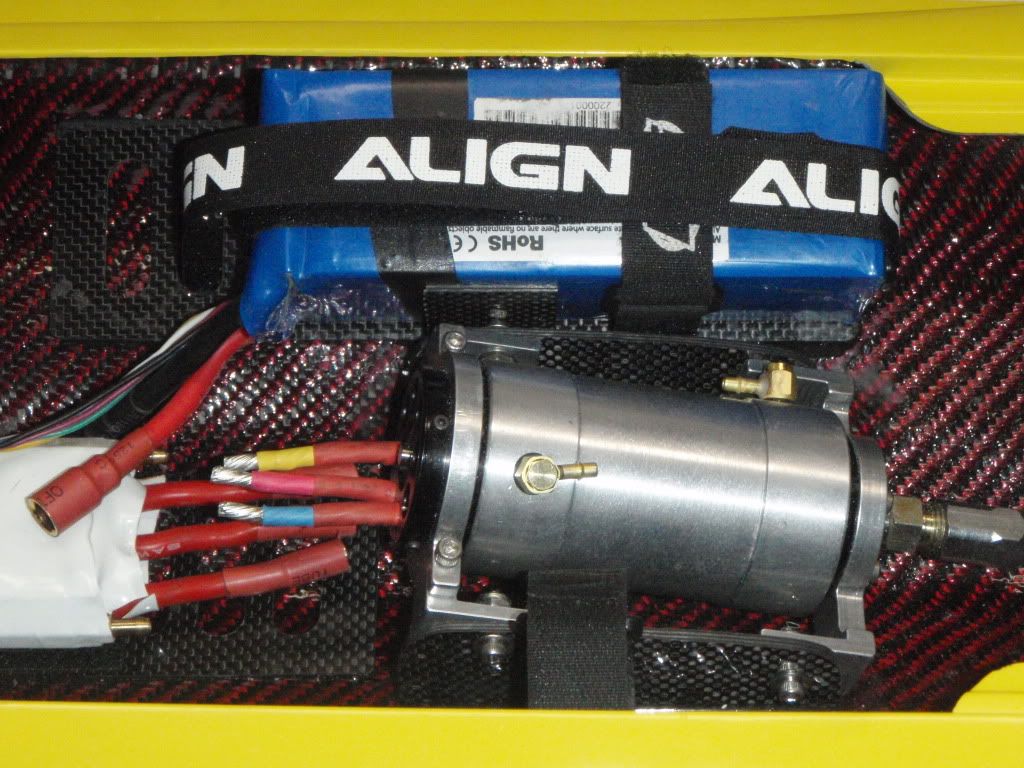
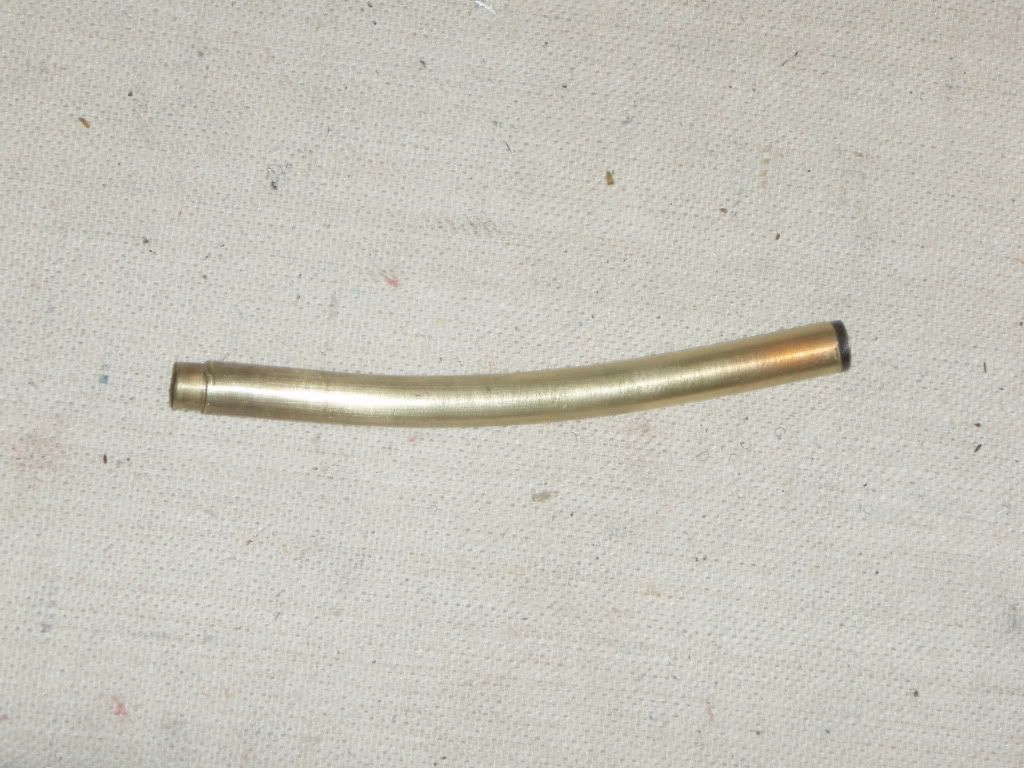
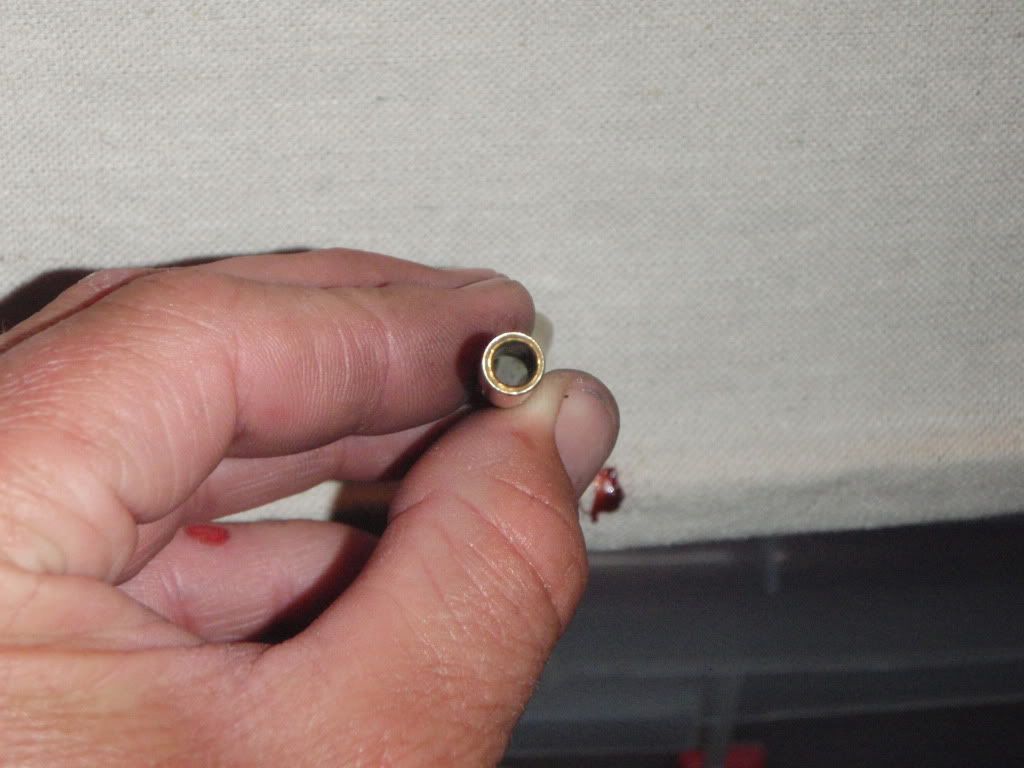
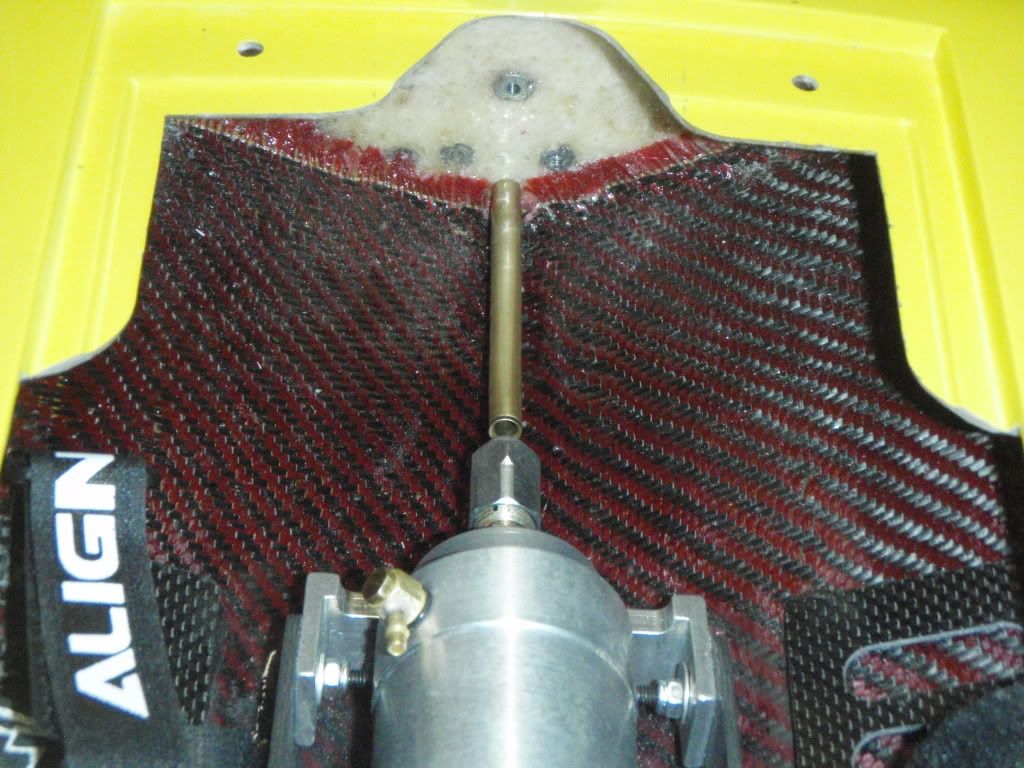
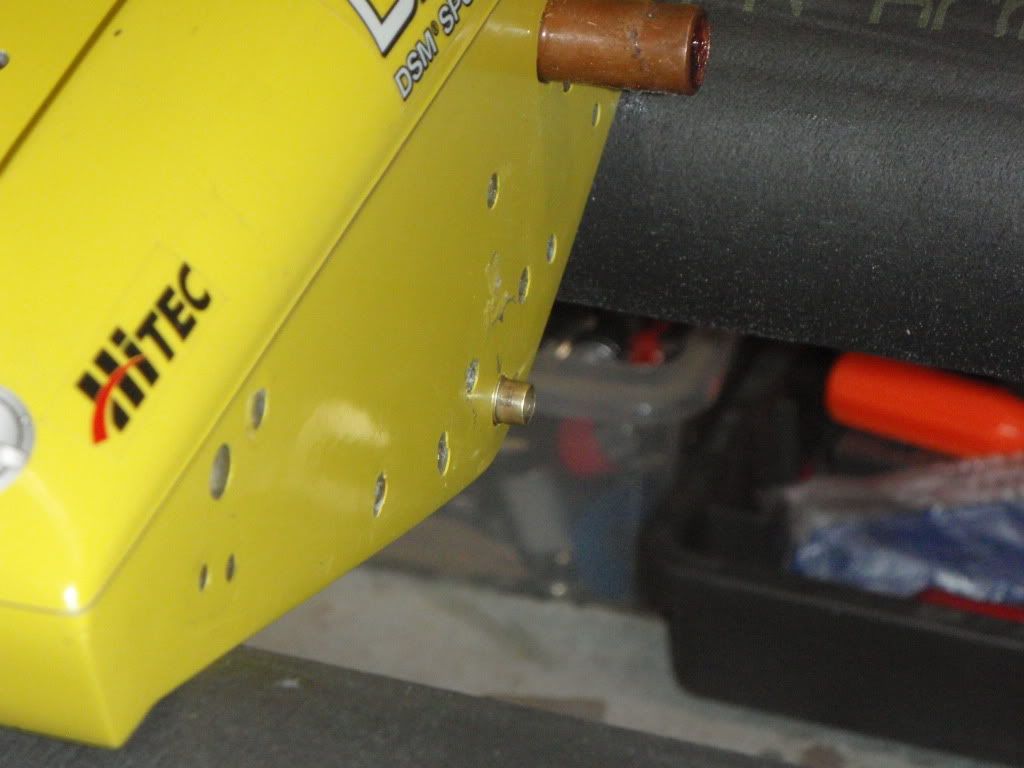
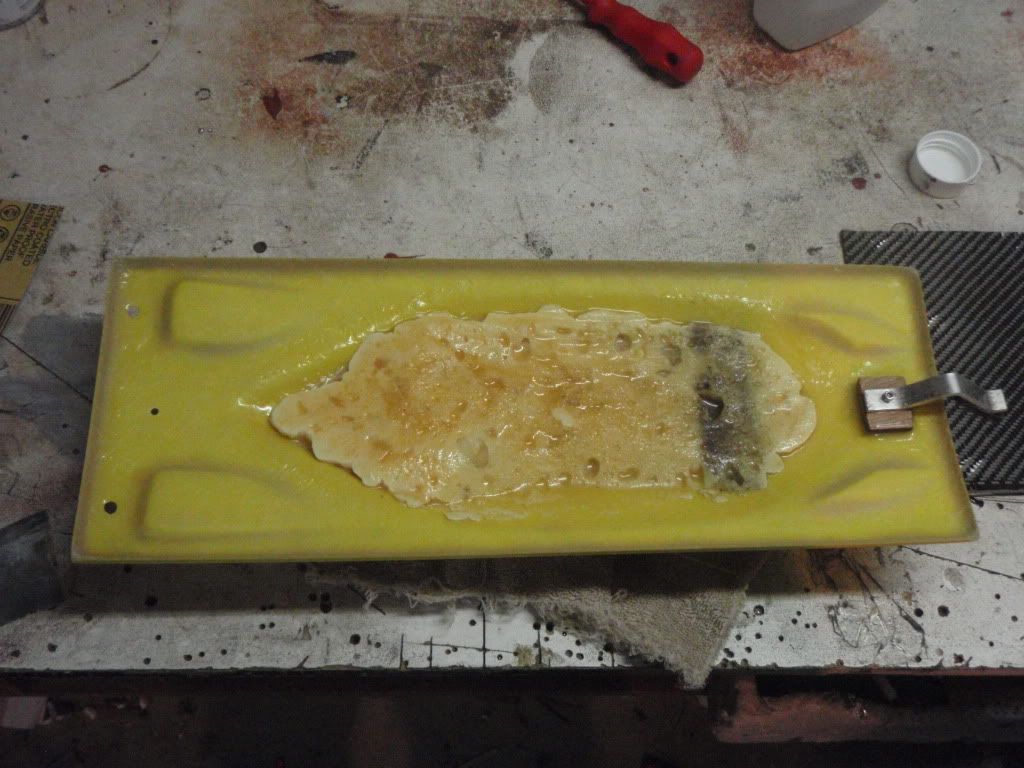
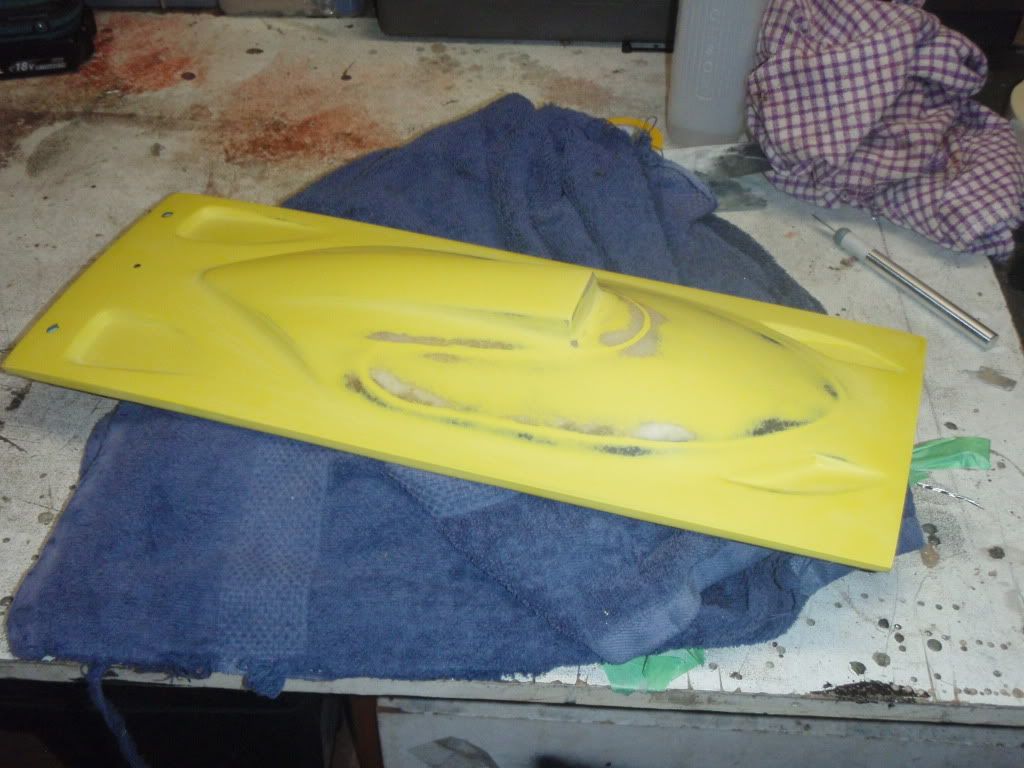
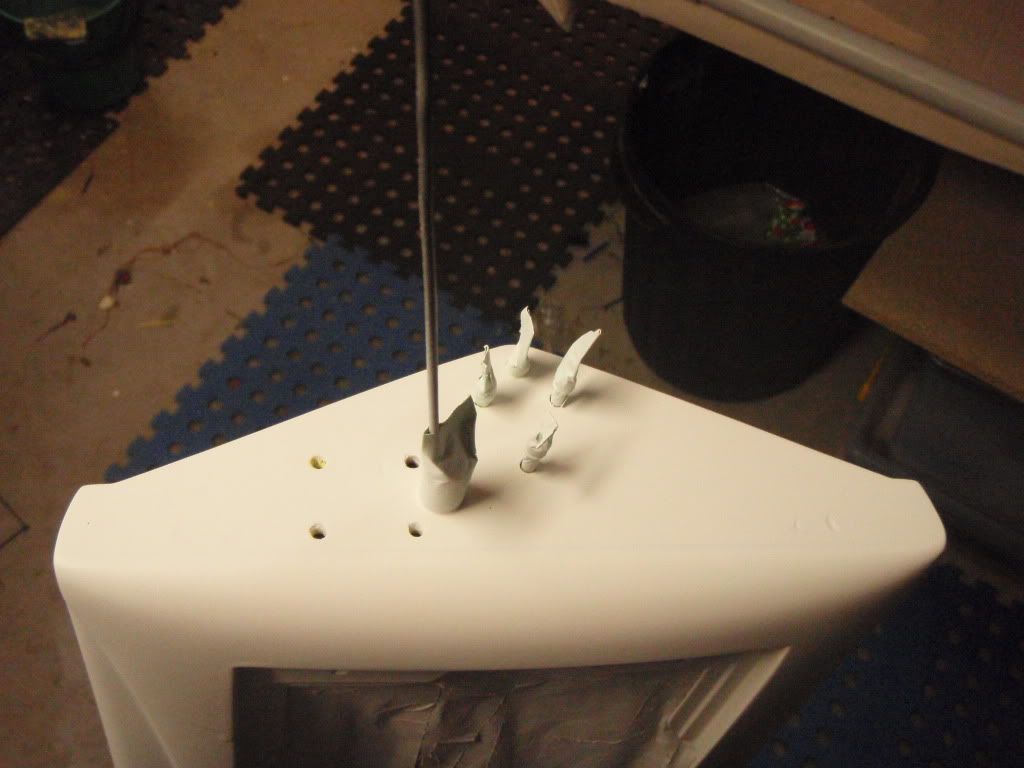
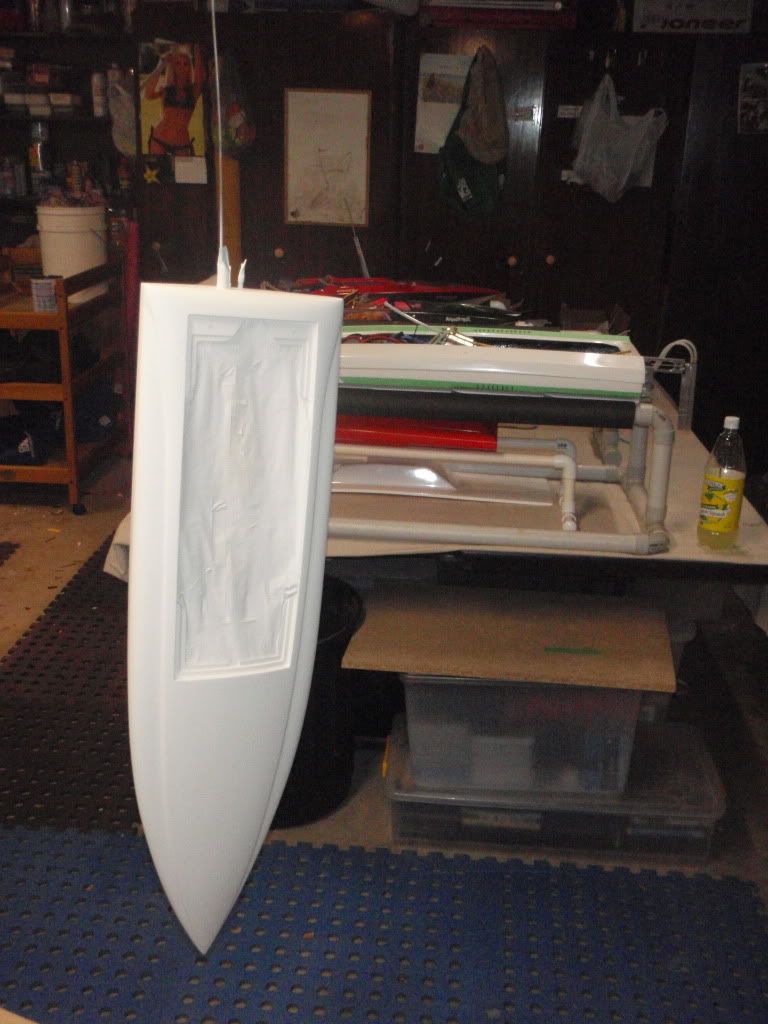
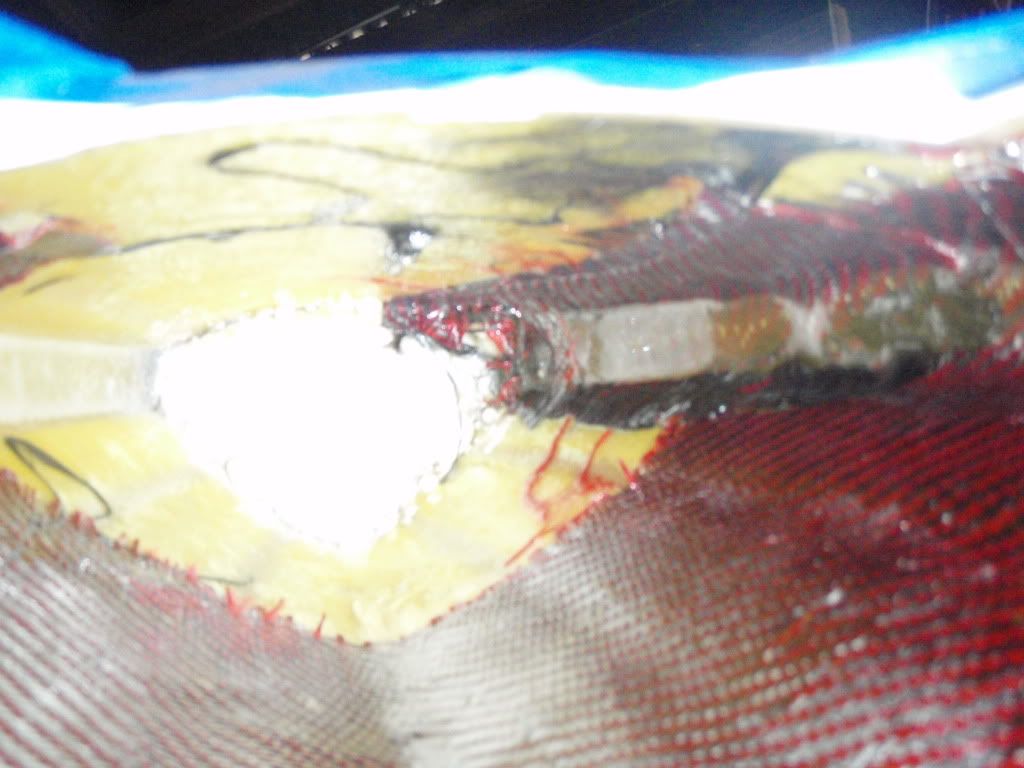
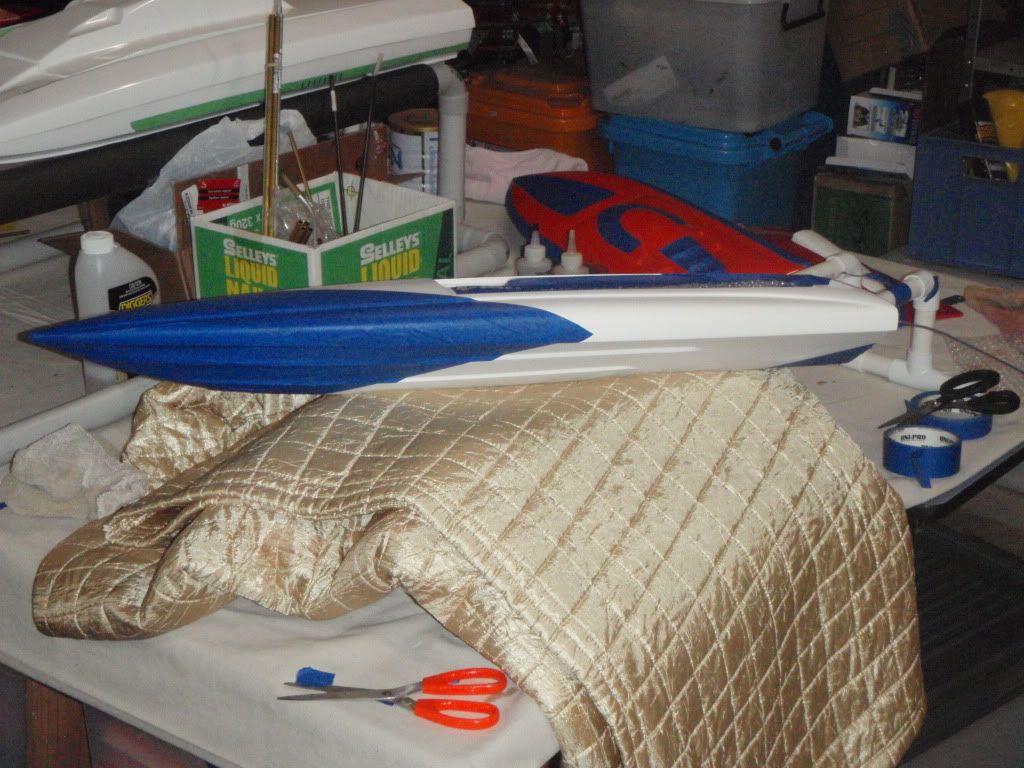
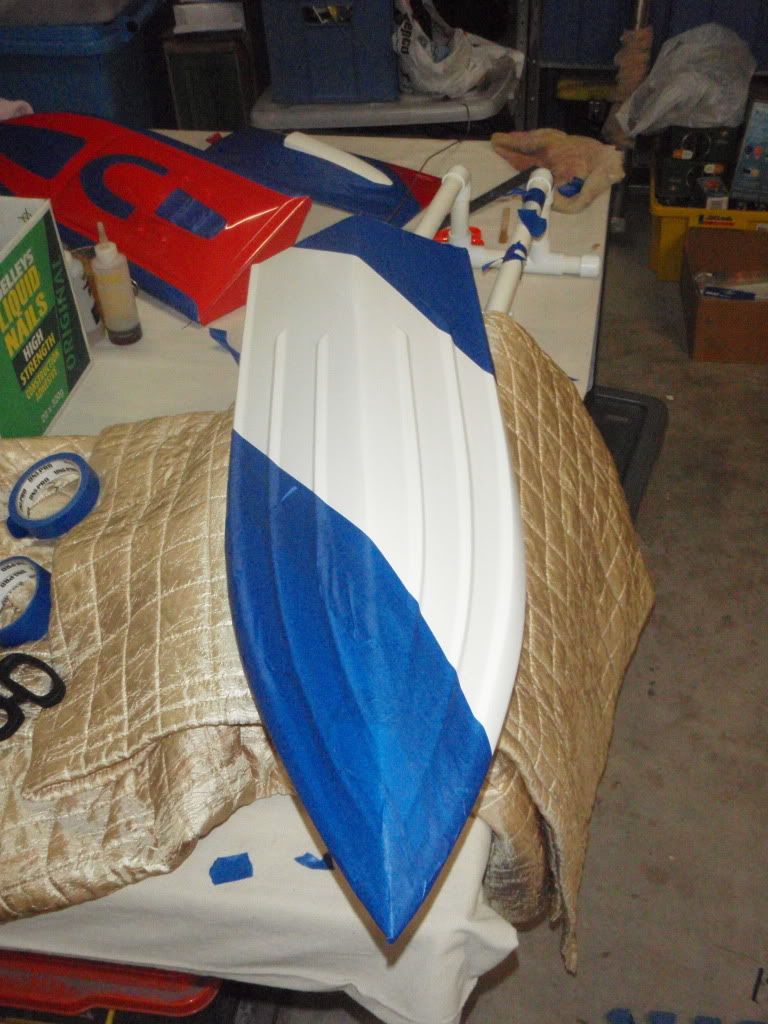
    Last night I began to strip out my df35 to get it ready for a rebuild. I plan on getting the hull back to scratch, filling most of the drilled holes and starting all over again as this was my first build nearly a year ago, back when I was nervous at the thought of drilling a hole in the hull. I'm going to have to remove the overweight bodge job motor mount and stuffing tube, sand back and remove all the excess epoxy mess inside the hull thats ungodly thick and remove all the stickers so the hull can be painted.
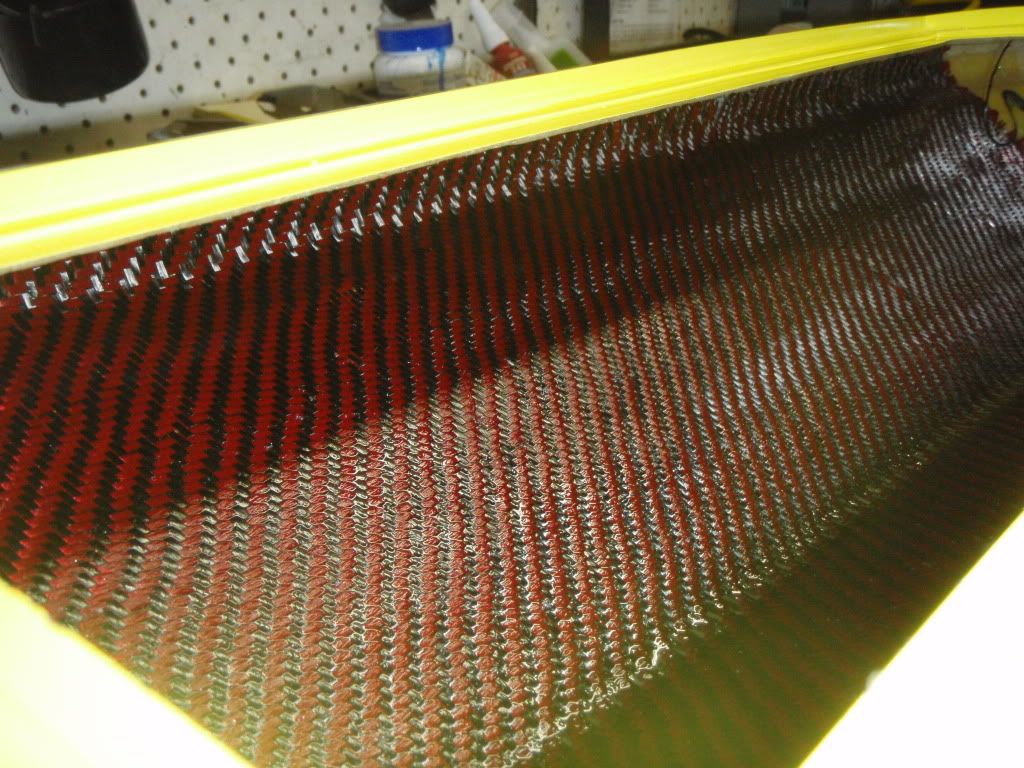
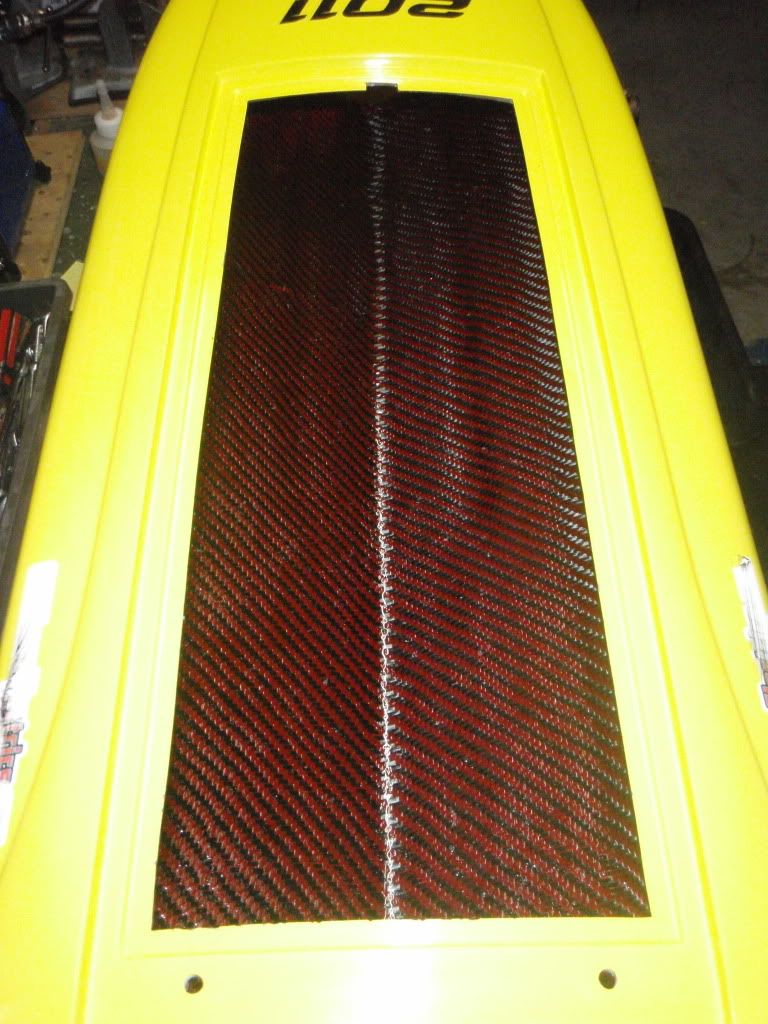
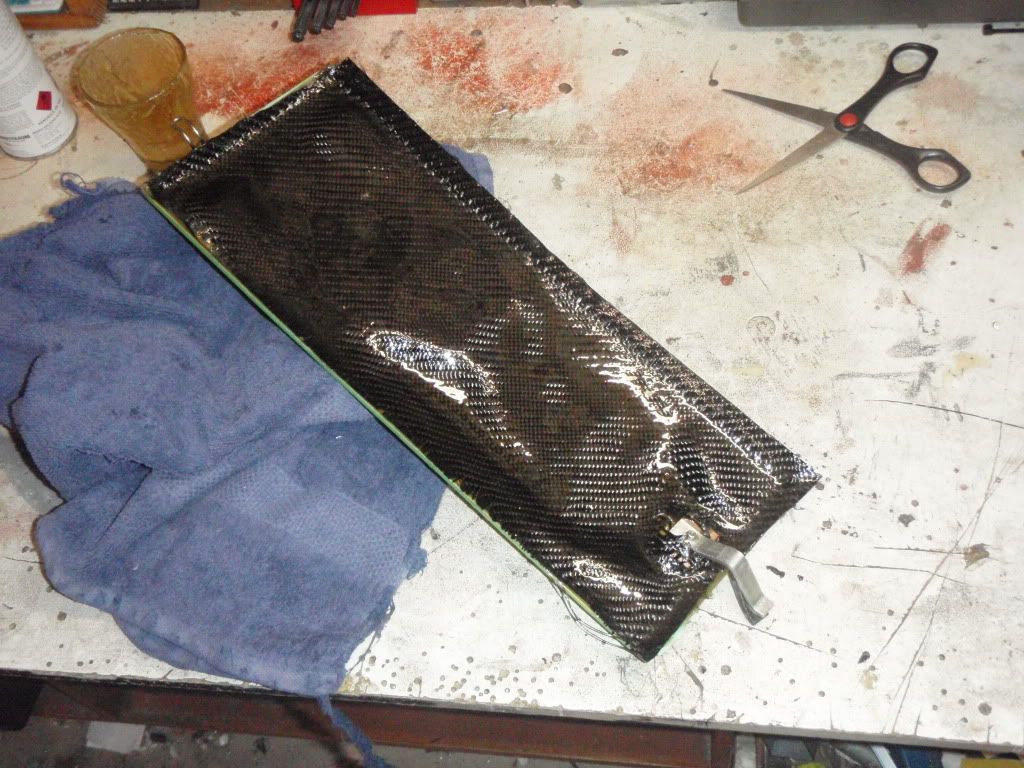
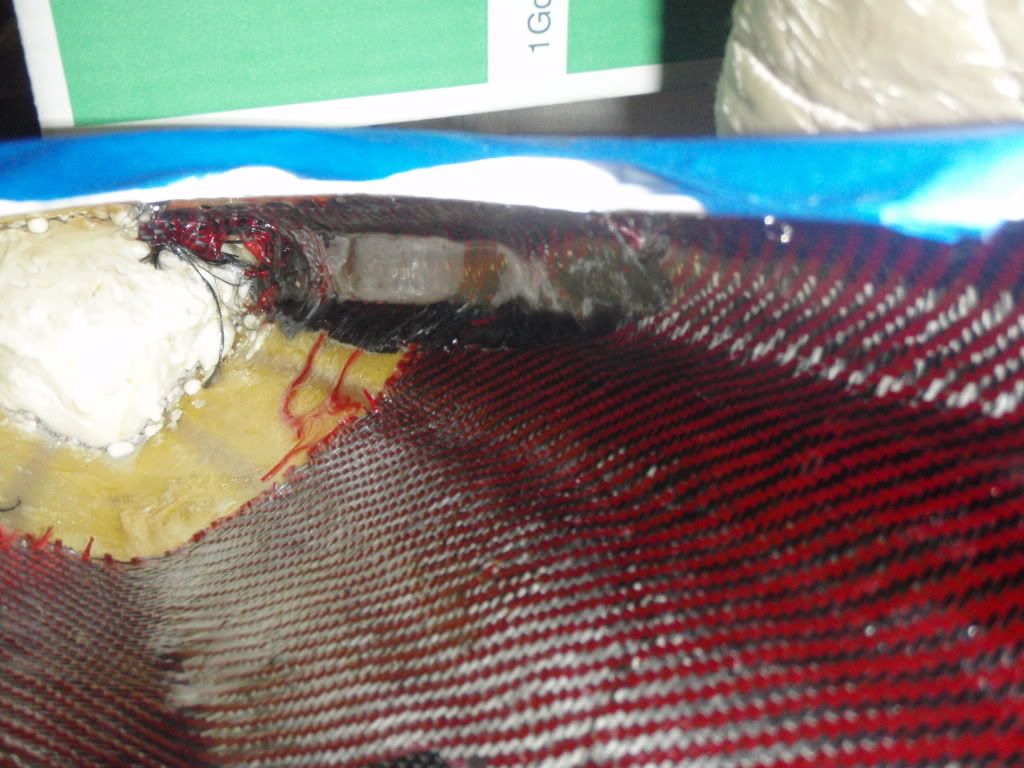
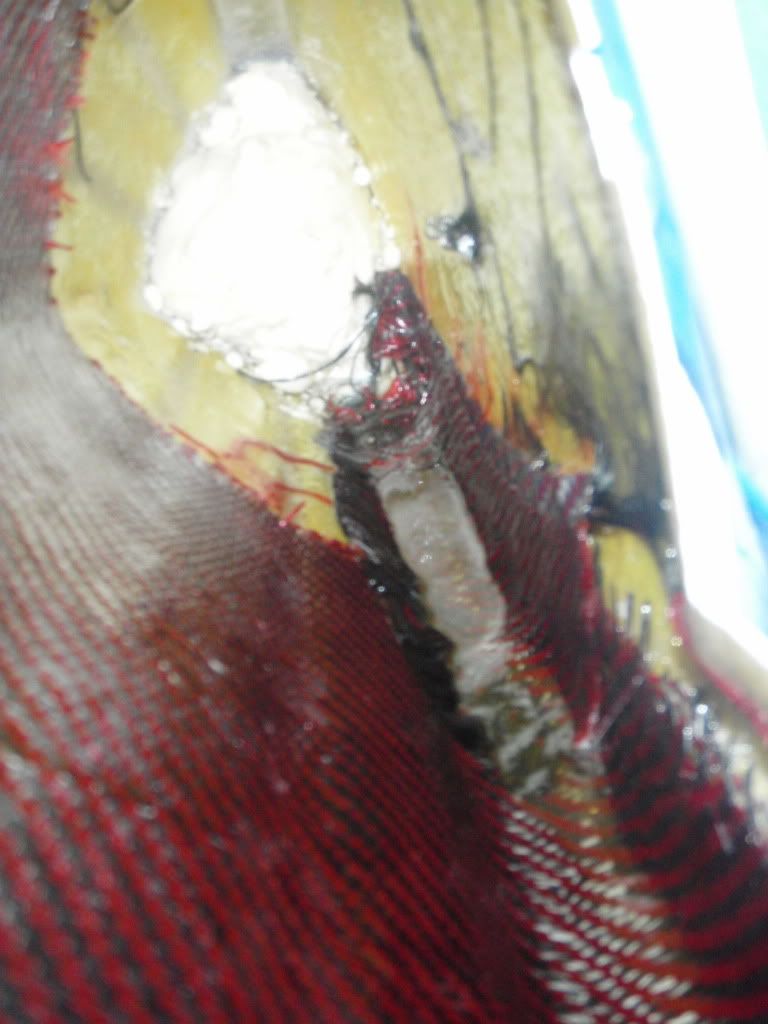
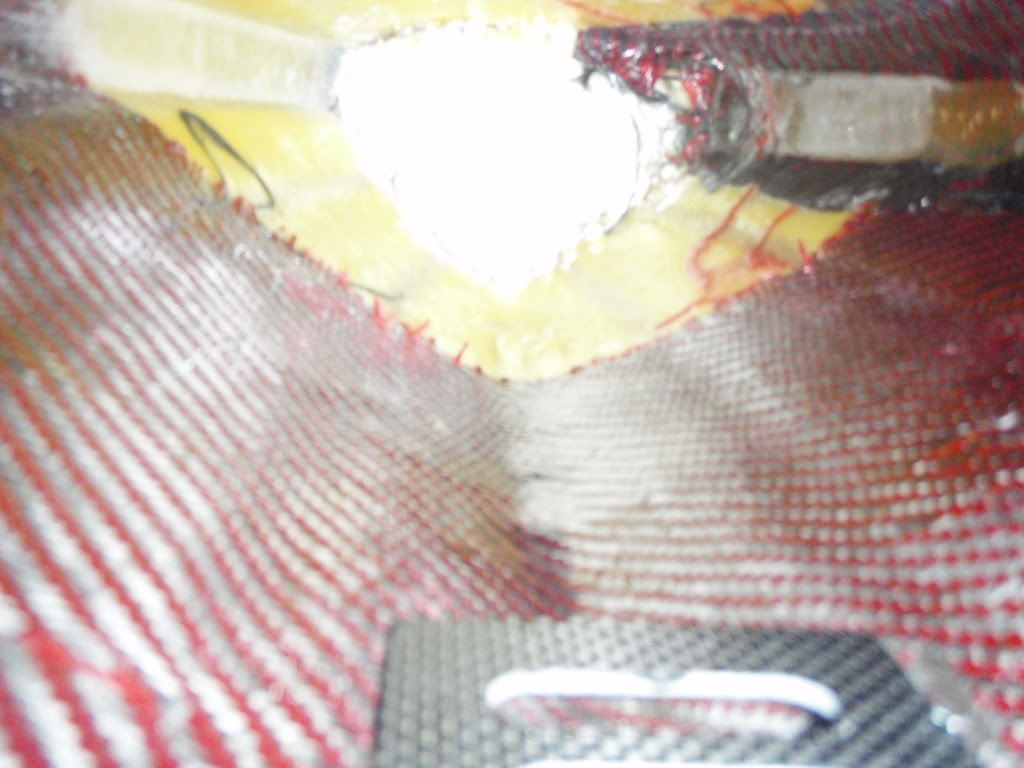
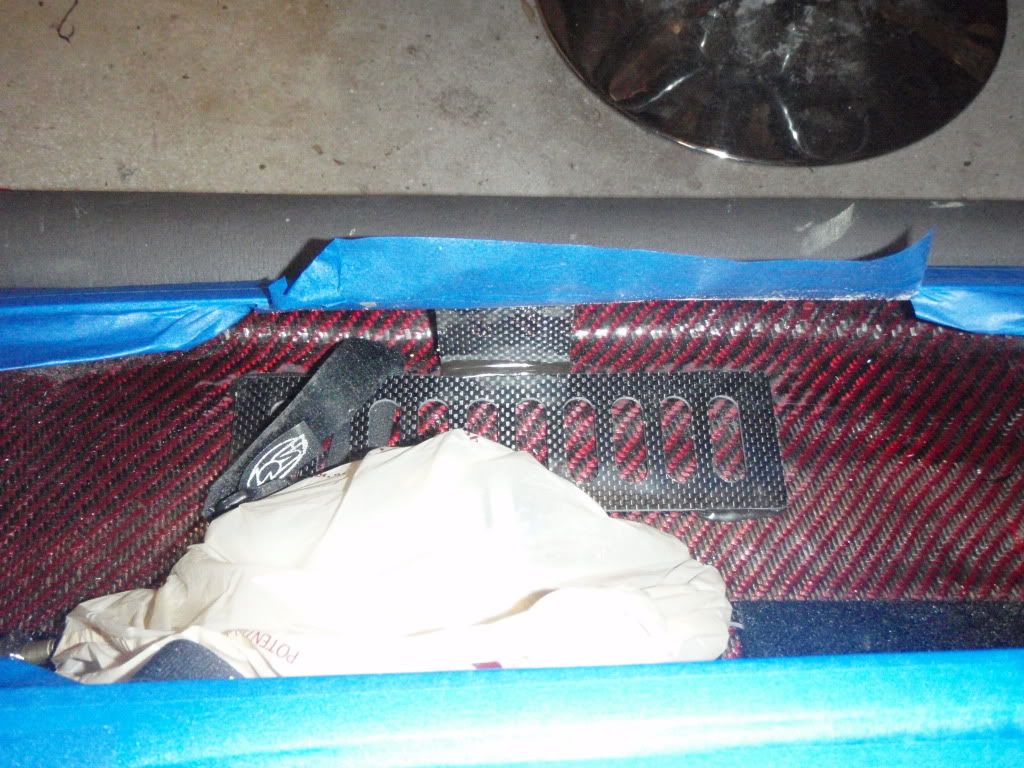
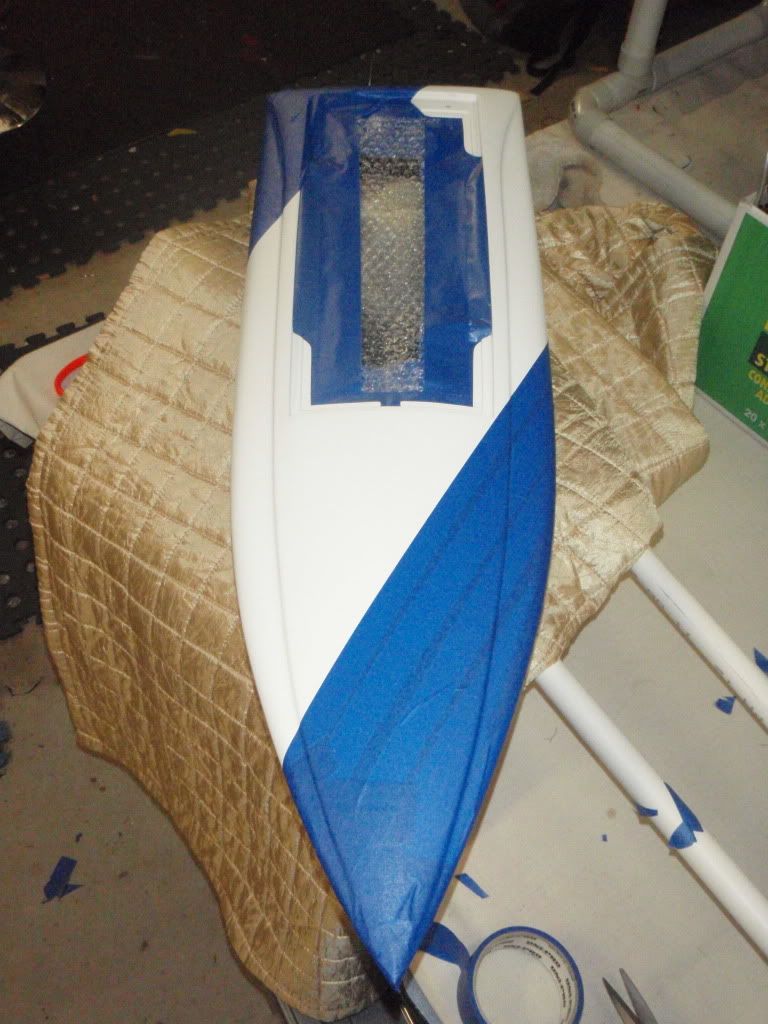
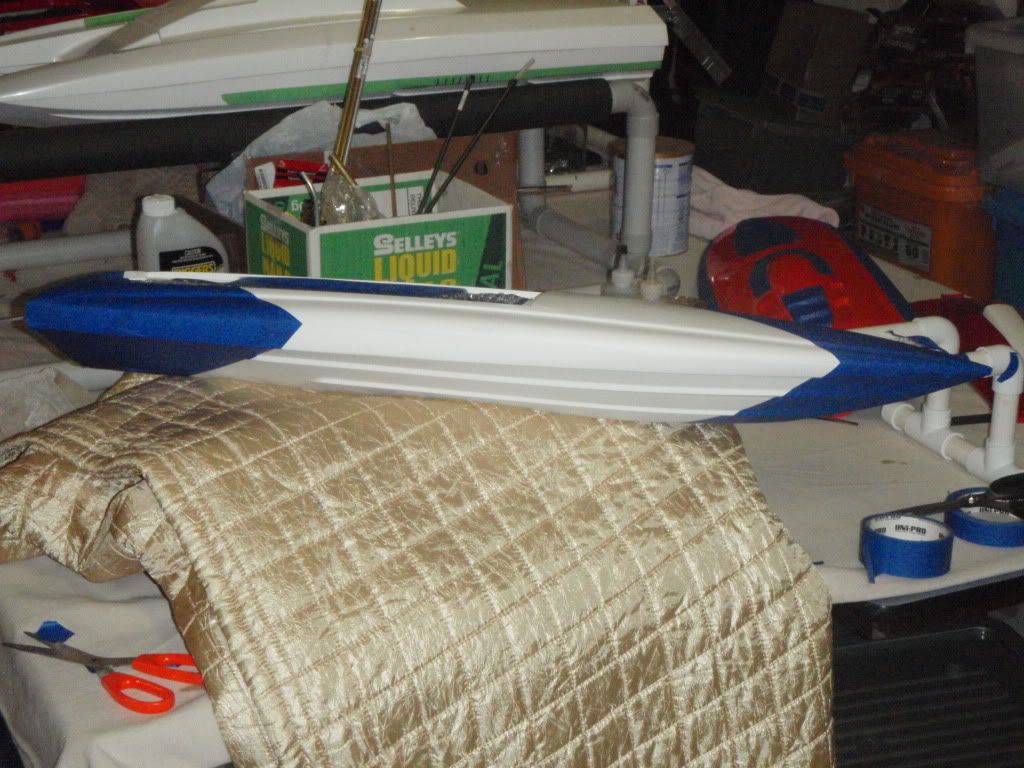
    I will lay some carbon/kevlar cloth in the hull and transom, redrill for trim tabs, remove the bottom right hand corner of the rudder bracket so the trim tabs can be fitted a little further apart. I'm thinking a much shorter stuffing tube and making more room for the batteries so it'll stop running a tad wet. I recon I'll paint it up similar to my Titan 29 and DF29, this way I can have all my mono's in a bit of a team color theme.
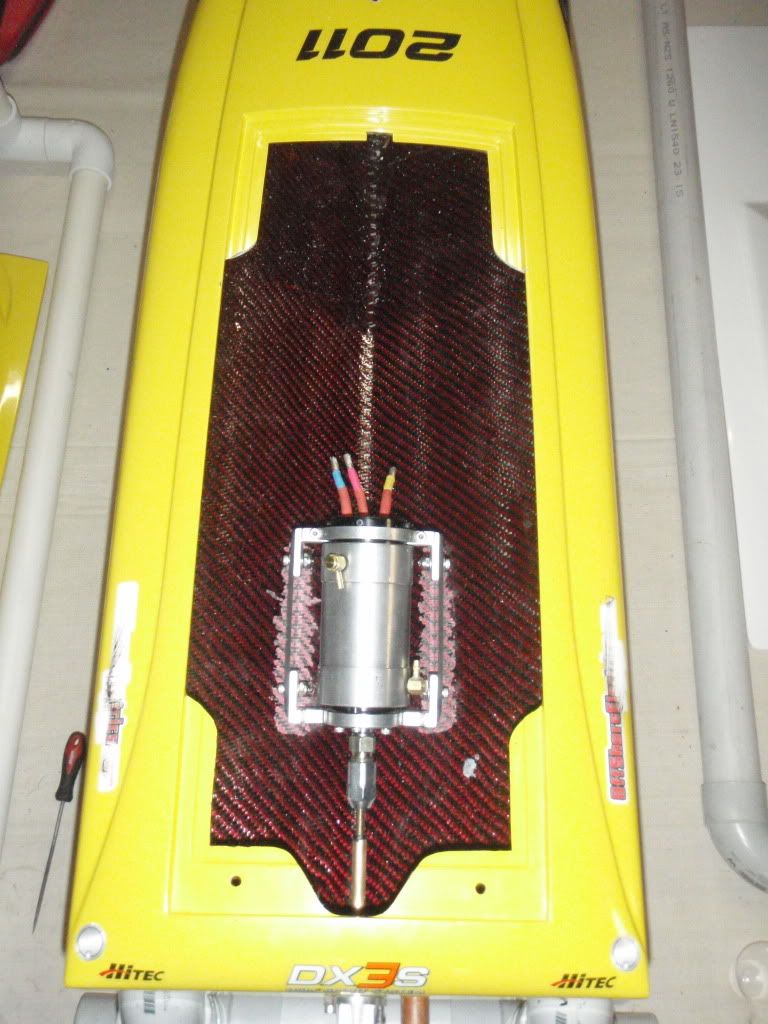
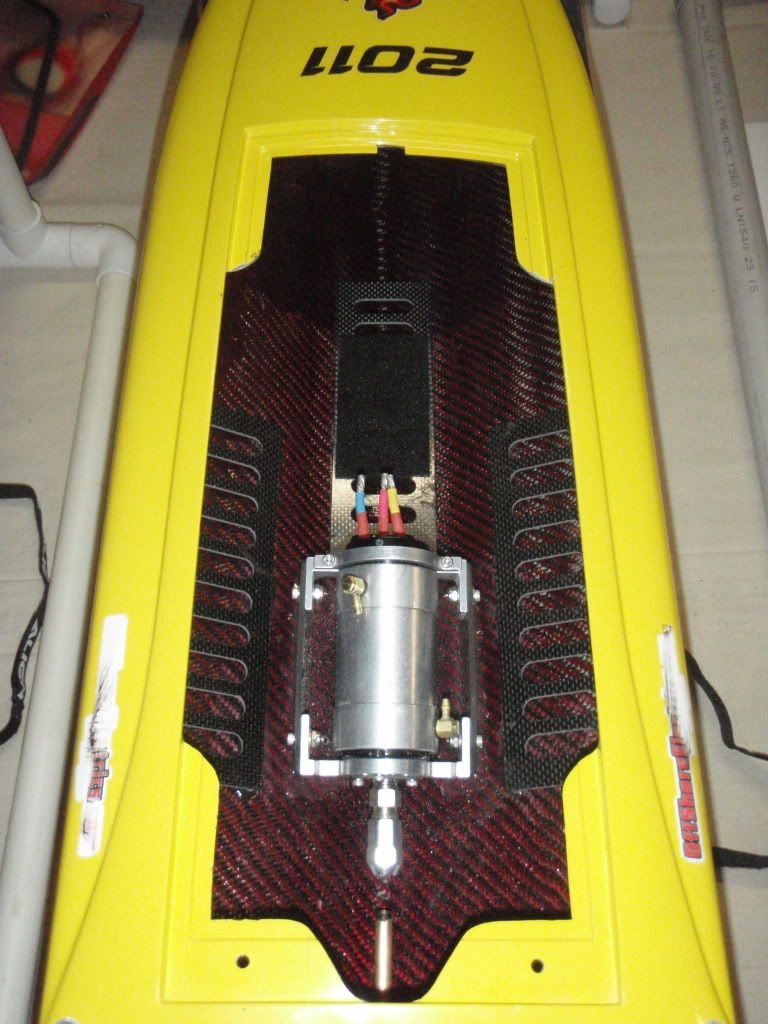
    New motor will be a Neu 1527 1.5d 1500kv, I'll keep the sf240 speedo in there but allow the esc mount to change out to a t180 if need be and it'll be ran with 6s2p 45-90c 10000mAh nano tech lipo's. I'm thinking a m545, m447, x548 with the tongues removed or a x646, my goal remains the same, 100kph / 62mph.
    http://www.youtube.com/user/1millzee?feature=mhum
    "Gimmy Toyz for FUN"
  • Rumdog
    Fast Electric Addict!
    • Mar 2009
    • 6453

    #2
    That thing will be a rocket on that power! The 1527 1.5d will spin a big boy prop too. Remember, 0-5 degrees timing
    I ran up to a x457 on 5s2p in my sprintcat!

    Comment

    • RIPFENCE
      Fast Electric Addict!
      • Sep 2009
      • 1332

      #3
      its a good setup..its what i run with my pirate and you should be right at the 60-62 mph mark...just an honest opinion here though..do not run the t180 with that big neu...i ran the castle hydra ice 240 and i was having 220 amp spikes frequently on the data logger with the x646 3 blade on 6s2p in the turns and the motor can definately pull more its a beast..i know the t180 has a 360amp burst but that motor is on the hotter side...it can turn a big prop but i have found the x648 and the x 646 3blade has a good balance of speed and run time which was around 4 minutes..i tried an abc 1.8 50mm and the boat torque rolled hard and would not stay level at high throttle..so i think you have some good prop choices there to try on 6s2p
      hope this helps milzee

      rip
      "FE" STANDS FOR FRUSTRATING EXPLOSIONS

      Comment

      • millzee
        Ozzie Bloke
        • Nov 2010
        • 1092

        #4
        Thanks guy's, I'm looking forward to running it. I'll set it up with the sf240 speedo. With that info you've given me, I think it'll be worth me trying a x450 and a x450/3 with the tongues removed. Sweet as.
        http://www.youtube.com/user/1millzee?feature=mhum
        "Gimmy Toyz for FUN"

        Comment

        • millzee
          Ozzie Bloke
          • Nov 2010
          • 1092

          #5
          Here's a pic of what I have started with. After ripping the motor mount, stuffing tube and everything else out I sanded the inside of the hull with a dremel, cleaned it all up and have layed some carbon/kevlar throughout most of the hull, up the sides all the way to the inside edges. The layout is going to take a bit of thinking about, my lipo's are a tad too fat to be able to run them either side of the motor but I may be able to run them either side of the sf240 if I run a short stuffing tube with the motor up back, speedo behind the motor in the center and then have enough room to get the cog down to around 28% and have plenty of room to move it forward. I'll go sleep on it.

          This is a link to my original build thread. http://forums.offshoreelectrics.com/...ate&highlight=


          http://www.youtube.com/user/1millzee?feature=mhum
          "Gimmy Toyz for FUN"

          Comment

          • millzee
            Ozzie Bloke
            • Nov 2010
            • 1092

            #6
            So heres my progress update.
            Finding a layout to allow the cog plenty of room for adjustment has caused me do lot's of thinking and after a few nights playing around I decided to take the dremel to the hull and remove some of the edges of the opening to make it easier for me to work and to allow room for the lipo's to fit along side the motor, I then positioned the batteries in place on carbon trays to find the best spot for height and width. The esc is also mounted on a battery tray and I've apply velco by cutting it to fit so it folds back onto itself underneith so theres no chance of it coming off the carbon, I may use a velcro strap on it also. The lipo's have a velcro strap running each way, I'll pack the hull tight with noodels which should help any extra movement. I have just thought as I was looking at the pic's that I'll have to remove the motor mount bolts from the carbon and refit a flat headed screw in the rear of both sides, that'll fix my worries about the lipo having a bolt head poking into it in the event of a crash, it should also lower the weight to the center of the hull a little better to as the lipo would sit lower onto the flat edge of the motor mount.
            With my layout, I have made it this way so if I decide to try 6s1p, I can swap the speedo with a battery, when I do this the cog is a round 30-36%.
            Heres a few more pic's.


            http://www.youtube.com/user/1millzee?feature=mhum
            "Gimmy Toyz for FUN"

            Comment

            • LarrysDrifter
              Big Booty Daddy
              • May 2010
              • 3278

              #7
              Shes looking good. One thing I would change is the large gap between the collet and stuffing tube.Id move the motor back or make the stuffing tube a bit longer. Ive had big gaps like yours and it caused cable whip, which ate up the end of my stuffing tube. I decreased the gap, and no more problems. Also, since you cut away some of the hatch opening, that weakens the lip since there are no more 90 degree bends that add strength. I also did this for the same reason you did amd it definitely wasnt a good idea. Im not dogging you, just sharing a couple of the same things ive done that didnt work in my favor like I thought they would.

              Comment

              • Make-a-Wake
                FE Rules!
                • Nov 2009
                • 5557

                #8
                Nice build, nice setup.....................................60+ mph for sure.....................
                NEED PARALLEL CONNECTORS?? QUALITY 5.5MM, 8MM, 8 AND 10 AWG, GET THEM HERE: http://forums.offshoreelectrics.com/...est!&highlight=

                Comment

                • millzee
                  Ozzie Bloke
                  • Nov 2010
                  • 1092

                  #9
                  thanks guys. I still have to work on the stuffing tube, the one in the pic's is NQR so I'm planning on bending up another, I'll make sure it's a nice small gap. The strength of the hull was a concern when I was cutting the opening away, fortunatly I have run the carbon/kevlar all the way to the lip, I'm hoping that'll help a little with the strength. I apperciate your feedback, keep it coming.
                  http://www.youtube.com/user/1millzee?feature=mhum
                  "Gimmy Toyz for FUN"

                  Comment

                  • millzee
                    Ozzie Bloke
                    • Nov 2010
                    • 1092

                    #10
                    I've made a little more progress, I made a stuffing tube using 1/4" inside 9/32" brass with the 1/4" sticking out at one end, then I heated and bent it into shape, cut it and flared a small length of 7/32" brass tube to secure in the coupler end . I have made a carbon support close to the coupler end and it seems to be in line and strong.


                    http://www.youtube.com/user/1millzee?feature=mhum
                    "Gimmy Toyz for FUN"

                    Comment

                    • millzee
                      Ozzie Bloke
                      • Nov 2010
                      • 1092

                      #11
                      I then began sanding and preparing the hull and hatch, the hatch was little flexy so I layed carbon over top of the floatation, it's sure strong now and a little heavy, I hope it still floats, lol. The hull seems and windscreen lines where well sanded to give them a smooth flat finish, some of the holes that I filled in the transom still need minor attention but otherwise it's comming along well.


                      http://www.youtube.com/user/1millzee?feature=mhum
                      "Gimmy Toyz for FUN"

                      Comment

                      • srislash
                        Not there yet
                        • Mar 2011
                        • 7673

                        #12
                        It's looking good Millzee.The pirate has a pretty good V on her.Maybe I'll just go with it for my 1717 build.Steve only has a green one though.

                        Comment

                        • millzee
                          Ozzie Bloke
                          • Nov 2010
                          • 1092

                          #13
                          the pirate with the 1717 is a 100kph boat with a x450, approx 5-7minute runtime with 10000mAh lipo, and temps not too bad. I just wish I knew how to trim and set up the boat better back when I was building it with that set up. Good luck. Thanks
                          http://www.youtube.com/user/1millzee?feature=mhum
                          "Gimmy Toyz for FUN"

                          Comment

                          • millzee
                            Ozzie Bloke
                            • Nov 2010
                            • 1092

                            #14
                            My builds are taking longer lately due to work/family commitments but I have managed to give the hull and hatch a 800g rub down over the primmer and while taping up I dropped the hull but caught it by the nose before it impacted the ground. This caused a tiny split in the seam in the only spot the hull hasn't got reinfrocement, between the nose with spray foam and the carbon/ kevlar I layed through the interior. I have fixed it (I hope) by first sanding the area on both sides with 240g and then pouring 30 minute xpoxy in over the area and letting it dry in a possition that has the xpoxy resting over the split, sanded down, this made a nice flat, smooth surface to lay a strip of carbon/kevlar over the top using xpoxy finishing resign, I recon this should hold up so I'm doing it on both sides just to be sure. I rounded off the seam to give the hull a sweet rounded/seamless look but this must have weakened the seam where it had no internal strengthening.
                            Also, after a couple of post's regarding the hull strength after removing some of the inner lip to fit the batteries, I have jb weided a block of 2.5mm carbon sheet between the lip and floor and it's stiffened things up pretty well.


                            http://www.youtube.com/user/1millzee?feature=mhum
                            "Gimmy Toyz for FUN"

                            Comment

                            • millzee
                              Ozzie Bloke
                              • Nov 2010
                              • 1092

                              #15
                              I'm back in action taping up the hull again but I've changed my paint scheme as my favorite Aussie rules football club is going to be in town going to the schools and then having a practice match and a "meet the players" night on the oval next to me in a couple of weeks, so I figured I'd paint it up in the team colors. I've ordered some car decal team stickers that should dress it up nicely and I'll take it over on the night and see if I can get the entire team to sign it and then I'll apply a heap of clear coats to keep them safe. If that fails and I can't get them all to sign it on the night I'll ask a bloke I know who's the father of the teams up and comming full forward if he could get the ones I missed.
                              I've had a half assed brain fart thought that I might be able to get some footage of it running and send that and the boat to the TV's Footy show and let them sell it on an auction night to raise money for the childrens hospital or something like that. I think if it had the whole team including the coach, it might be worth far too much to drive.

                              Here's a few pic's before I hit it with the paint,


                              Last edited by millzee; 01-10-2012, 09:17 AM.
                              http://www.youtube.com/user/1millzee?feature=mhum
                              "Gimmy Toyz for FUN"

                              Comment

                              Working...