Hi Tech 2 Build

Collapse
X
 
  • Time
  • Show
Clear All
new posts
  • weil0127
    Senior Member
    • Dec 2009
    • 164

    #1

    Hi Tech 2 Build

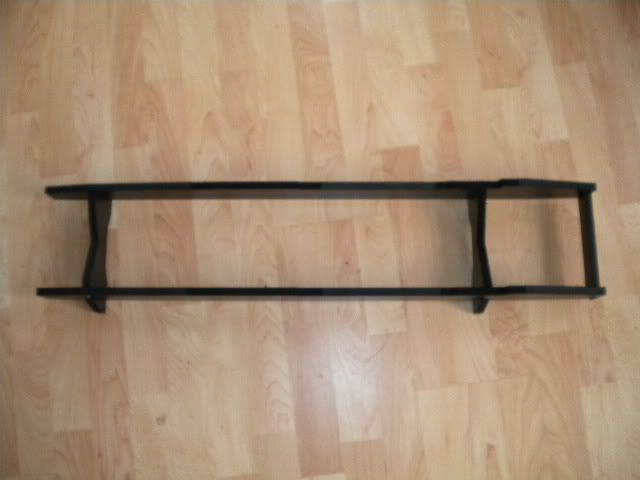
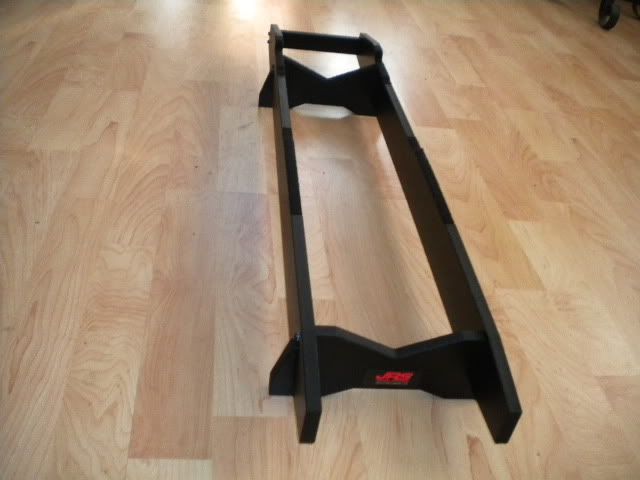
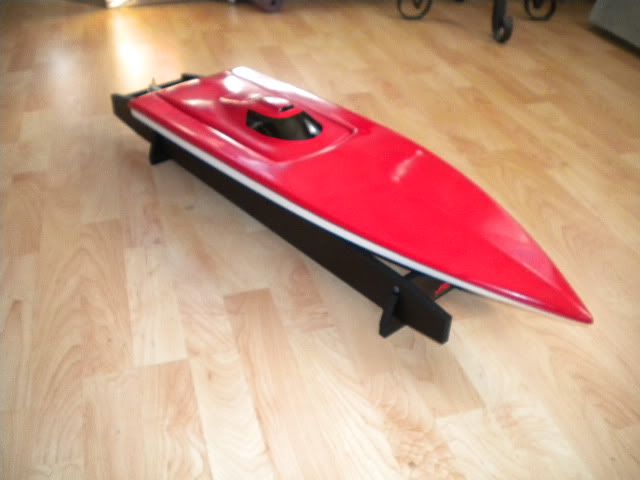
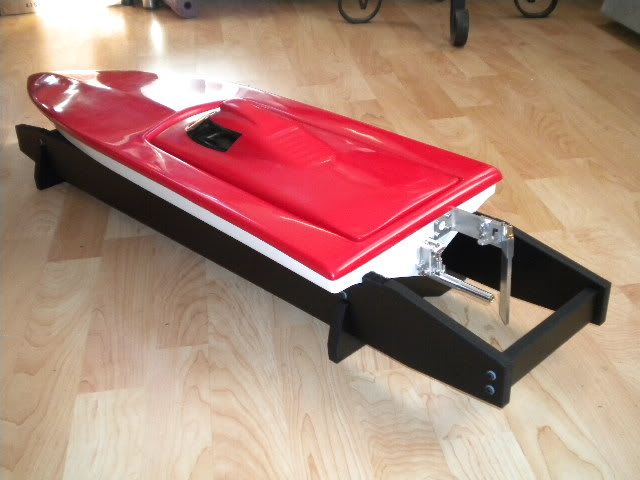
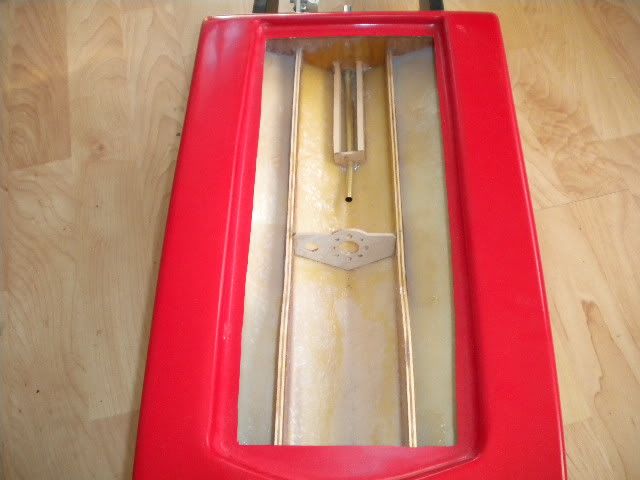
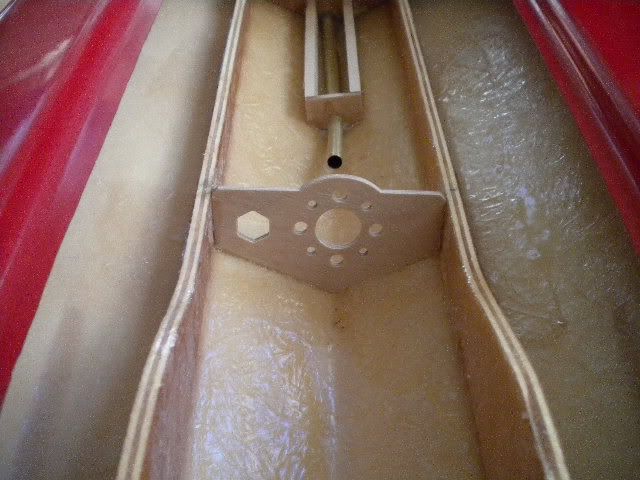
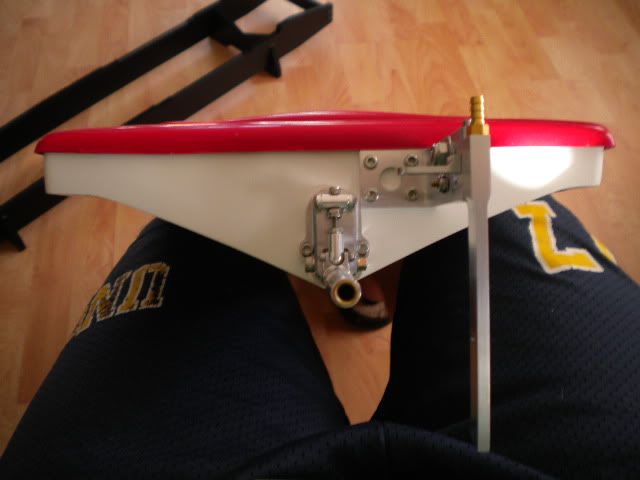
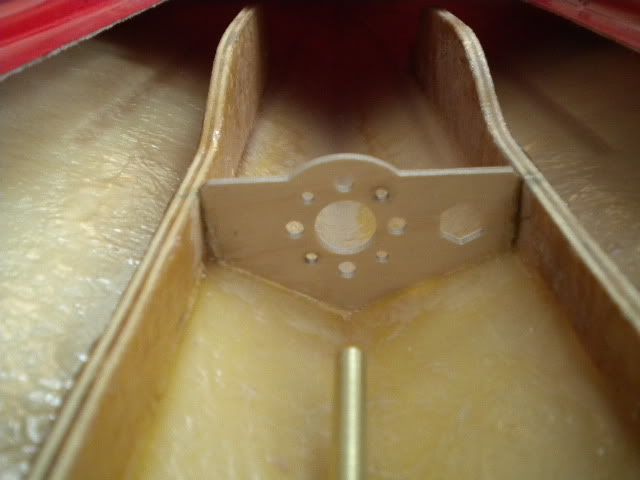
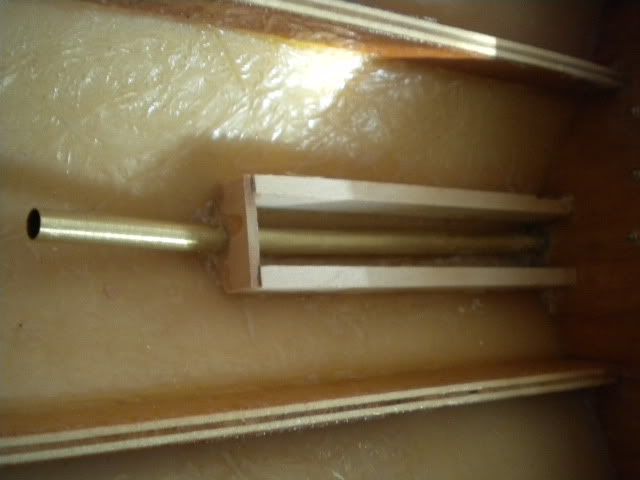
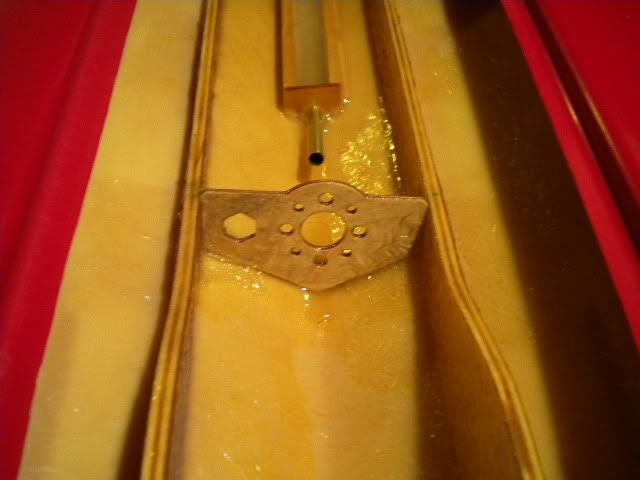
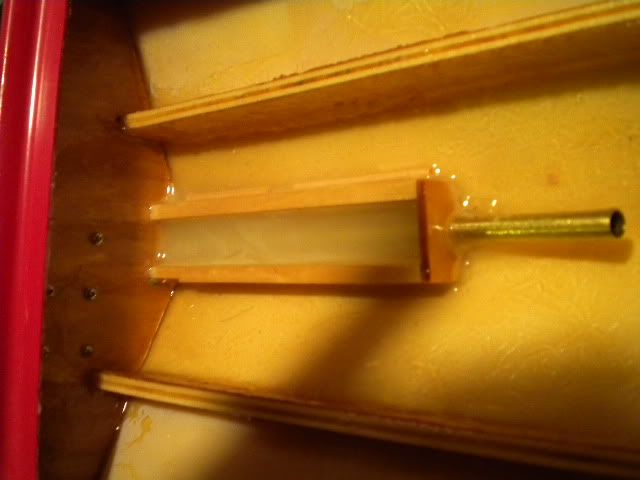
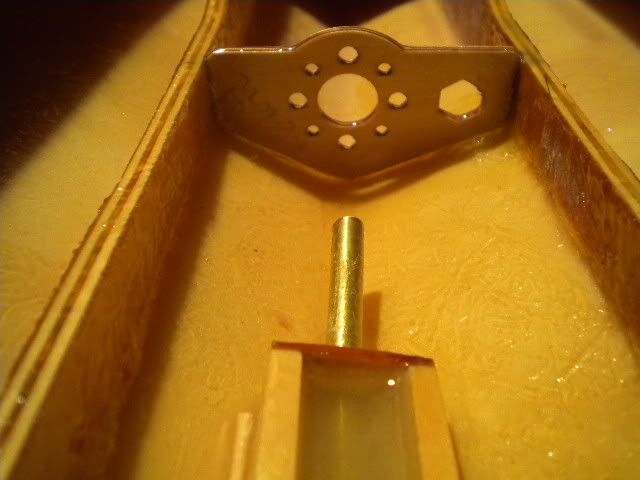
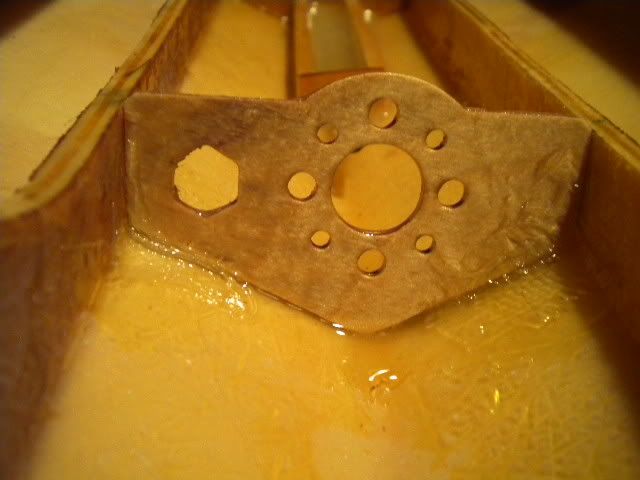
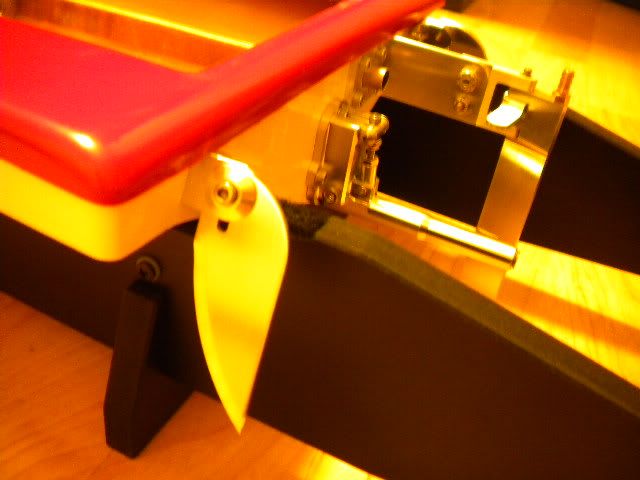
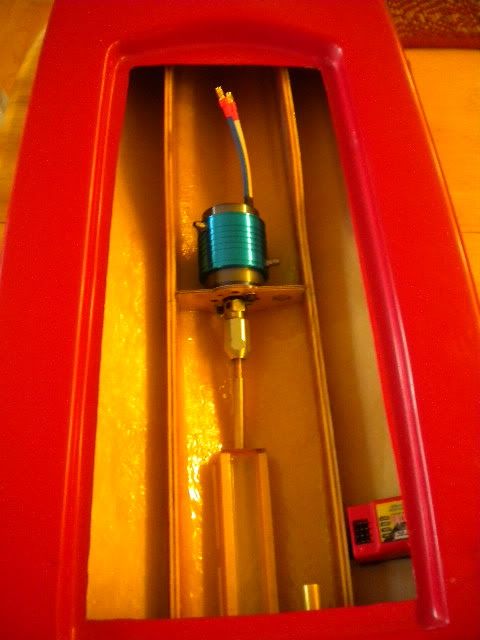
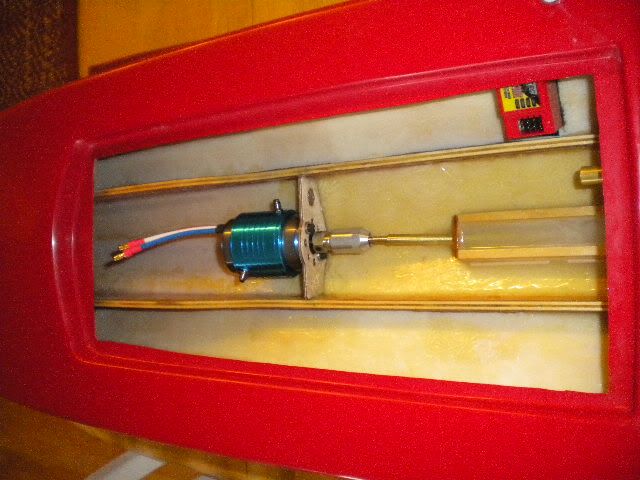
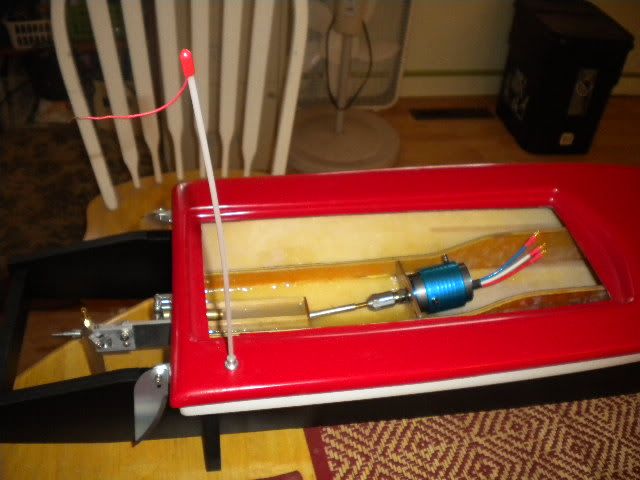
    I started on my LSO boat this week. It was a lot of fun but there were some interesting curve balls thrown during the beginning of this build. The first and biggest on was the rails in the boat. They were 3 inches apart but where not centered in the boat. You can really see this in the top view of the boat. It made it really hard to make a motor mount when things are not strait. It might look a little goofy but that is what we had to do to make the motor centered on the mount. When we went to install the rudder we wanted line it up with the rail but since they are so off centered we just mounted it as close to where whey should have been. We also made a stand from JRS innovations that holds the boat well and makes a great platform to work on.


    www.namba20.com
  • weil0127
    Senior Member
    • Dec 2009
    • 164

    #2
    The hatch for the boat was really light and didnt have a lot of strength so I put on a health dose of epoxy, which help out a lot.


    Here is a pic of the hardware and how we mounted it. Speedmaster quilty is great and I know it will last.


    www.namba20.com

    Comment

    • weil0127
      Senior Member
      • Dec 2009
      • 164

      #3
      The motor mount was CNC cut and came out nice. We put four mounting holes and four to let air into the motor. It does look a little funky because the rails are off center but it all worked out fin.

      www.namba20.com

      Comment

      • weil0127
        Senior Member
        • Dec 2009
        • 164

        #4
        We made a rail for the epoxy to go and secure the brass tubing. I have put some on there and in the motor mount next. So keep checking back.


        www.namba20.com

        Comment

        • Chuck E Cheese
          Fast Electric Addict!
          • May 2008
          • 1684

          #5
          what is the purpose of having the rails offset?
          see my fleet : http://forums.offshoreelectrics.com/...hp?albumid=294

          Comment

          • westbeach
            OSE Rocks!
            • Feb 2008
            • 951

            #6
            I'd hate to say it but that motor mount does not look rigid. It needs tabs to tie into the rails at minimum. What motor do you plan on throwing into this build?
            HPR115 x2 ,Dark Horse Shovel, Delta Force CyberStorm, Delta Force Sniper 23-RTR:

            Comment

            • Dangerous_Toys
              Hiding from the Ole Lady!
              • Apr 2010
              • 2250

              #7
              Looks like the motor mount is only epoxied to the rails. Should be mounted with hardware. The motor torque will take its toll on an epoxied mount like that. JMO
              ? WHAT RULES?

              Comment

              • Chuck E Cheese
                Fast Electric Addict!
                • May 2008
                • 1684

                #8
                can use glass cloth also if you dont want the hardware but remember it will not be removable or adjustable.
                see my fleet : http://forums.offshoreelectrics.com/...hp?albumid=294

                Comment

                • weil0127
                  Senior Member
                  • Dec 2009
                  • 164

                  #9
                  The rails came like that. I didn’t do it. They shouldn’t be like that. The person that made the boat put them in wrong. It really made it a pain to make the mount.

                  I just have CA glue on the mount for getting it where I wanted. I’m going put some fiberglass cloth and epoxy to reinforce it. It won’t be going anywhere. The beauty of CNC is we can get the mount to fit so well that it really adds to the strength. It is really tight now and hard to move. That tray around the stuffing tube will also be filled up with epoxy. You guys are jumping ahead. I will put up some pics when I get it done.

                  I intend on using the Pro Boat 1800kv motor. I dont know what prop yet becasue I'm new to FE still.
                  Last edited by weil0127; 02-08-2011, 12:49 AM.
                  www.namba20.com

                  Comment

                  • Chuck E Cheese
                    Fast Electric Addict!
                    • May 2008
                    • 1684

                    #10
                    wow that is going to be alot of un-necessary weight if you fill the whole tray around the stuffing tube.

                    not trying to be negitive or anything but i would just seal the stuffing tube around the trandsom and would have also removed the rails and put them in centered..
                    see my fleet : http://forums.offshoreelectrics.com/...hp?albumid=294

                    Comment

                    • LarrysDrifter
                      Big Booty Daddy
                      • May 2010
                      • 3278

                      #11
                      I agree on the stuffing tube.Just epoxy it at the transom and make a support near the motor end and that will be plenty.Also,on the hatch,instead of just brushing epoxy over it,a better thing to do is use FG matting along with epoxy or FG resin.Dont forget to add floatation to the hatch as well.Not criticizing your build,just giving helpful tips.

                      Comment

                      • Hydromaniac
                        Senior Member
                        • Oct 2007
                        • 816

                        #12
                        Originally posted by Chuck E Cheese
                        what is the purpose of having the rails offset?
                        Some hulls use offset rails and drive lines to counter prop walk and torque roll. I have seen some drivelines off set up to 1/2 inch from the keel centerline. This creates a wider stance from the strut/prop to the keel ride surface. It increases stablity in rough water as well.
                        www.rockymountainthunderboats.org

                        Comment

                        • weil0127
                          Senior Member
                          • Dec 2009
                          • 164

                          #13
                          I see well it really made it hard to make the mount.
                          www.namba20.com

                          Comment

                          • weil0127
                            Senior Member
                            • Dec 2009
                            • 164

                            #14
                            Here is the motor mount now that it is epoxyed and glassed in. This thing is going no where. I also put micro ballons/epoxy in the tray for the drive shaft. If my boat ever get hit upside down the other boat will be in pieces. This is so strong and will hold up for years of racing.:yeah:


                            www.namba20.com

                            Comment

                            • weil0127
                              Senior Member
                              • Dec 2009
                              • 164

                              #15
                              Finally I got the turn fins mounted and they are sharp. I also mounted the motor and it fits like a glove. The mount we made worked great. I also mounted the antenna mount and feed the wire. It was a pain but I got it done.


                              www.namba20.com

                              Comment

                              Working...