

Hello FE boaters,
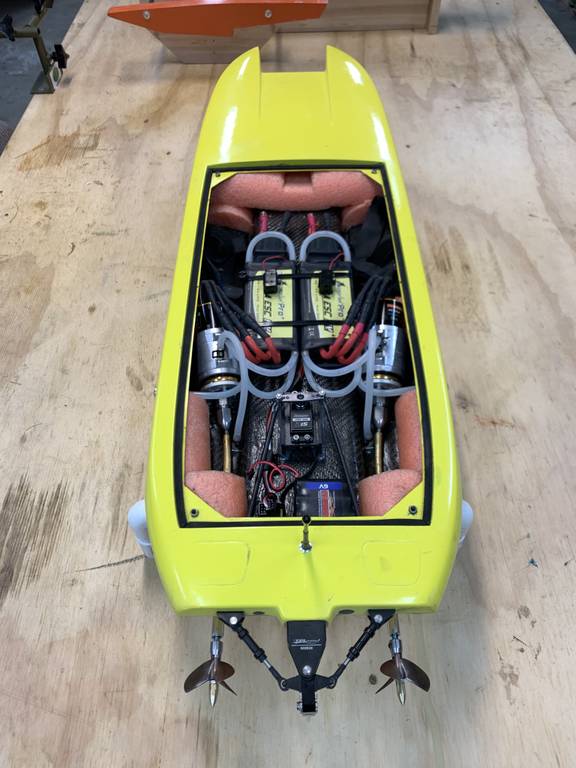
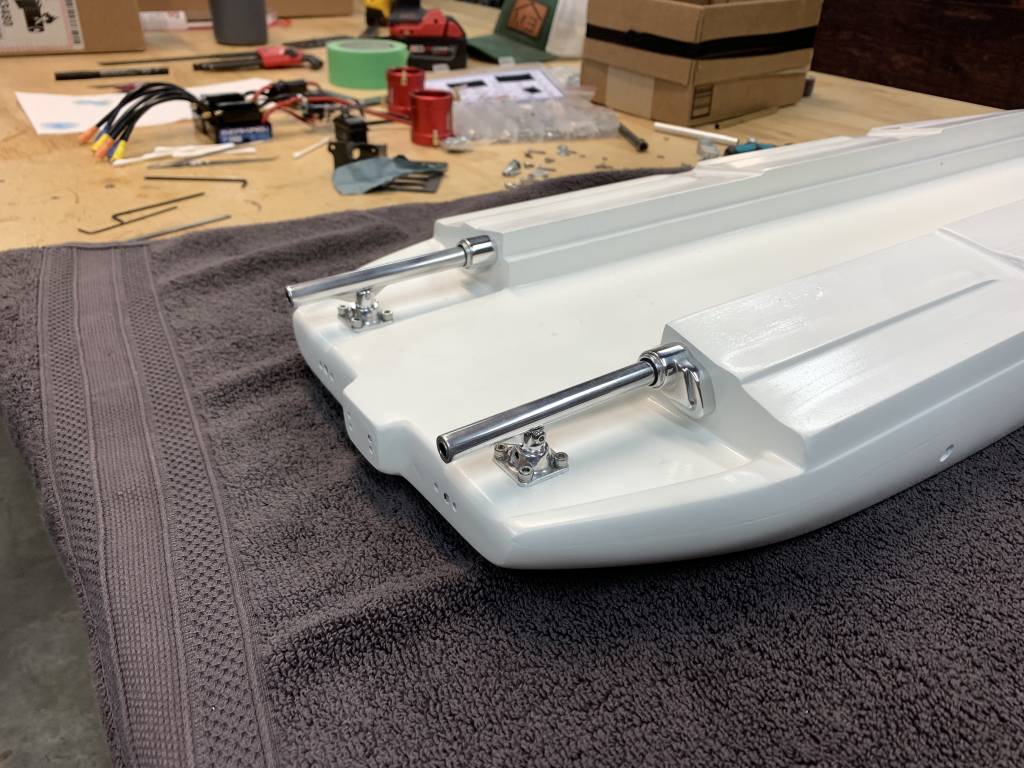
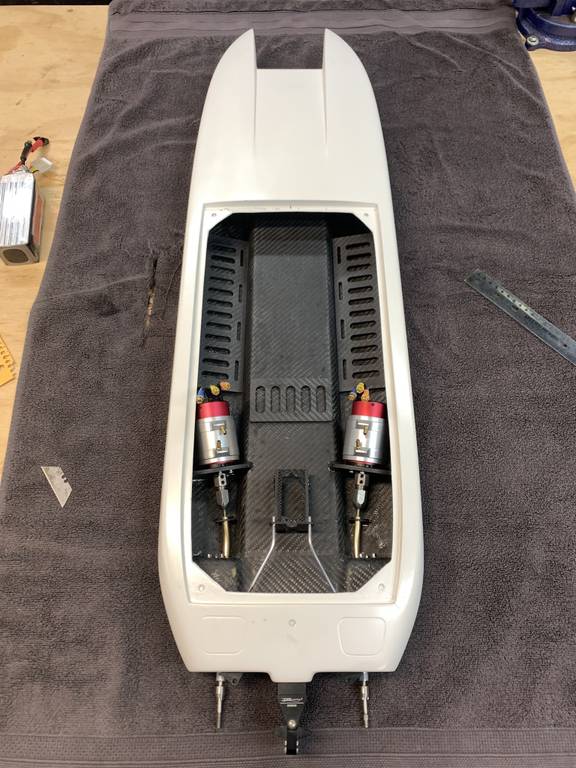
I built this Explorer a couple years ago with almost no clue what I was doing. I figured it was time for a rebuild now that I have a tiny bit of a clue. The first version was a 12s beast with swordfish 240HV's and Leo 4082 1000kv motors (Later switched to TP 4060 1050kv). The power was great but it was a lot of weight for this hull and there were a few weak links with the original components I selected; The aluminum angled motor mounts would bend under the torque, causing flex shaft blow outs. And the low profile 110mm struts would bend towards each other with the rotation of the props, causing major crashes at speed. So my plan is to use the 12s electrical components in a new Mystic 114 I'm about to start building and turn the explorer into a 100mph bulletproof 6s setup.
3) props
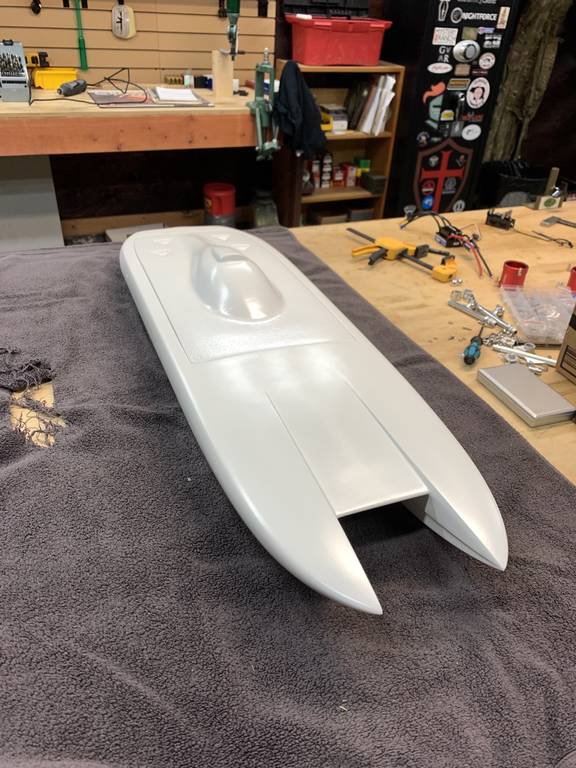
Here is the latest version of the first build, I constantly tweaked this build as I made a lot of mistakes the first time. Personal best was 104mph with a nice set of Dasboata props. I have to give it to this thing, it took one hell of a beating and held it together. So many big crashes along the way.
https://www.youtube.com/watch?v=XEra5DuKj-o
https://www.youtube.com/watch?v=nxRVN7WQMuQ
THE REBUILD
New build will consist of;
SeaKing 180 V3 ESC's
Leopard 4074 2200kv motors
Running 6s. I have packs from 4000 - 6000 which should all fit nicely.
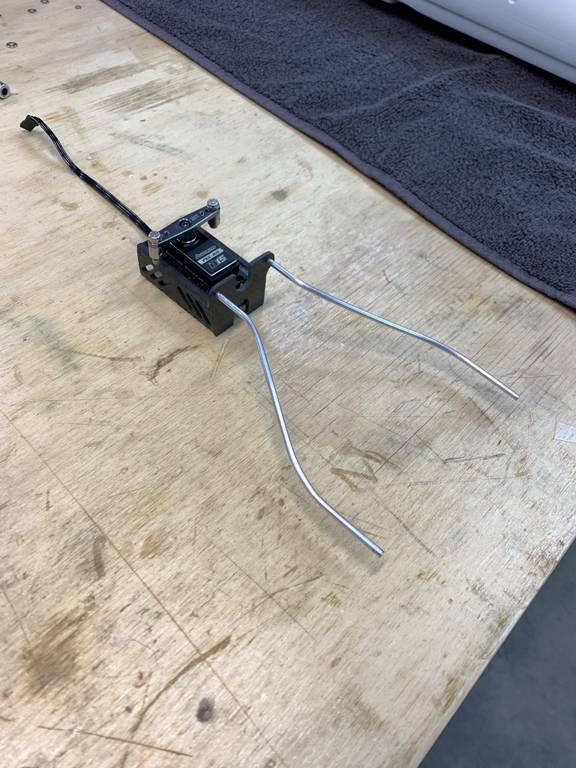
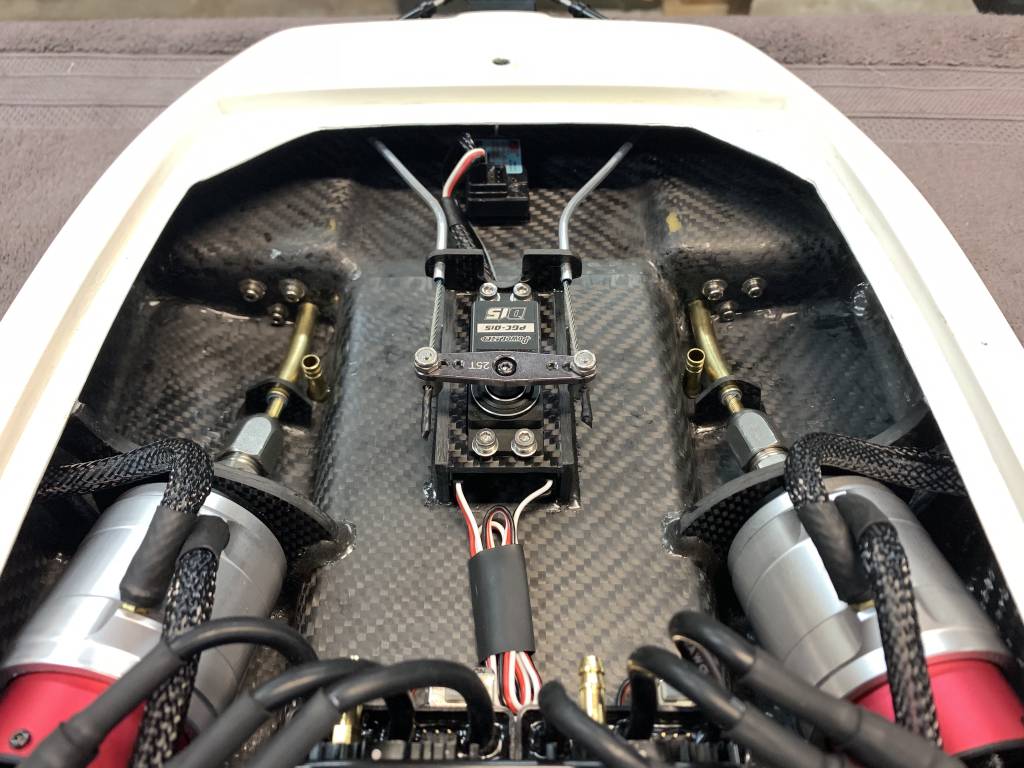
Reusing - TFL medium scale rudder and Power HD 15kg low profile servo w/ carbon mount.
Goal: Mid-budget, 100mph reliably and able to take a beating. I do this for fun, I do not compete.
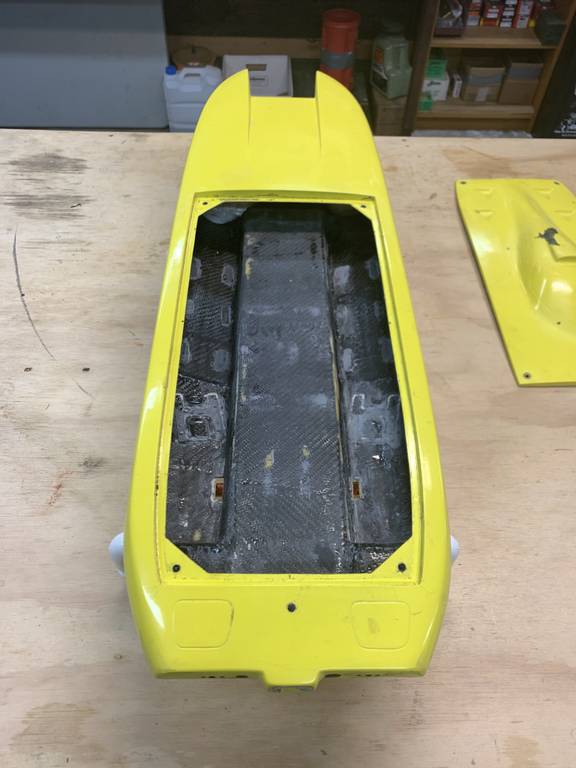
Everything busted out
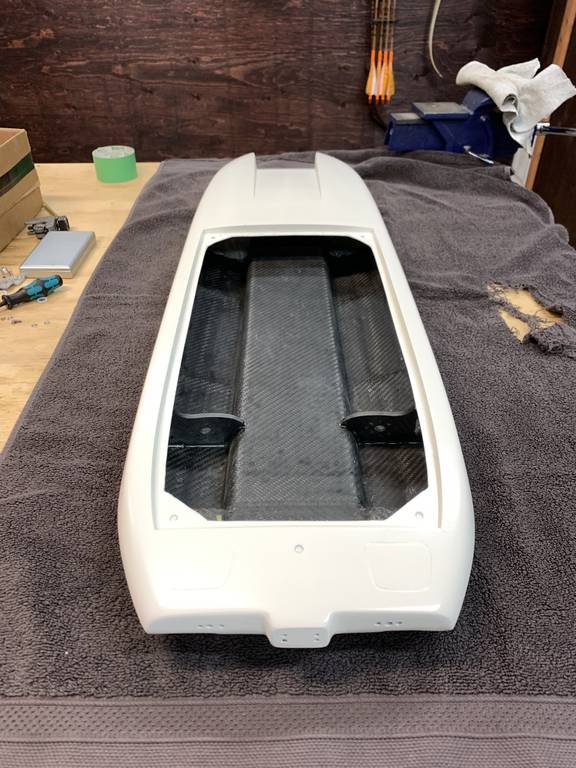
All sanded and prepped and all holes filled with carbon shavings and resin. Ready for new carbon inlay. I did a poor job on the inlay the first time, it functioned well but was ugly and heavy.
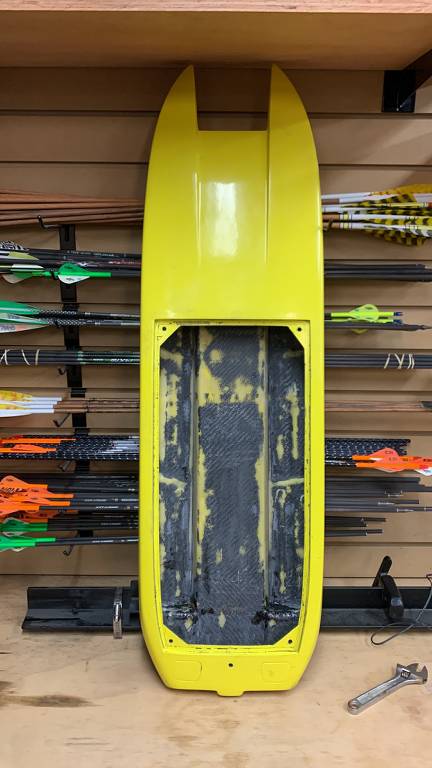
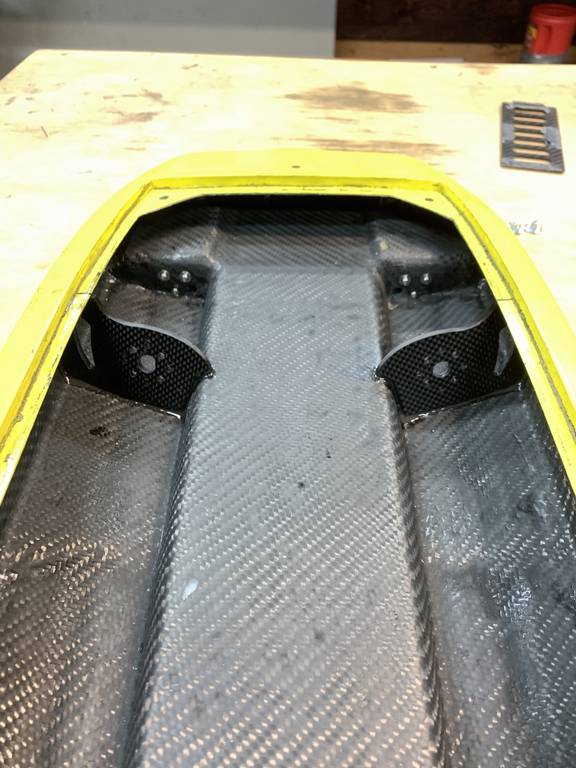
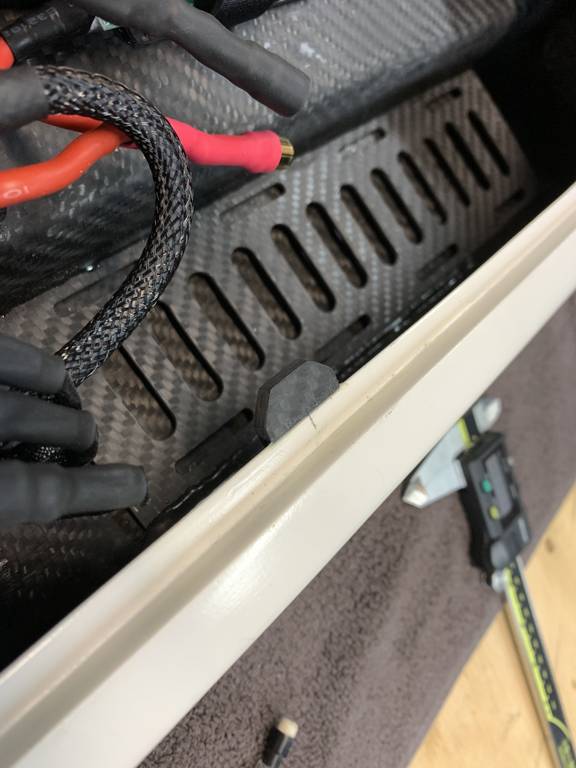
Adding carbon strips to inside corners of sponsons as the walls were very thin.
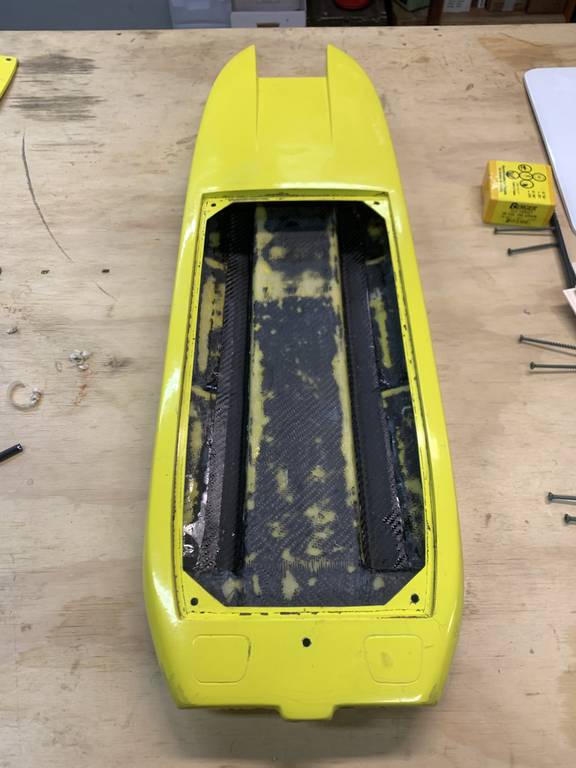
Strips cured
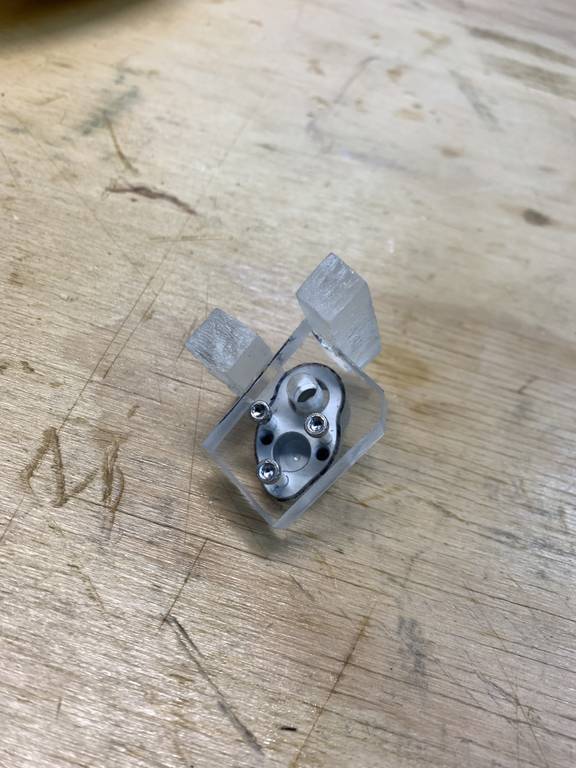
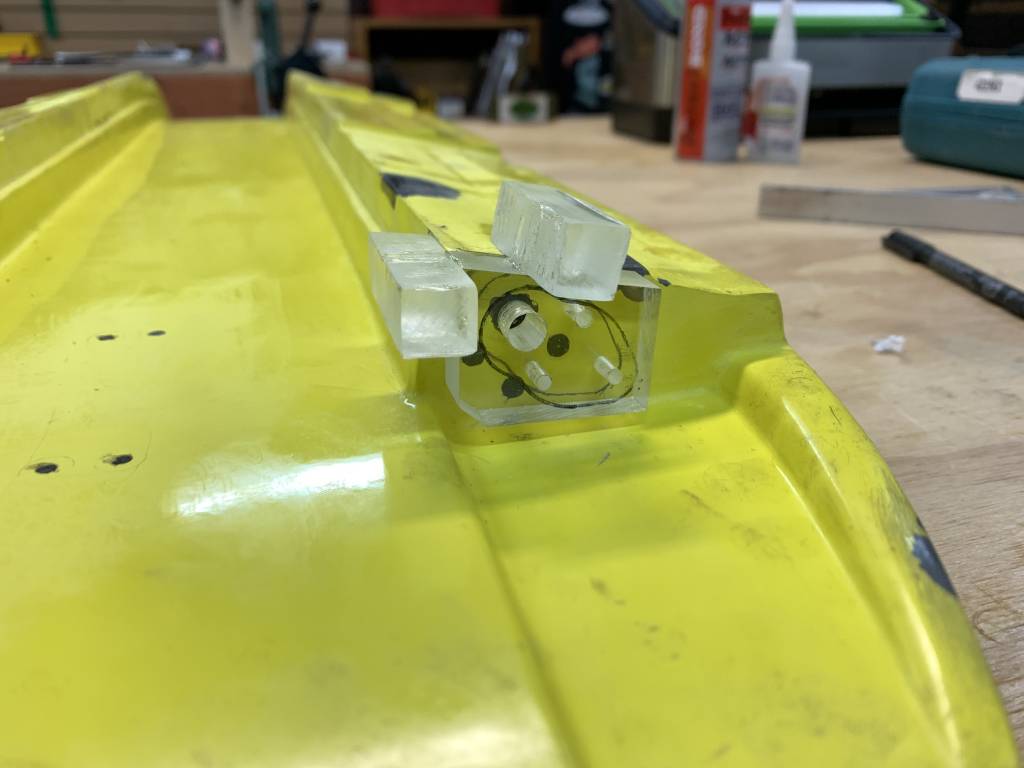
Transom inlay


 Reply With Quote


Bookmarks