Some trimming needs to be done around where the hull tapers (sides and bottom), but so far, it all fits good. I still have enough foam for another layer along with the 1.5" tubing. Another possibility is to place a smaller backing rod (same material) inside of the piping insulation tubes.
I was also able to get an idea for some basic paint from a body shop. I first spoke to the painter. We were both on the same page, and he understood that I would have been doing all of the body work and only wanted the actual paint. We even went over different types of primers that would fill in the slight imperfections that would still be present. But of course things change when the "finance guy" steps into the picture. Right away, he pulled the "you don't know anything" act. I let him go on about how it would have to be sanded down which would get carbon dust everywhere, which means that it would have to be isolated in the shop. He went on and on to the point where I just had to stop him. "There is fiberglass, gelcoat, and my own body work. If you make it down the carbon, you screwed up big time." (I can't be a salesman. Assuming every potential customer is clueless and talking down to them is never cool.) He said it would be a minimum of $600, even for an incredibly basic spray. Don't get me wrong. I understand that there is a lot of equipment and other overheads, but it's not worth it. I really just wanted a nice grey that I can't find in a can.
There aren't any pics, but the last bit of putty is on. After this sanding, it should be good for a second spray attempt.

EDIT:
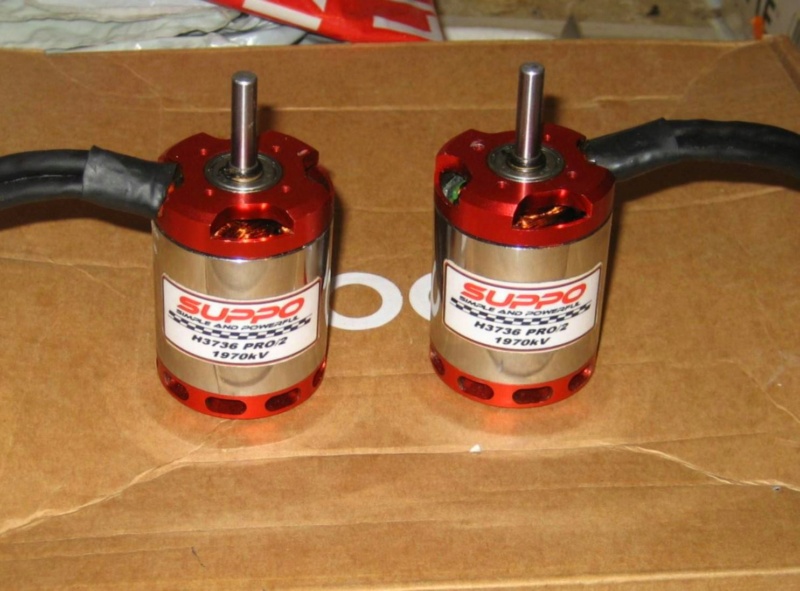
Can anyone see the pictures? Everything from post 141 isn't showing up for me on my PC, but is there through Tapatalk on my phone.
Sent from my Pixel using Tapatalk


 Reply With Quote


Bookmarks