Results 1 to 10 of 10

Thread: Hatch repair

  1. #1
    Join Date
    Oct 2013
    Location
    la
    Posts
    8,740

    Default Hatch repair

    My buddy crashed his boat and because the hatches are quite hard to come by I decided to try and repair it. I thought I'd post about it because it turned out quite exceptional.


    I didn't get a pic of how it looked broke but imagine this piece was missing mostly. I taped one side to hold the epoxy. I mixed up some epoxy and cut up some carbon cloth into the mix. Then sanded it smooth.


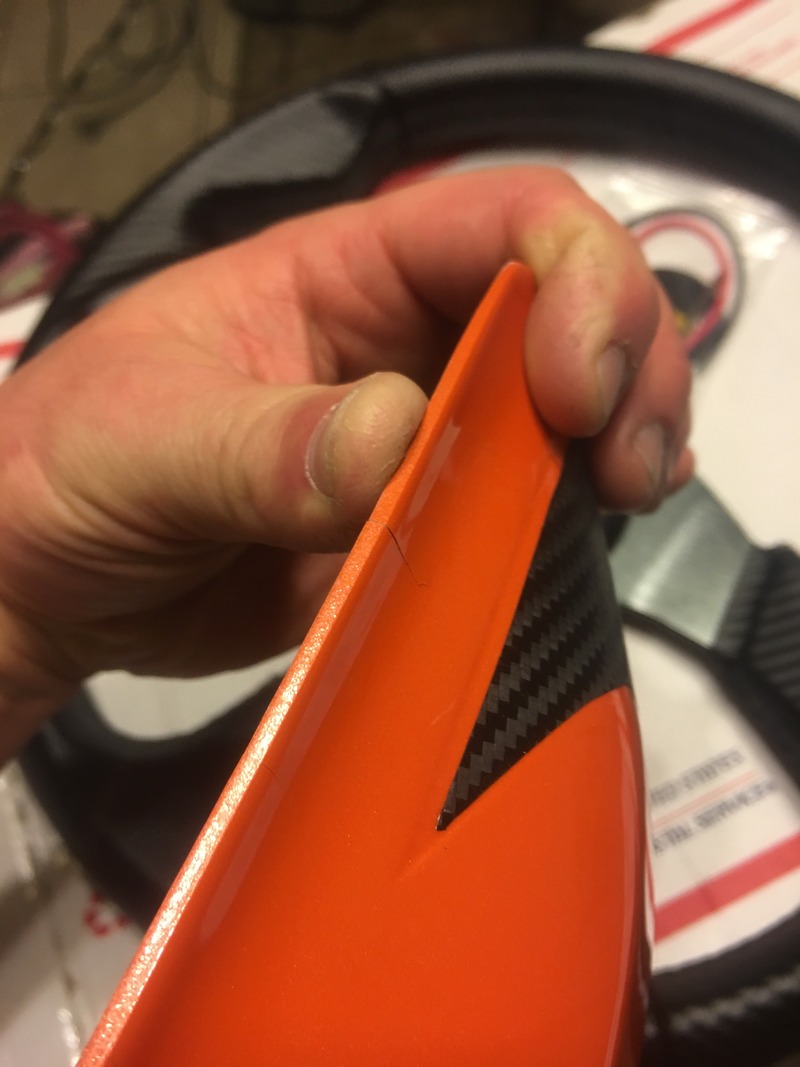
    There was cracks all over like this


    32" carbon rivercat single 4s 102mph, 27” mini Rivercat 92mph, kbb34 91mph, jessej micro cat(too fast) was

  2. #2
    Join Date
    Oct 2013
    Location
    la
    Posts
    8,740

    Default

    At this point I almost threw it in the garbage because it had them all over. Figured may be worth a shot so I forged ahead. I dremeled the cracks and got rid of the gel coat (I HATE gel coat) so it would have some glass to bite into.


    Then filled and sanded. A trick is to wave a flame over the epoxy quickly as it gets rid of air bubbles. That cuts your pin hole fixing down greatly.

    32" carbon rivercat single 4s 102mph, 27” mini Rivercat 92mph, kbb34 91mph, jessej micro cat(too fast) was

  3. #3
    Join Date
    Oct 2013
    Location
    la
    Posts
    8,740

    Default

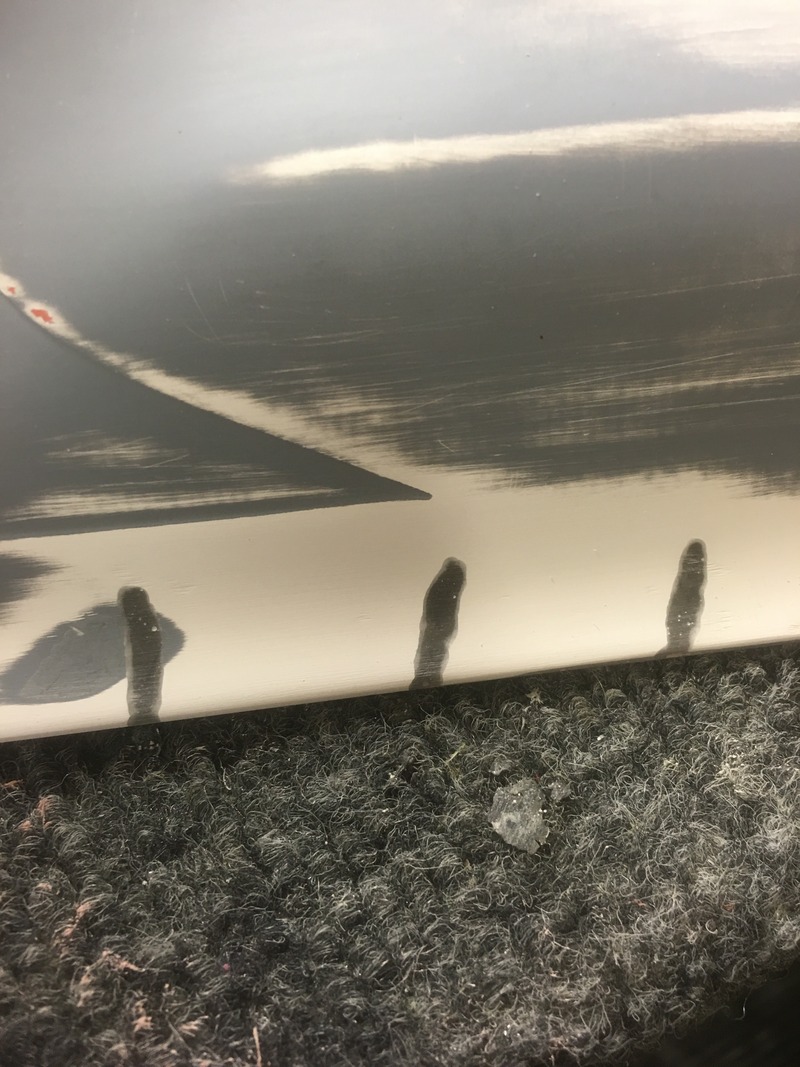
    Here's the underside once the repairs were done.

    It will get a layer or two of carbon also


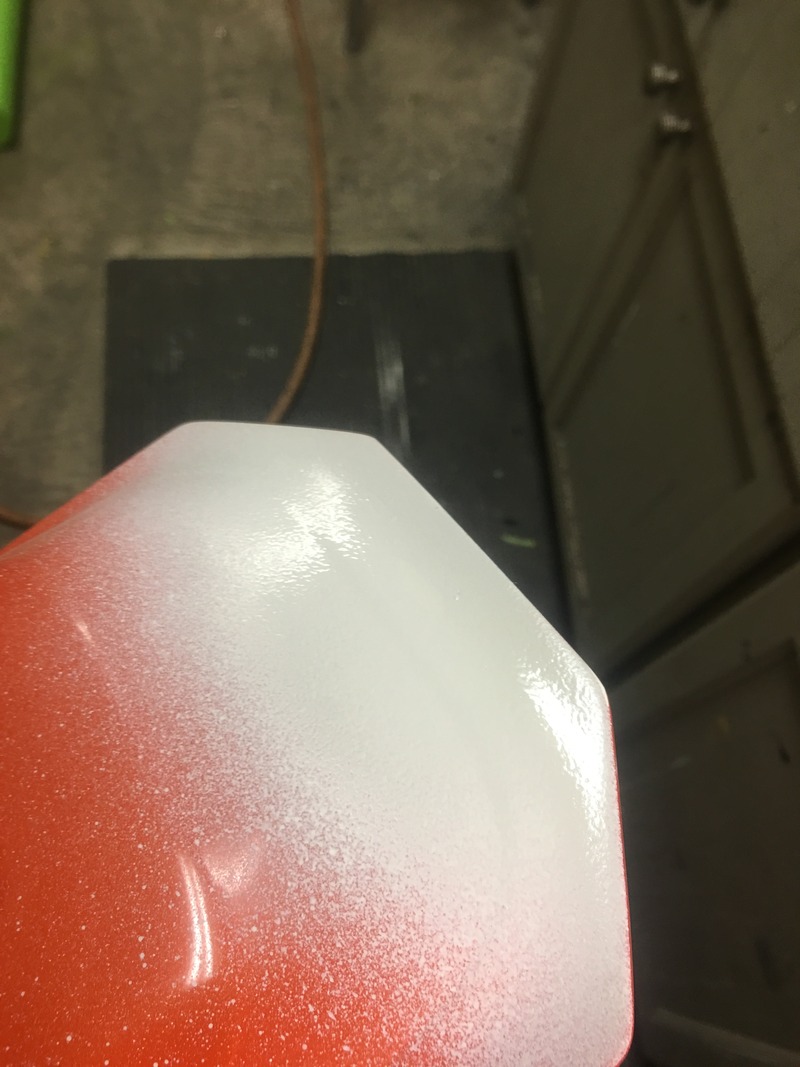
    Primed the front part


    Then I found out the original painter had safer the primer too slick so the base coat didn't stick. I literally peeled it all off like a vinyl wrap lol


    32" carbon rivercat single 4s 102mph, 27” mini Rivercat 92mph, kbb34 91mph, jessej micro cat(too fast) was

  4. #4
    Join Date
    Oct 2013
    Location
    la
    Posts
    8,740

    Default

    It peeling like that actually made the job cleaner and easier for me. A lot less sand. Have I ever mentioned I hate sanding? lol


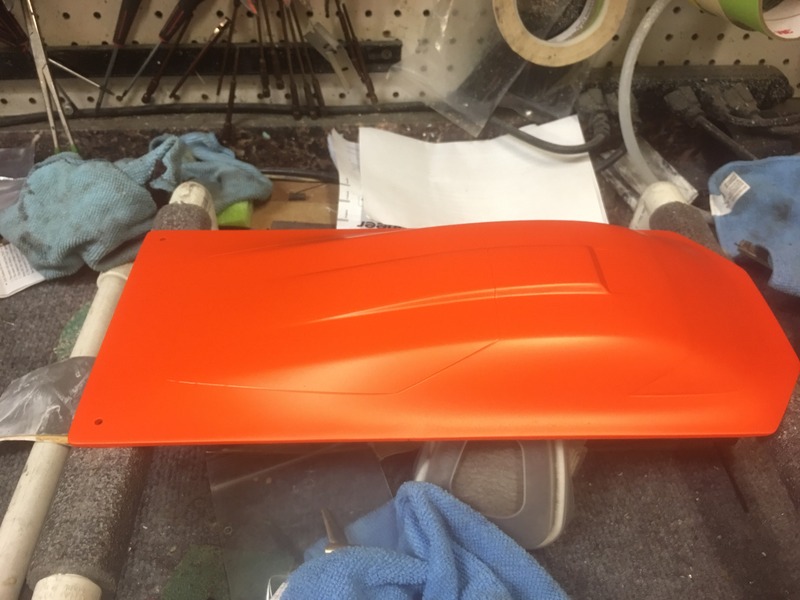
    Here it is primed ready for base coat


    And here it is with base coat. That's house of kolor tangelo pearl


    32" carbon rivercat single 4s 102mph, 27” mini Rivercat 92mph, kbb34 91mph, jessej micro cat(too fast) was

  5. #5
    Join Date
    Oct 2013
    Location
    la
    Posts
    8,740

    Default

    I finished it up last night. I cleared it with upol spray can clear. Pics do no justice. This thing looks slick, especially for a non painter like myself. I've been learning. Btw, it had some trash in the base. I read online tha you can't sand the base. Big debate kind of like what's the best lipo battery lol. Well truth be told, I used some 600 grit and knocked the trash off. Wiped it down and cleared it. The clear probably stuck even better and there are no sand marks in it like they were proclaiming on other sites.


    32" carbon rivercat single 4s 102mph, 27” mini Rivercat 92mph, kbb34 91mph, jessej micro cat(too fast) was

  6. #6
    Join Date
    Apr 2015
    Location
    VA
    Posts
    479

    Default

    Awesome work as always. Thanks for the step by step instruction!

    Sent from my VS990 using Tapatalk

  7. #7
    Join Date
    Apr 2019
    Location
    Ga
    Posts
    26

    Default

    What is gell coat?


    Sent from my iPad using Tapatalk

  8. #8
    Join Date
    Aug 2010
    Location
    uk
    Posts
    2,887

    Default

    Quote Originally Posted by TonyRomano View Post
    What is gell coat?


    Sent from my iPad using Tapatalk
    Gell coat is the first layer applied in a mould ( outer shiny finish on a glass fiber or carbon hull ) followed by layers of glass cloth & resin.

  9. #9
    Join Date
    Apr 2019
    Location
    Ga
    Posts
    26

    Default

    Thanks


    Sent from my iPad using Tapatalk

  10. #10
    Join Date
    Jan 2022
    Location
    Ca
    Posts
    2

    Default

    Im able to learn some fact that works here

    Great

Bookmarks

Bookmarks

Posting Permissions

  • You may not post new threads
  • You may not post replies
  • You may not post attachments
  • You may not edit your posts
  •