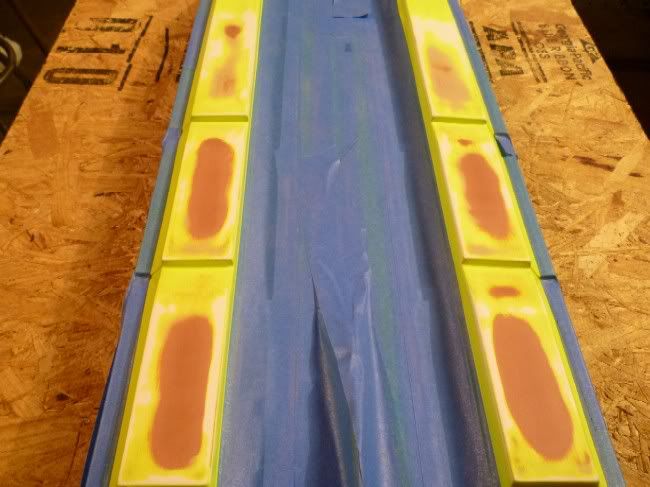
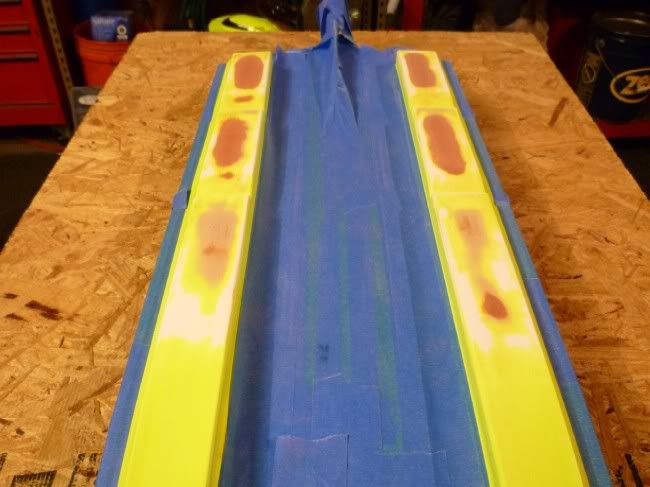
Decided to true the hull and all the imperfections are visible. The process didnt take long at all to do. The red areas are the low spots. The pictures are from start to finish. Hope to run it later this week.
Back edges of the sponsons still looks a little rounded. Should be sharp and crisp. Maybe they are and its hard to see from pics? The leveling looks good.
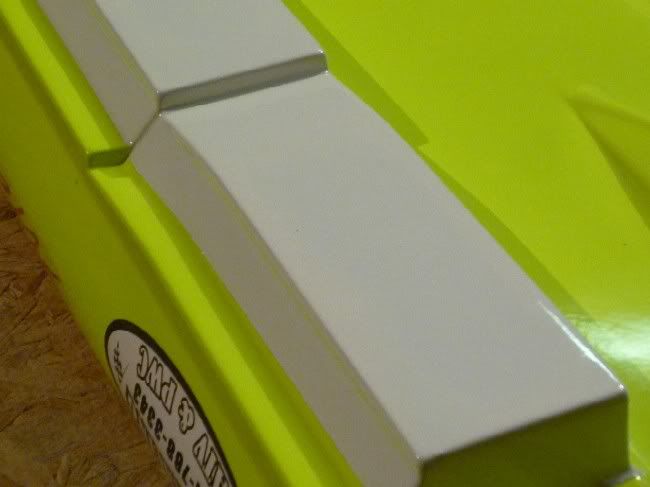
You want sharper edges along the sides & rear of steps + a srubbed finish rather than a shinny finish. But will still run better than before you filled the hollows. Martin.
Hope thats not spot glazing putty -- if it is take some lacquer thinner on a rag and remove it, it shrinks and is not durable, finishing putty like tec-flow, 3m's piranha putty etc is best to use on thin or shallow areas deeper areas body filler like bondo, and thicker areas dayna-glass< very hard to work with use it to rough it in and finishing putty to feather and fill the low spots, spot glaze is more for pin holes
The sponsons were blocked sanded to show the low spots. Then they were sanded with 220 grit, Bondo was applied to fill in the low spots. Then blocked sanded again. Any low spots were filled again with bondo, sanded again. Then spot putty was used to fill in and air bubble marks etc. Then the sponsons were final sanded with 400 grit. Hull was whiped down for painting with a tac cloth, sealer primer way applied, and final white coating was applied, about 10 light coats. Allowed to dry and the edges sharpened and scuffed.
 Tweet
Tweet


Comment